How to create a RAID array within LXPM
Description:
This article will explain how to create a RAID array using Lenovo XClarity Provisioning Manager.
Procedure:
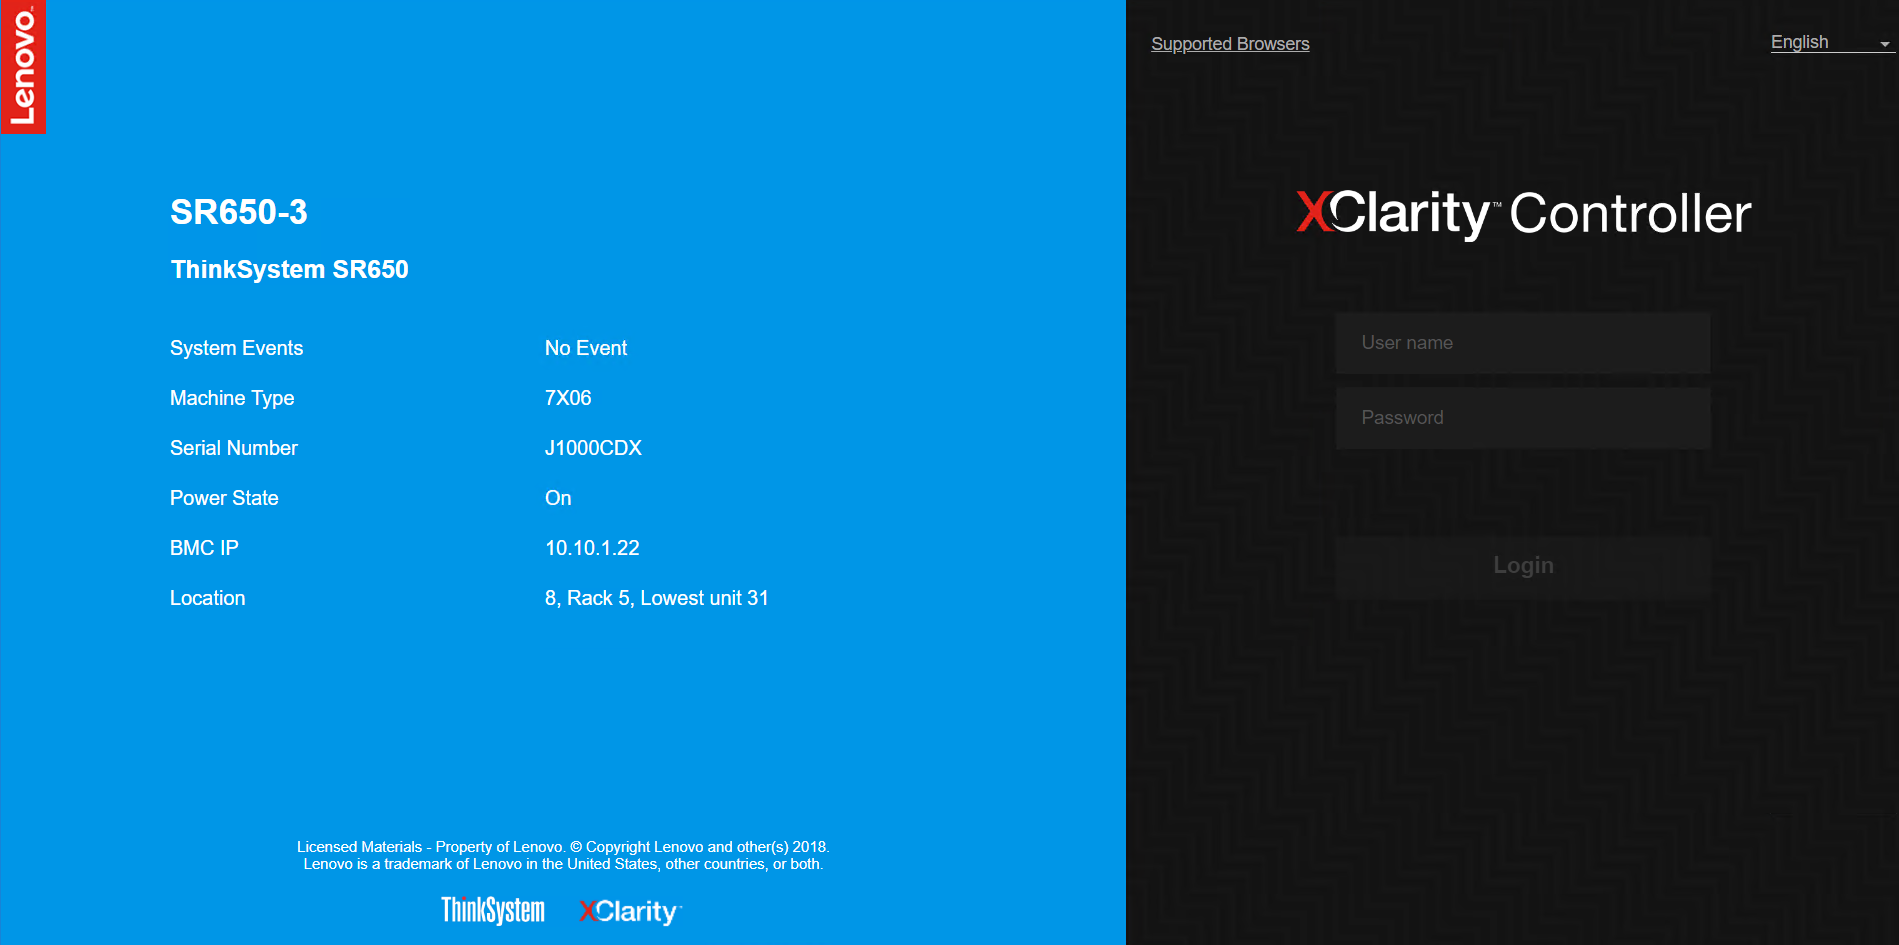
- Login to LXCC.
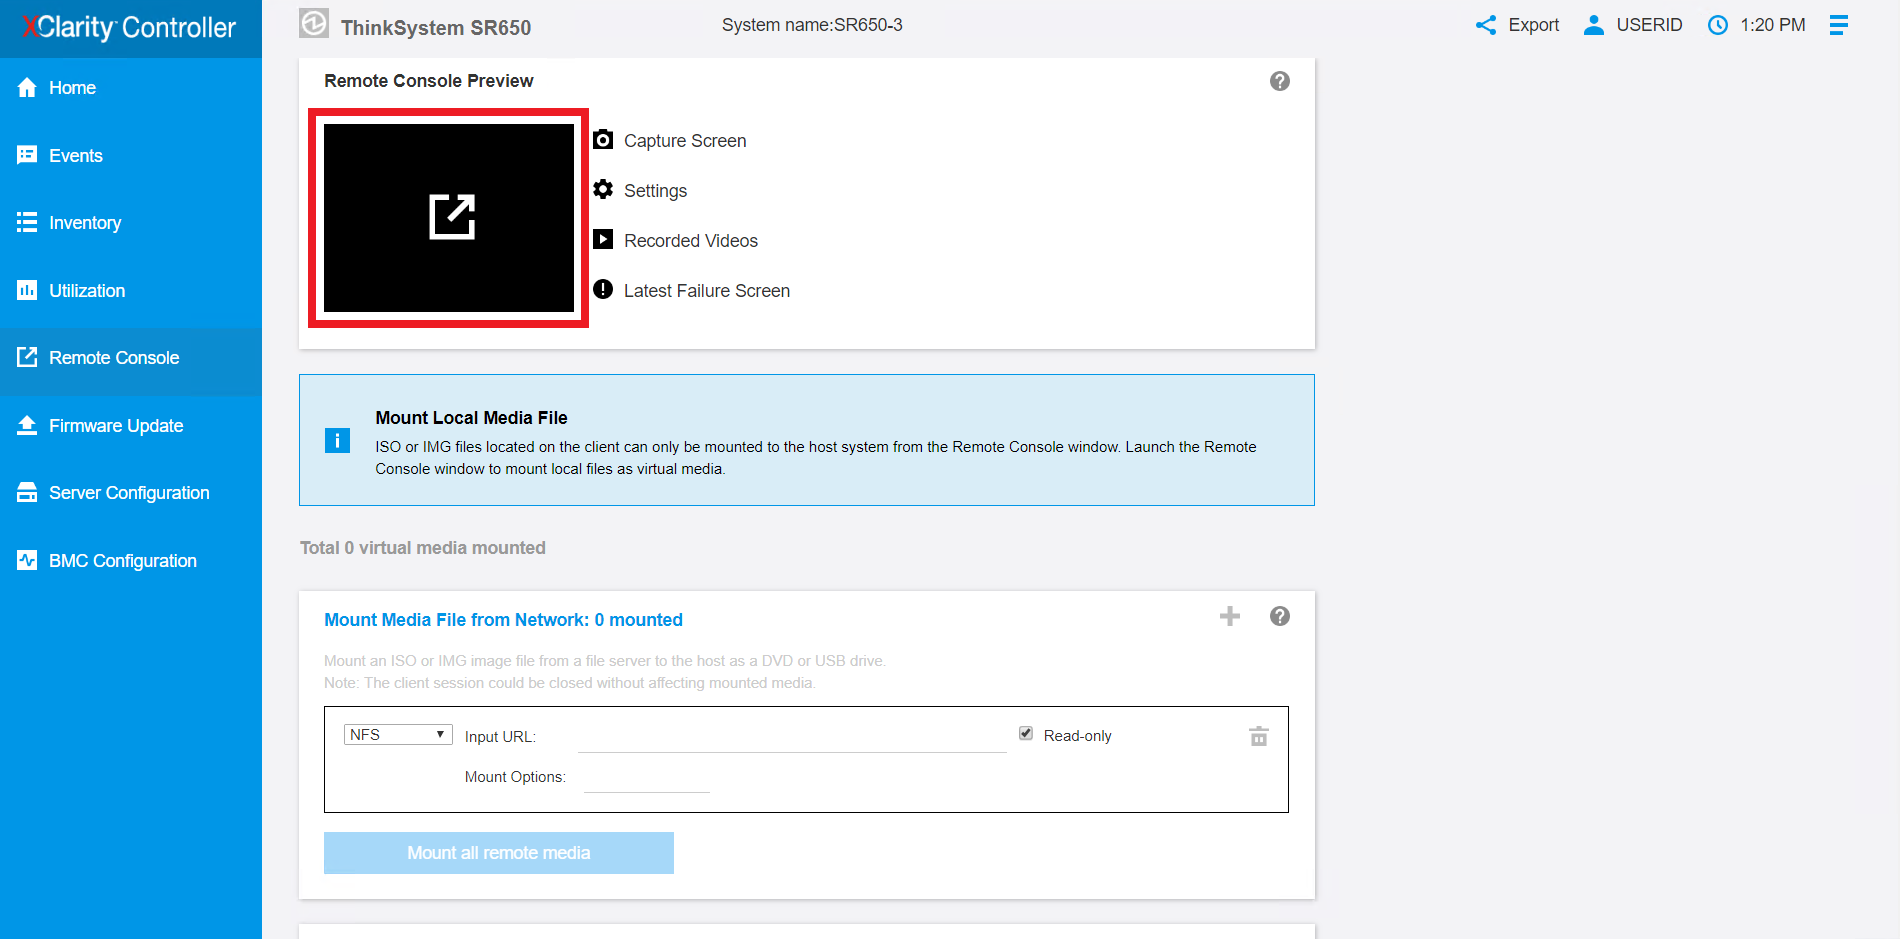
- Click on Remote Console on the left panel.

- Open the Remote Console Preview (This feature requires a license).
- Vertically along the top of the preview window click on the Power tab.
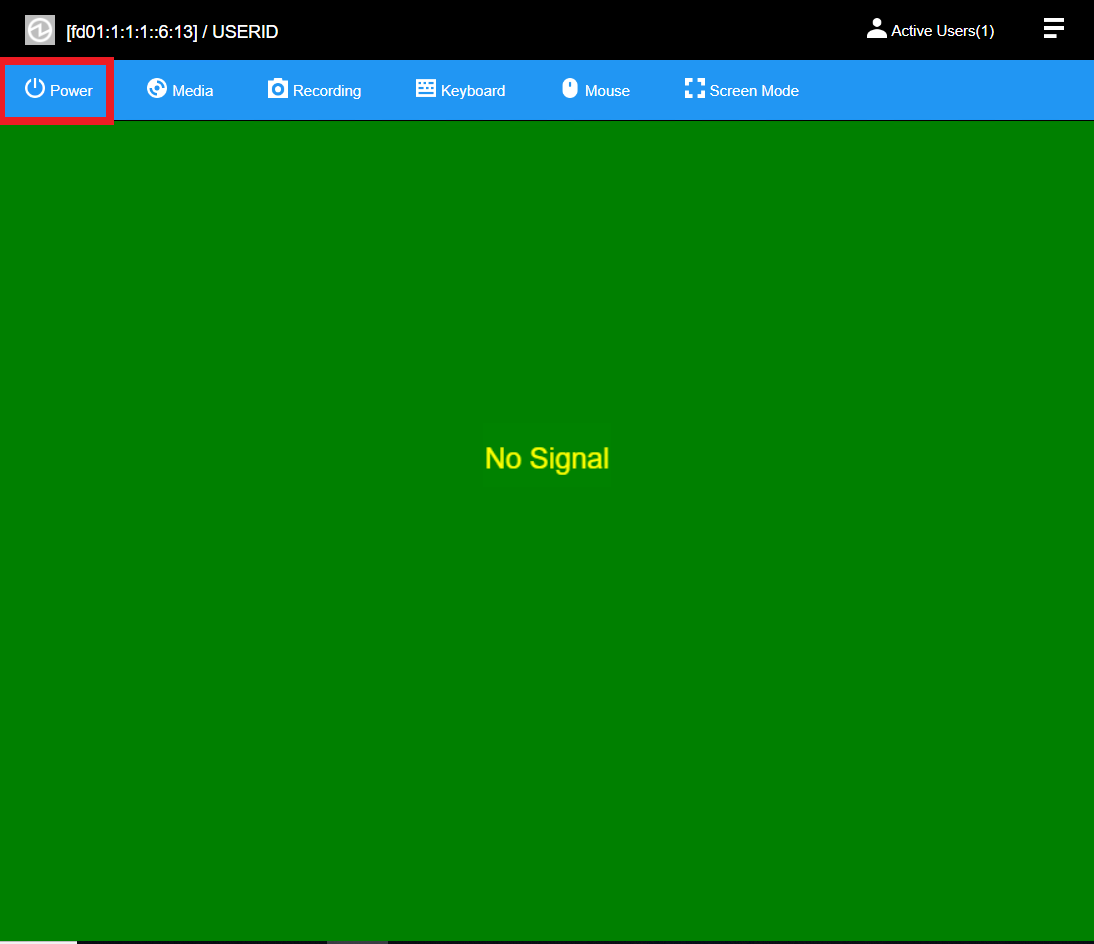
- Select Boot Server to System Setup.

- A pop-up window will show up, click Apply.

- The server will boot up or restart, and then automatically select F1 System Setup.

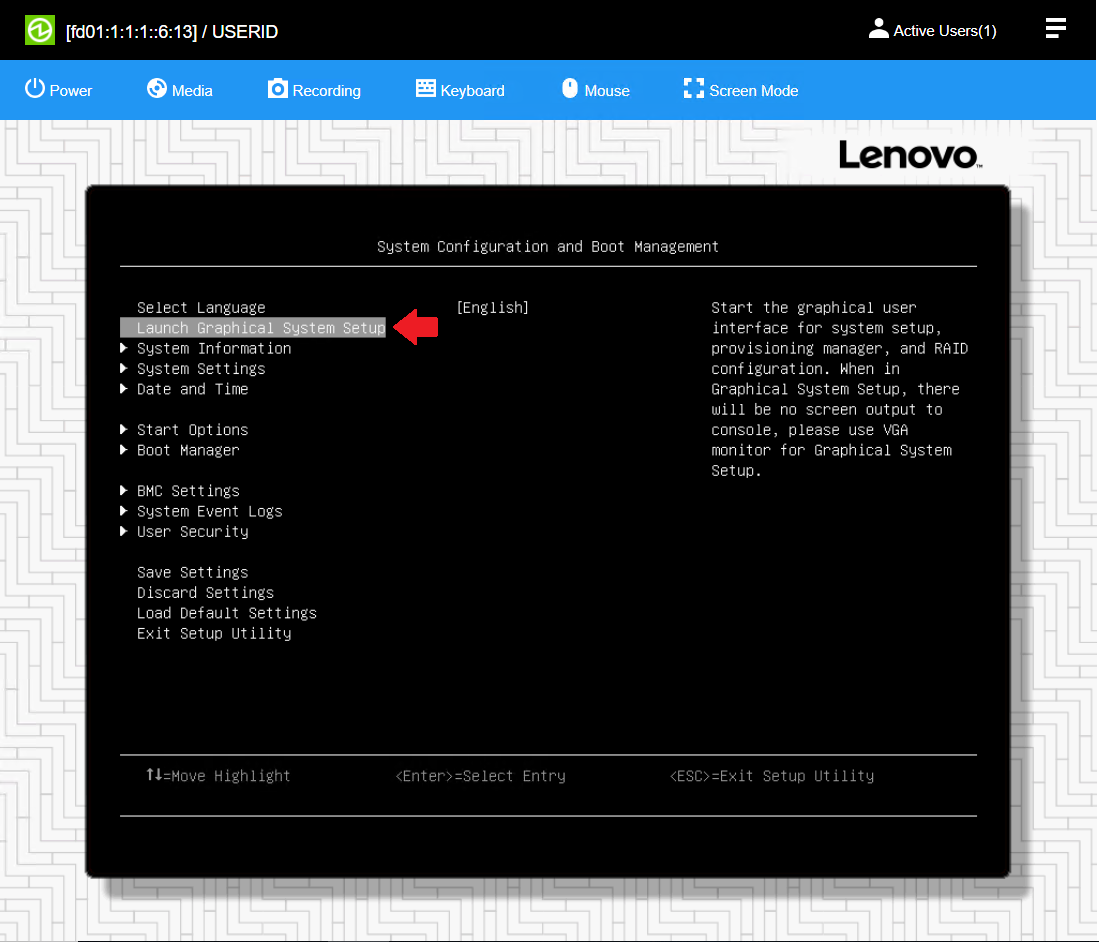
- Using the arrow keys, select Launch Graphical System Setup.
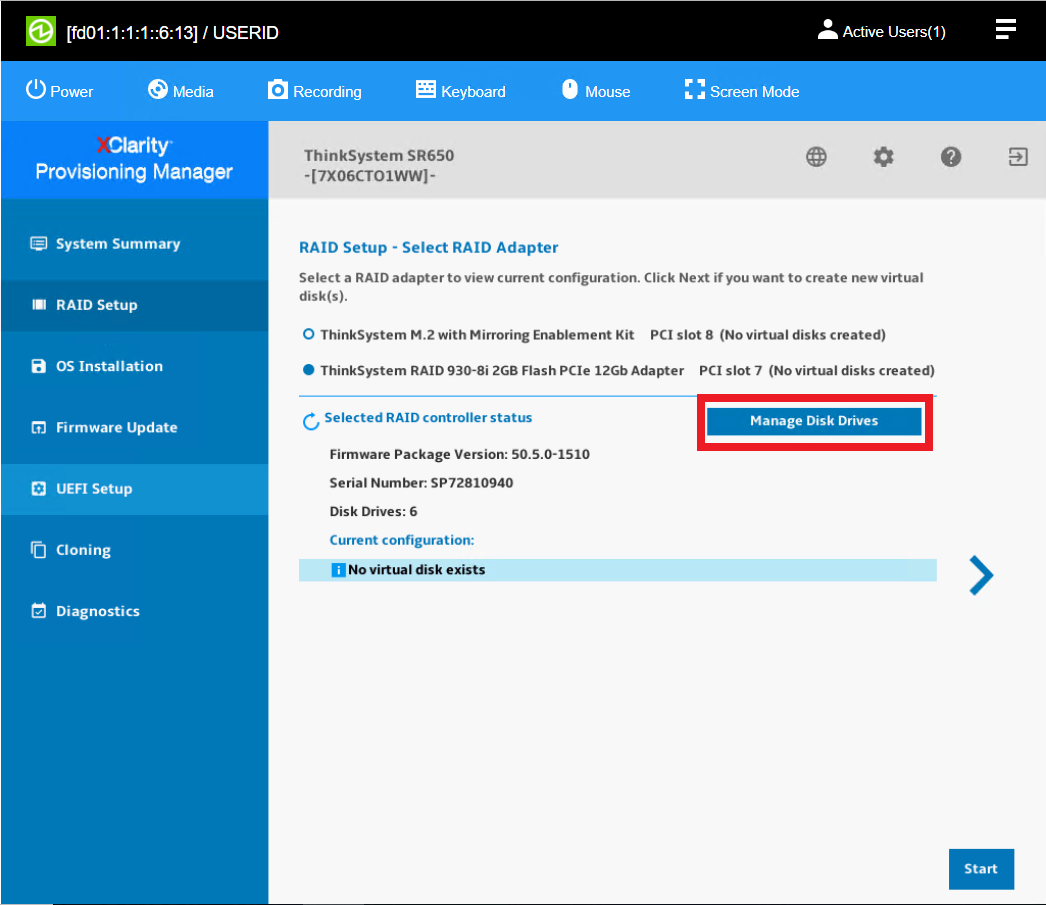
- Click on RAID Setup in the left panel.

- Click Manage Disk Drives.
- Make sure the state of the drives you would like to use are UGood not JBOD.
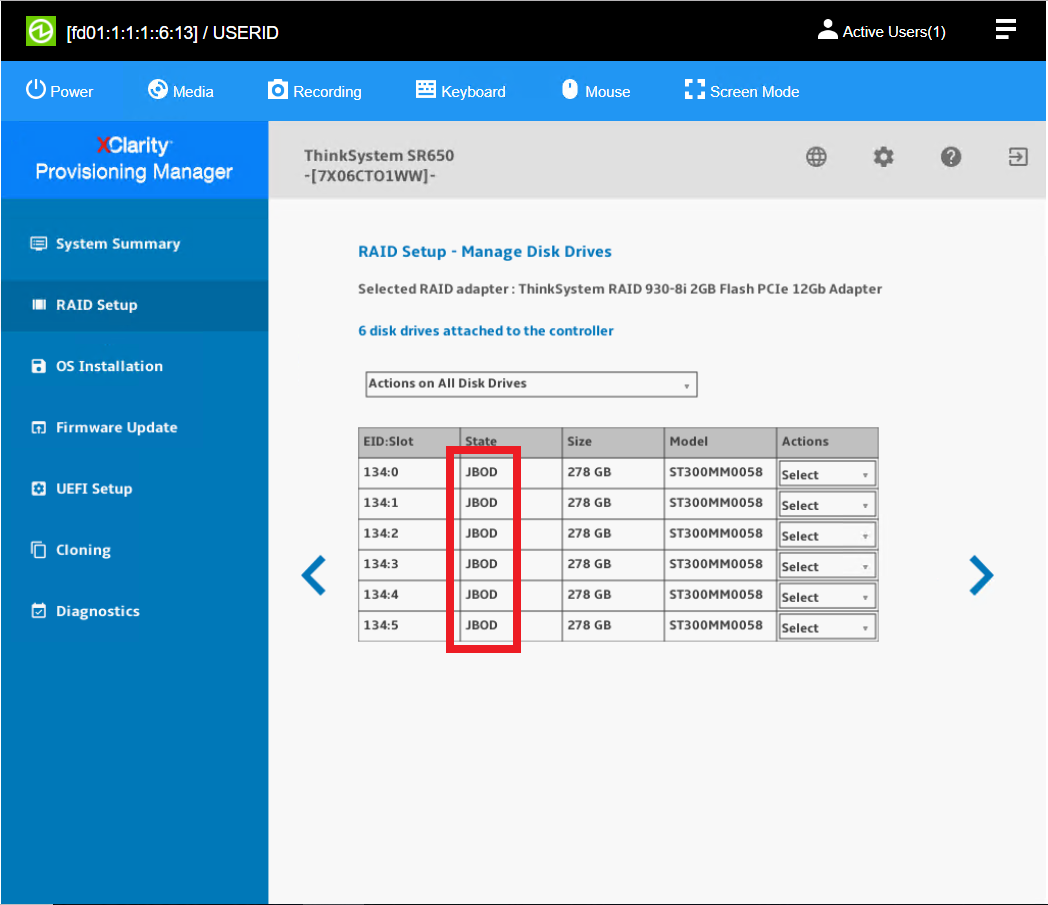
- If they are not UGood the virtual disk cannot be created. Use the Actions pulldown beside each drive to change the state of the drive.

- Click the > button.

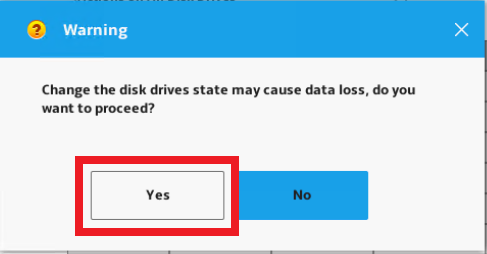
- A warning will appear explaining that data could be loss. Click Yes to continue.
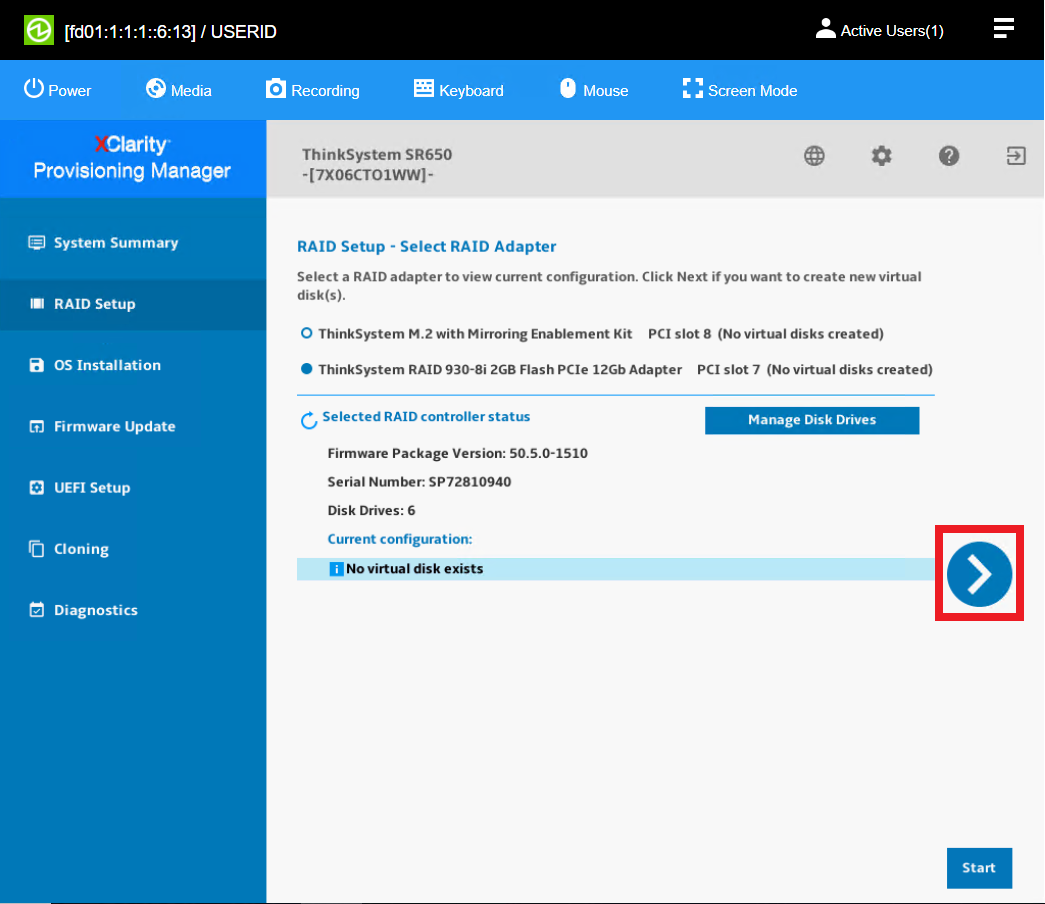
- After the warning message, the screen will revert back to the original RAID Setup screen. Click the > to continue.
- At the next screen there are two options that can be selected. Simple configuration or Advanced configuration.

- Simple configuration is covered below in step 17a and Advanced configuration is covered below in 17b.
- Select Simple configuration and click the > button.

Select the RAID Level (LXPM will only allow you to select a RAID Level based on the minimum requirements and the hardware installed). Click the > to continue.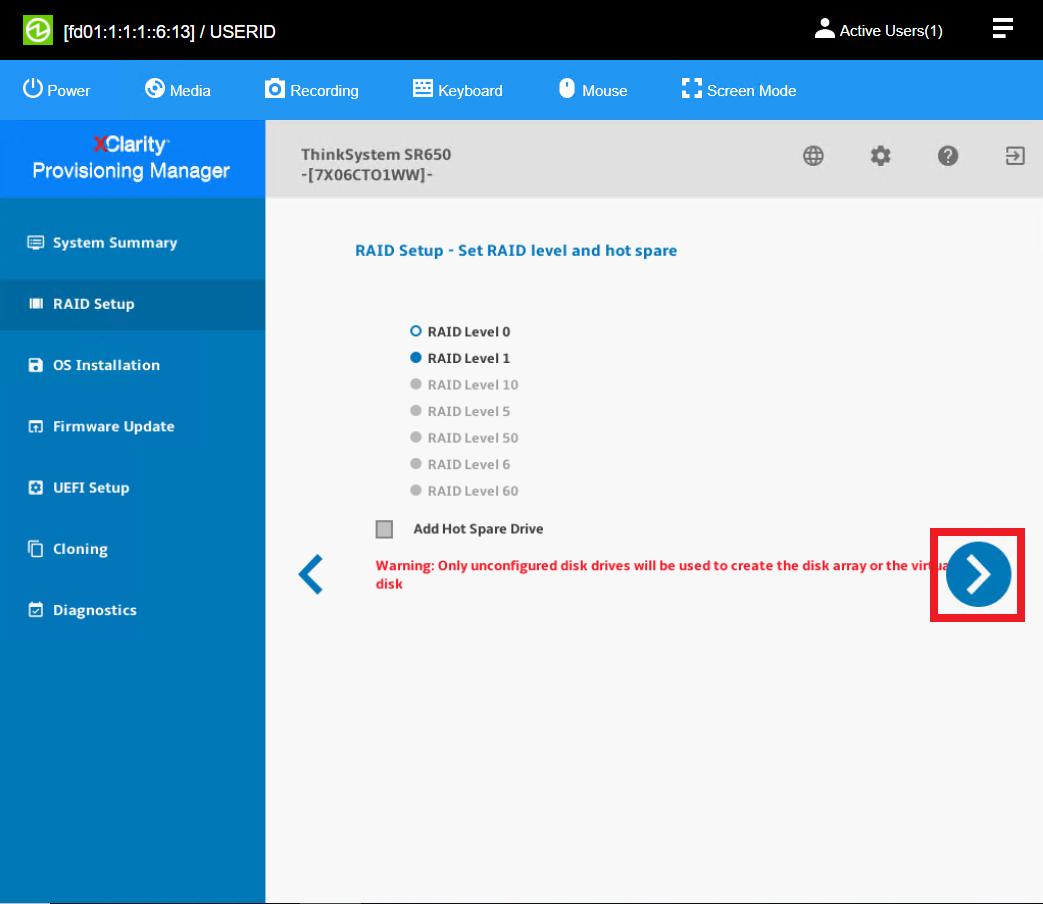
Review configuration and click the > to continue (the options under New Virtual Disk cannot be changed when Simple configuration is chosen).
A pop-up box will appear stating that the virtual disks are about to be created, and do you want to proceed, click Yes.
- Select Advanced configuration and click the > button.

Select RAID Level and select the drives you would like to use. Click the > to continue.
Click + Create Virtual Disk.
Type in the Virtual Disk Name and make any changes to the present options to fit your environment. Click Create.
Click the > to continue.
Review configuration and click the > to continue.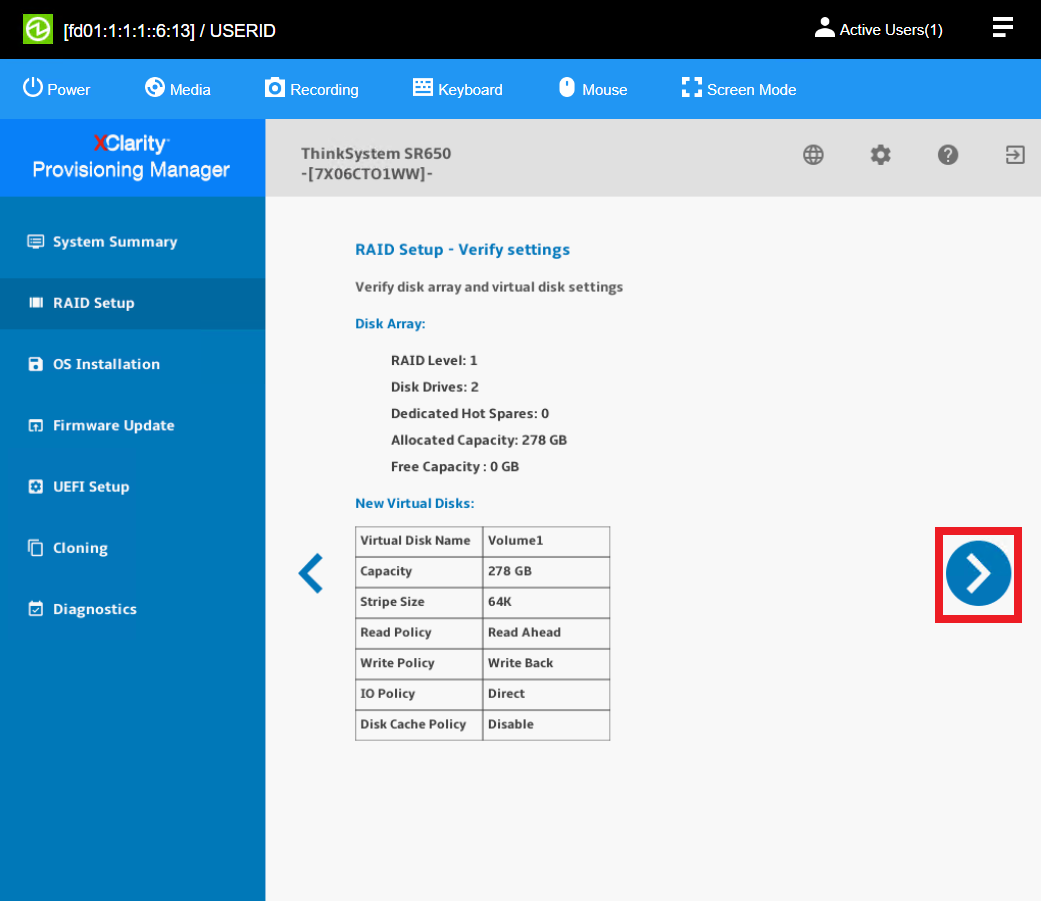
A pop-up box will appear stating that the virtual disks are about to be created. If you would like to proceed, click Yes.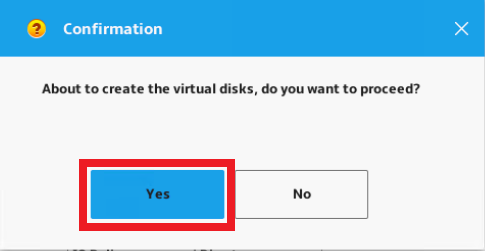
- Select Simple configuration and click the > button.
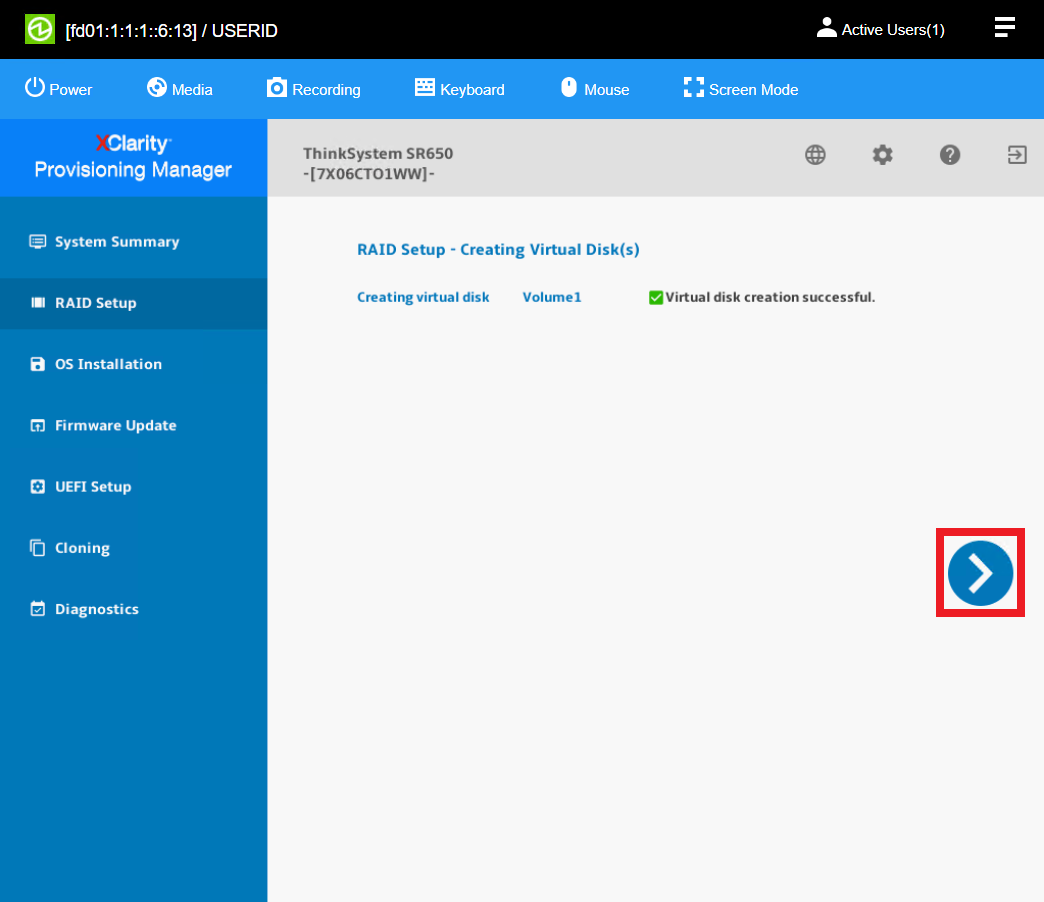
- Whether you choose Simple configuration or Advanced configuration the following window will appear after the RAID setup is confirmed:
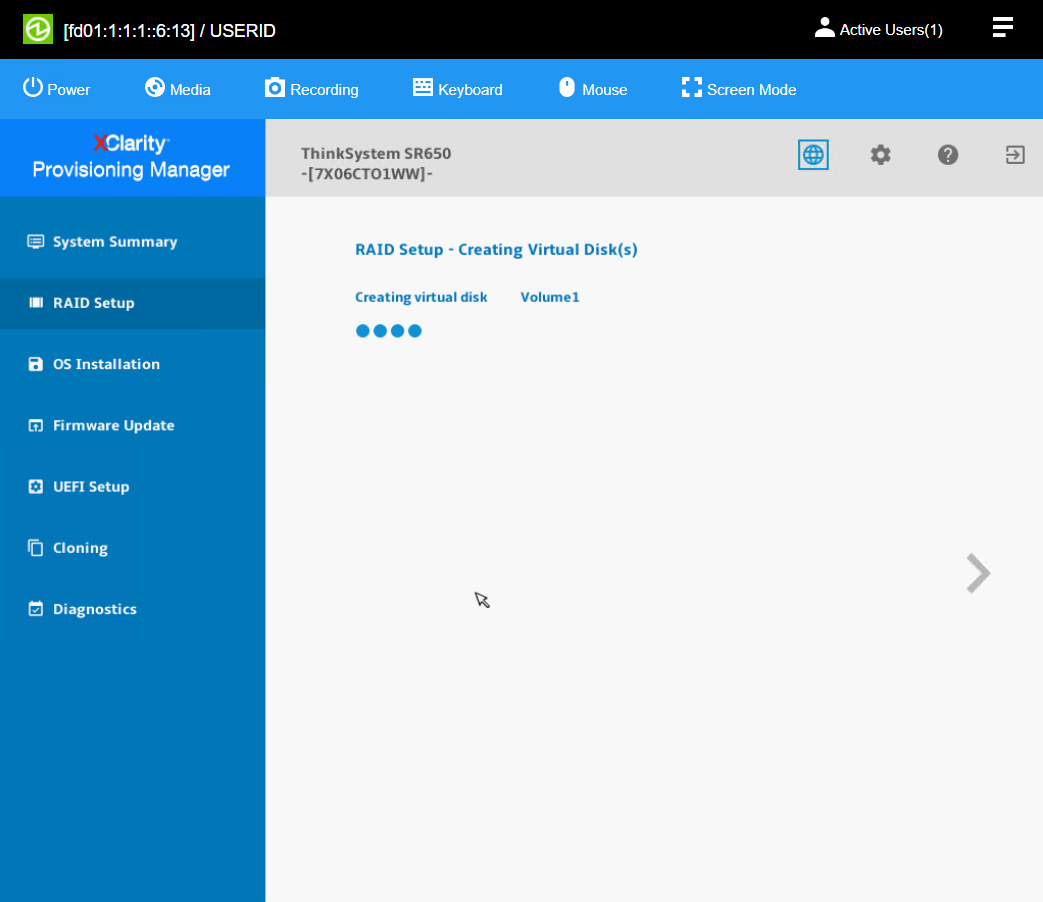
- When finished a green check mark will appear next to the volume saying Virtual disk creation successful.

- Click the > to continue.
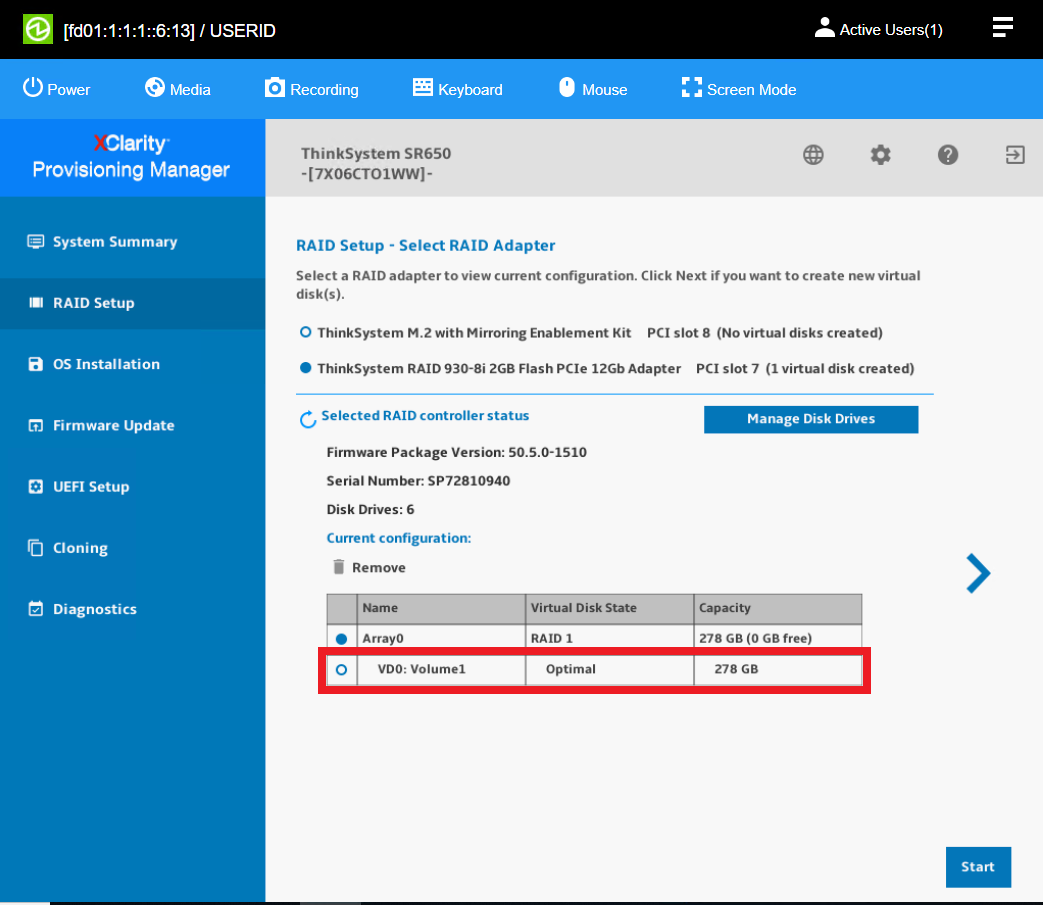
- The original RAID Setup screen will appear with the newly create virtual disk.
Additional Resources
Lenovo RAID Introduction
https://lenovopress.com/lp0578.pdf
Lenovo RAID Management Tools and Resources
https://lenovopress.com/lp0579-lenovo-raid-management-tools-and-resources
YouTube
YouKu
Tidak ada komentar:
Posting Komentar