Jumat, 22 Juli 2022

HARVESTER-add host


Deploy Harvester in Proxmox environment: Part2 ComputeNode and Deploy VMs

From Part1

In the first part of this series, We implemented Harvester’s network requirements and Management node.

Our Goal

In this post, We want to add a compute node to our Harvester cluster. It’s good to mention that the Harvester cluster is a Kubernetes cluster, too. So Compute nodes in the Harvester cluster are the same as Worker nodes in the Kubernetes cluster and are responsible for running workloads.

After deploying our first Compute node, we start to deploy VMs. First, I deploy a VM via GUI, and as I’m interested in Infrastructure as Code (IaC) and can’t ignore it, I use Terraform to deploy another VM.

Compute Node

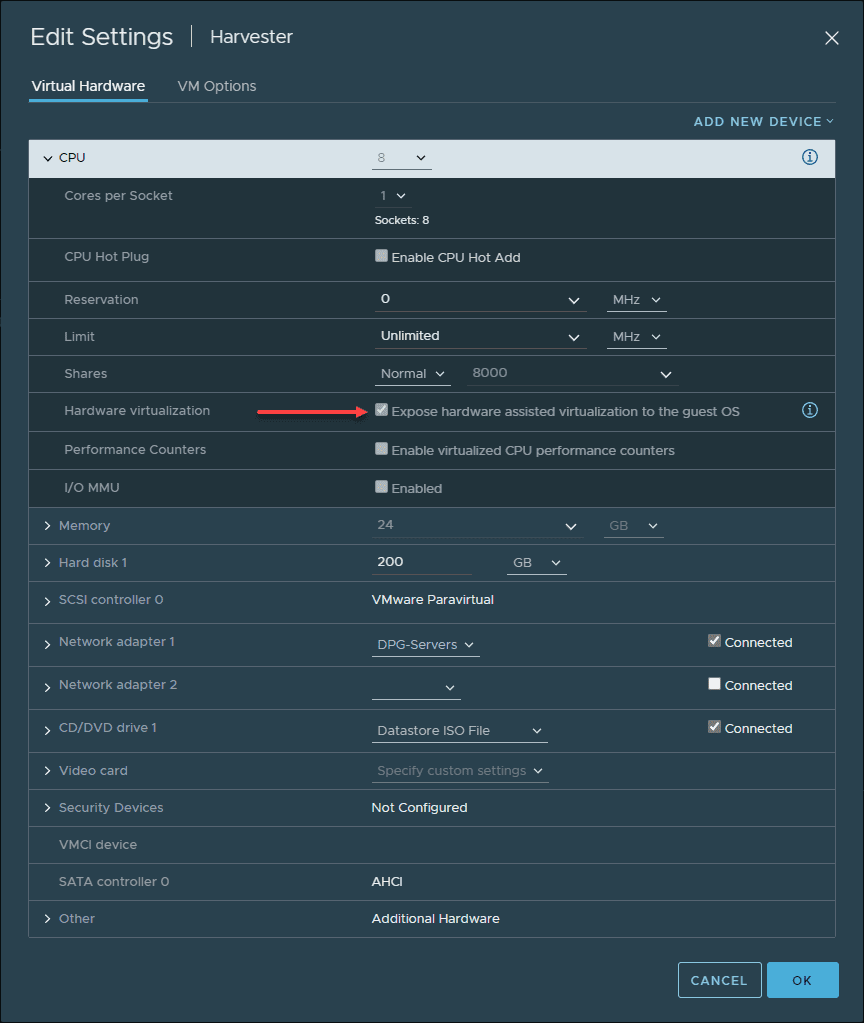
To install the compute nodes, we need to do the exact procedures that we did for the Management node. So we need a VM in our Proxmox with these resources:

  • 5 CPU cores
  • 12 GB RAM
  • 2 Network Interface for the Management network and the VLAN network
  • 120GB Disk

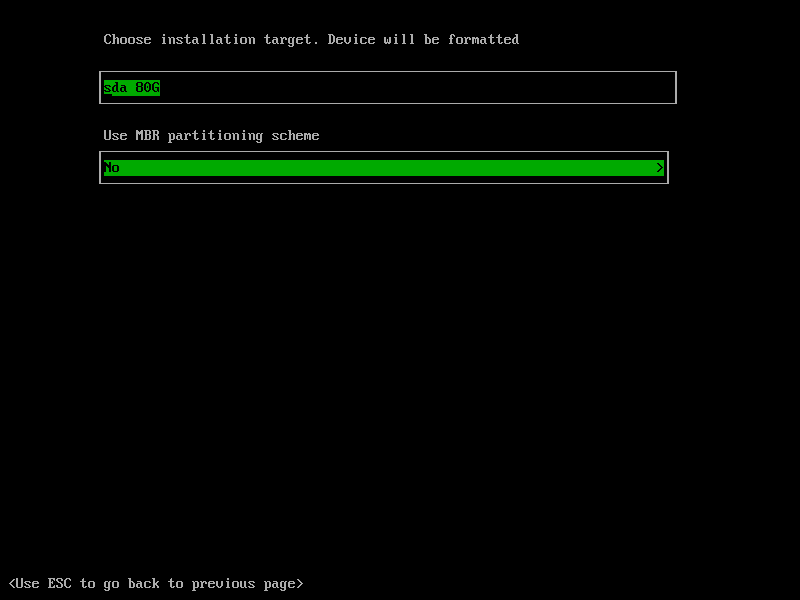
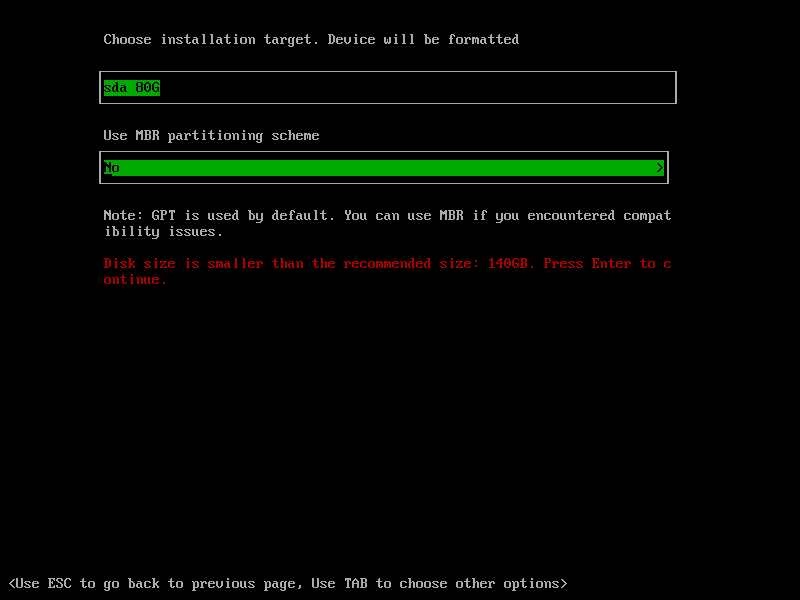
Let’s start installing our first compute node. The installation process is the same as the Management node, but we should select “Join an existing Harvester cluster” in the first step instead of creating a new cluster :

Join Computer node to the Cluster

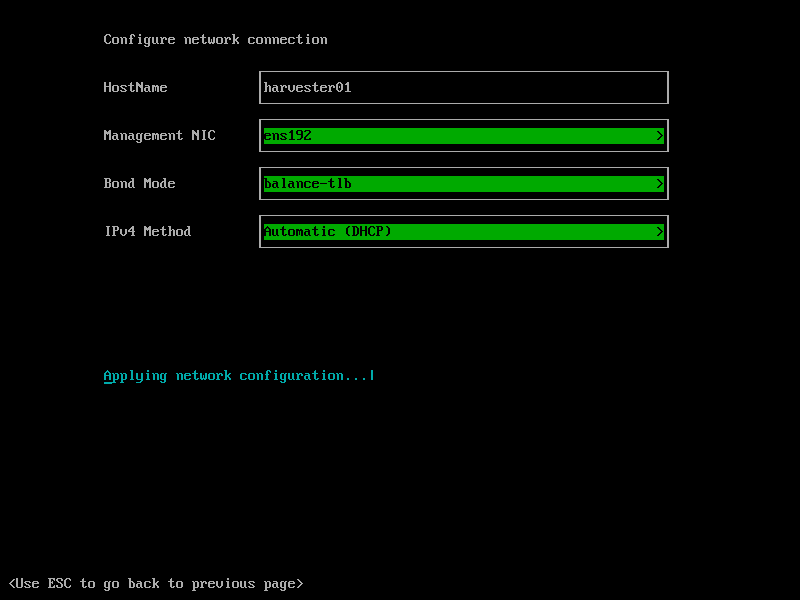
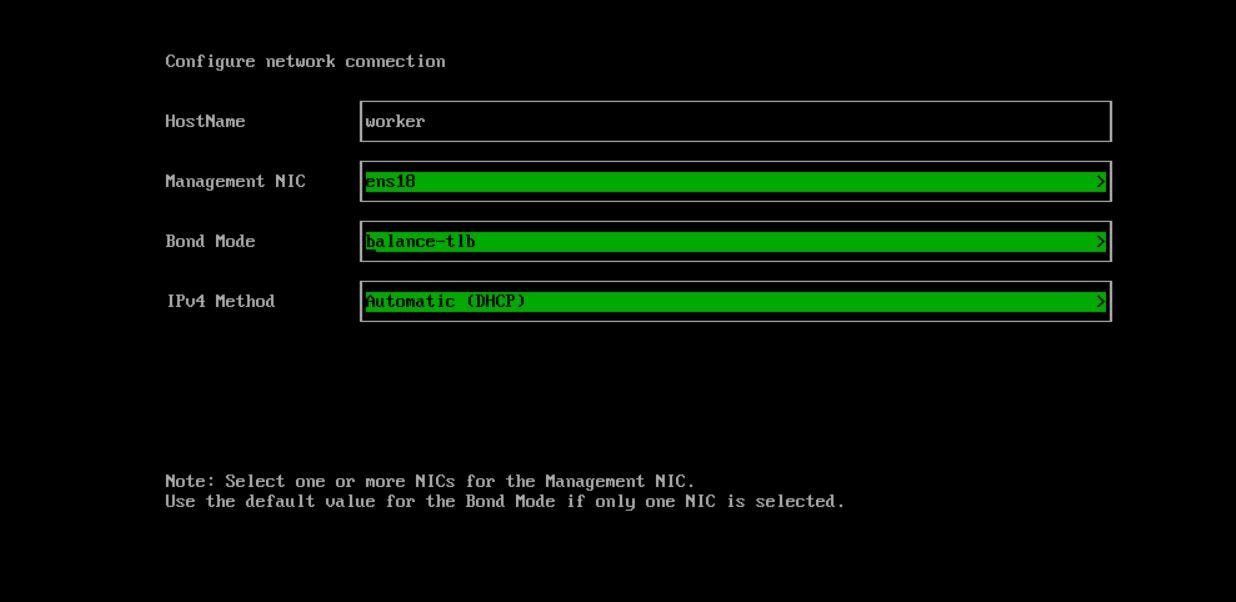
In the next step, We select ‘worker’ as Hostname. The first network interface should be in the Management network. The ‘Bond Mode’ shouldn’t be changed, and the IP assignment method can be DHCP or static, but here we select DHCP.

Networking

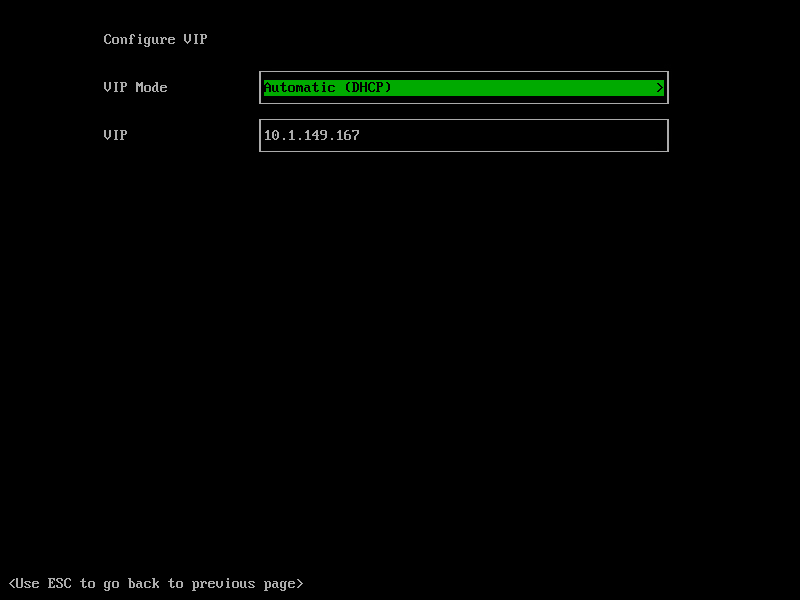
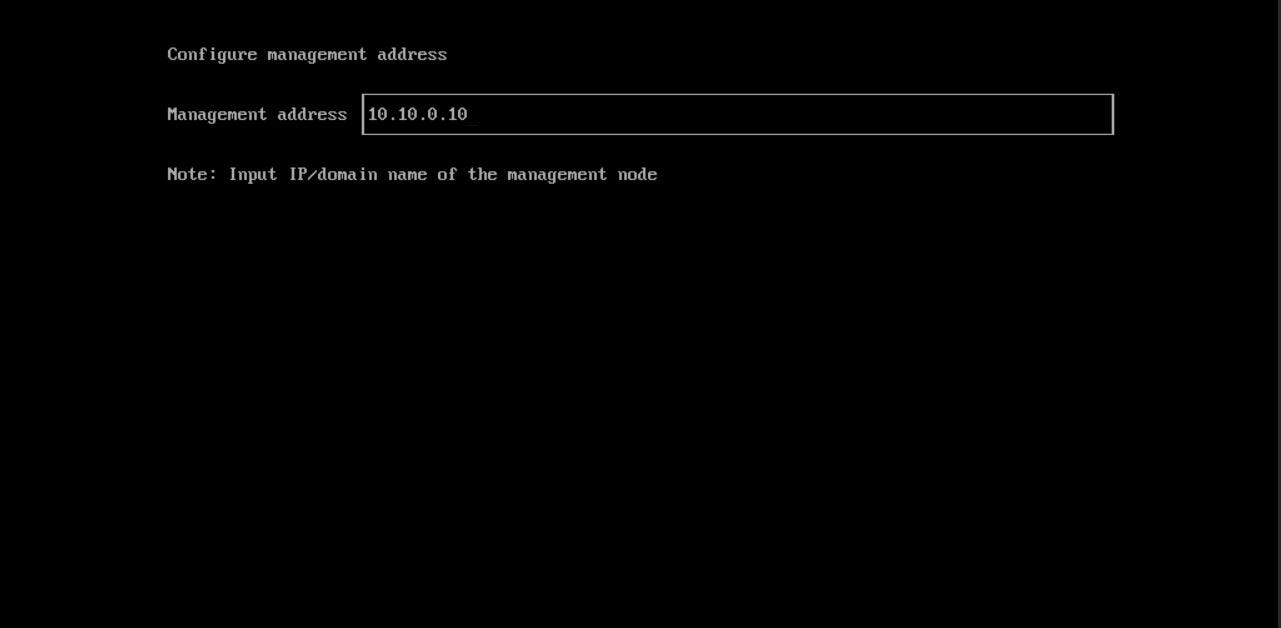
In the next step, We should set the ‘Management address,’ which is the Virtual IP that we specified in the Management Node installation (Part1). Compute nodes use this address to access the Cluster, and we can consider it a Virtual IP of the API Servers.

Set Management Address

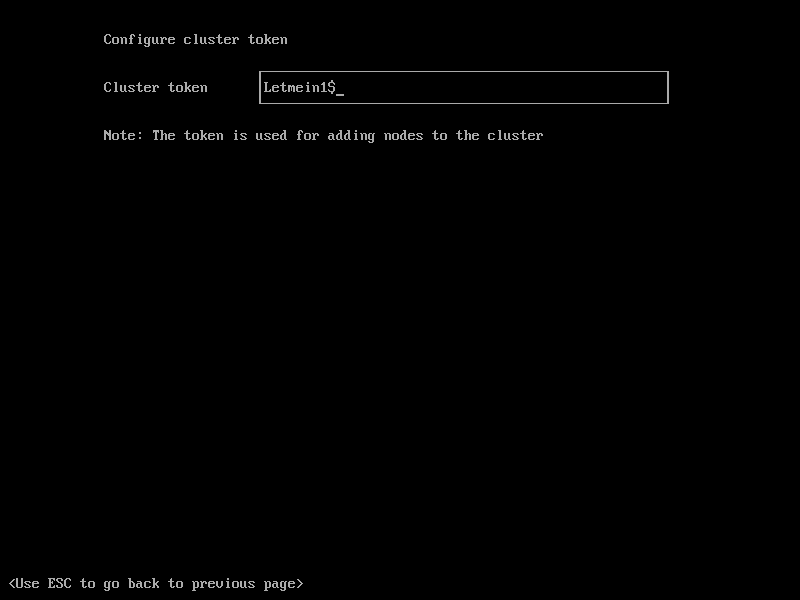
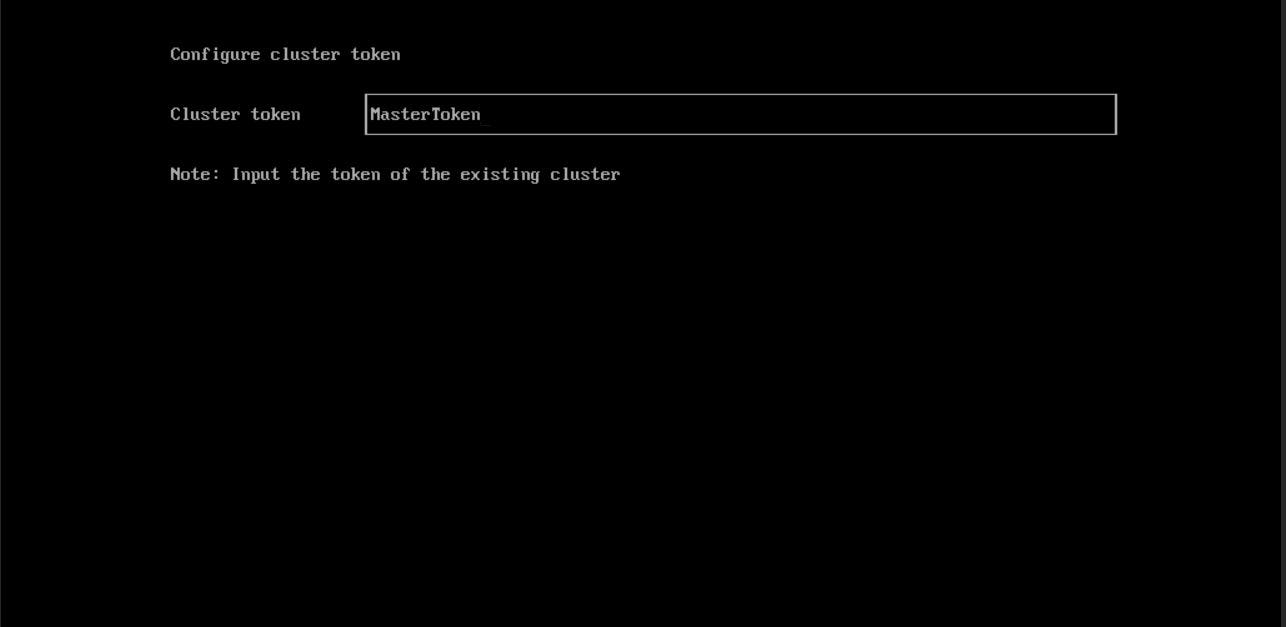
Here we should specify the ‘Cluster Token’ that we set in the Management node installation (Part1).

Set Cluster joining token

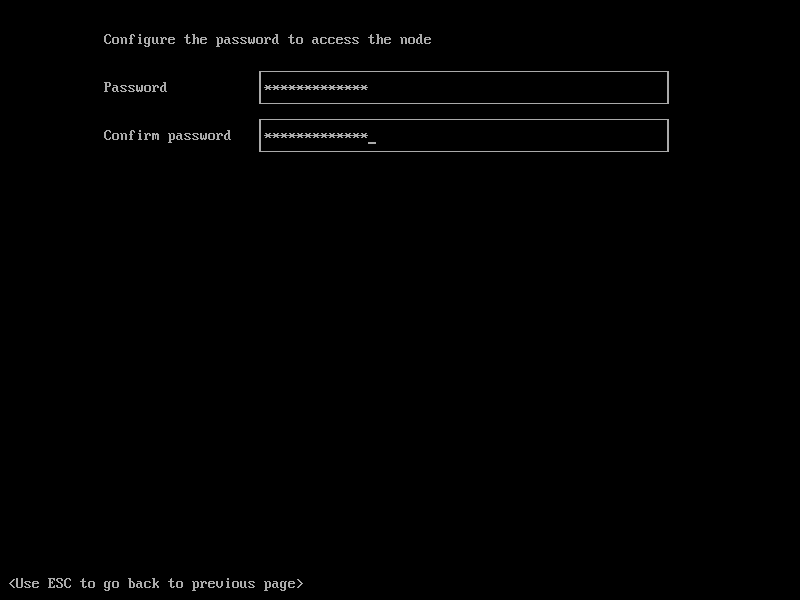
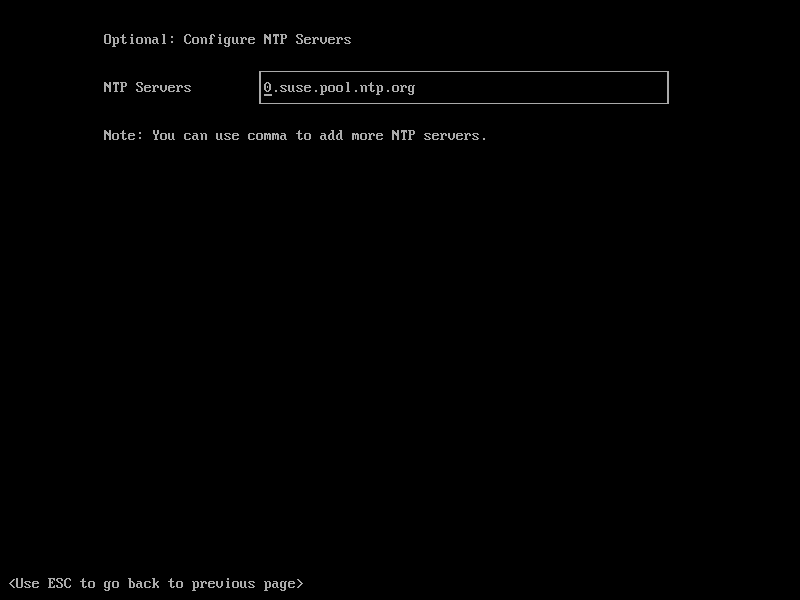
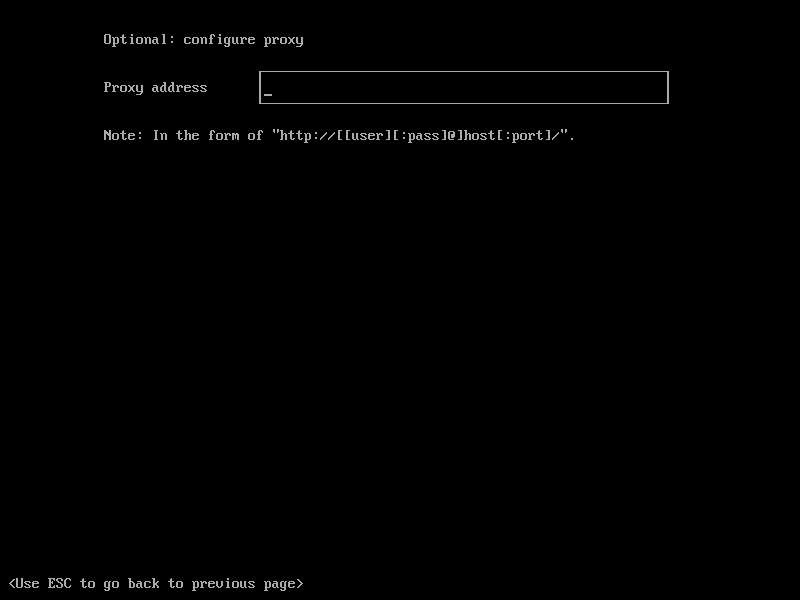
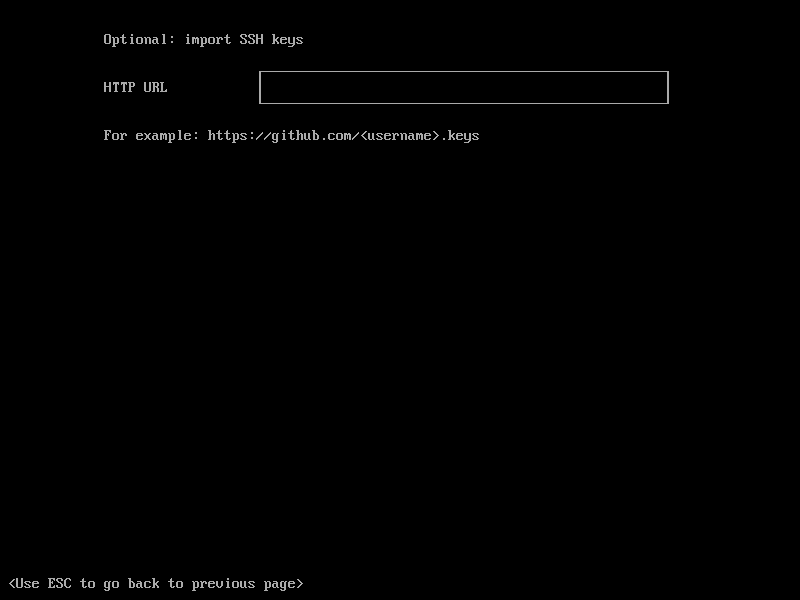
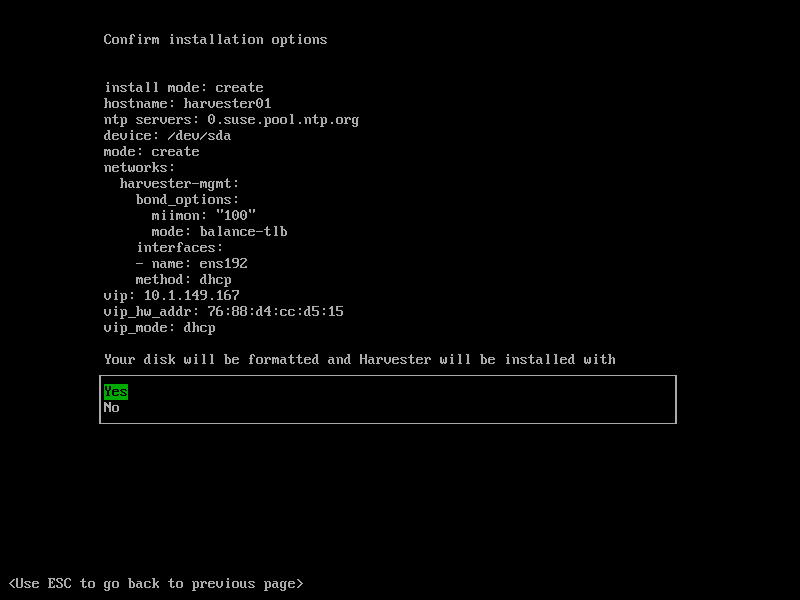
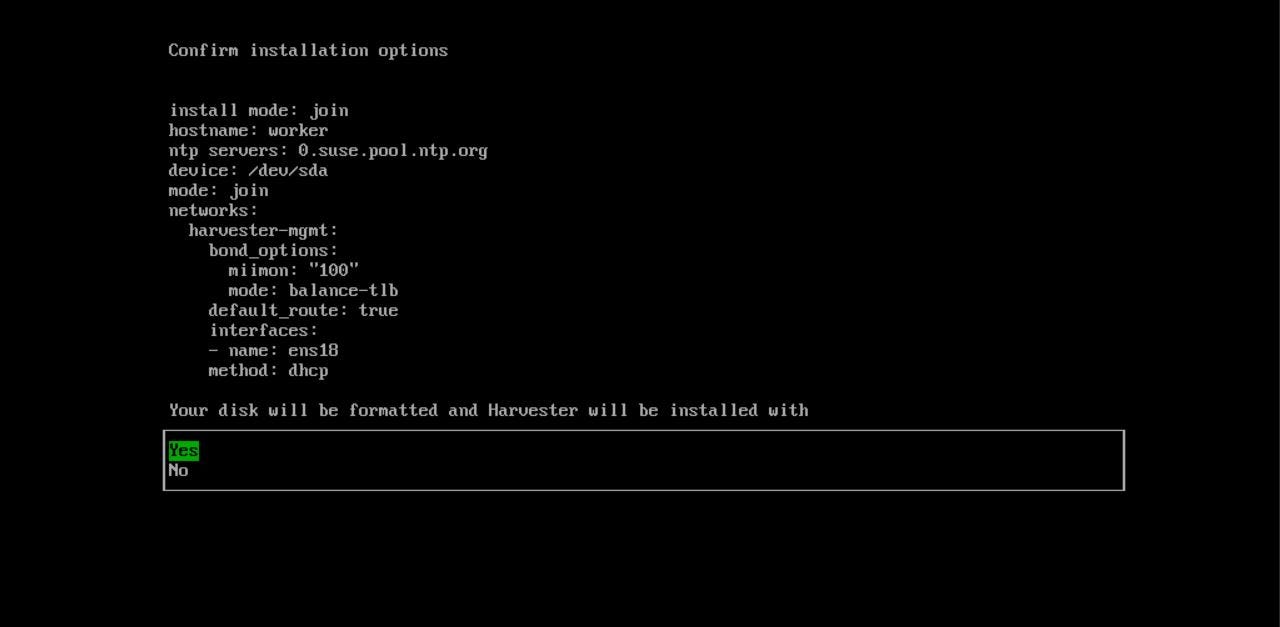
The others steps are the same as the Management node installation, and we skip them.

Confirm and start the installation

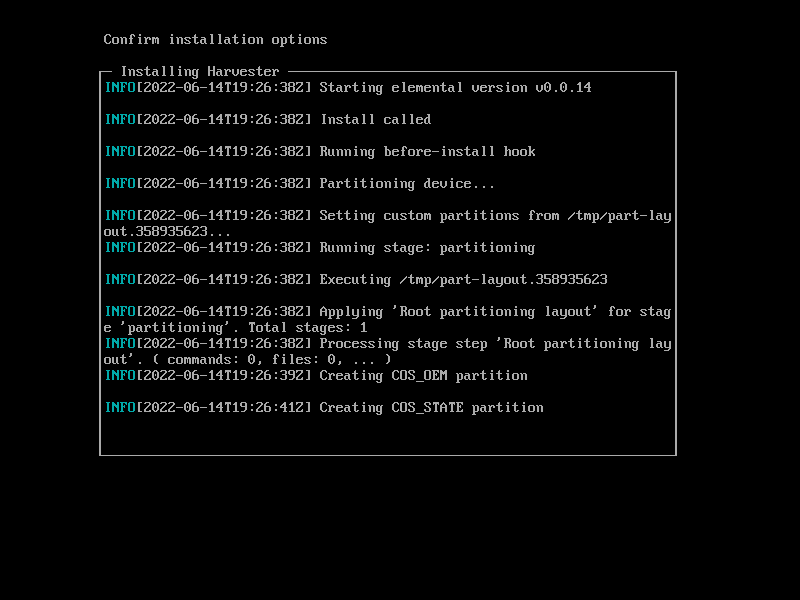
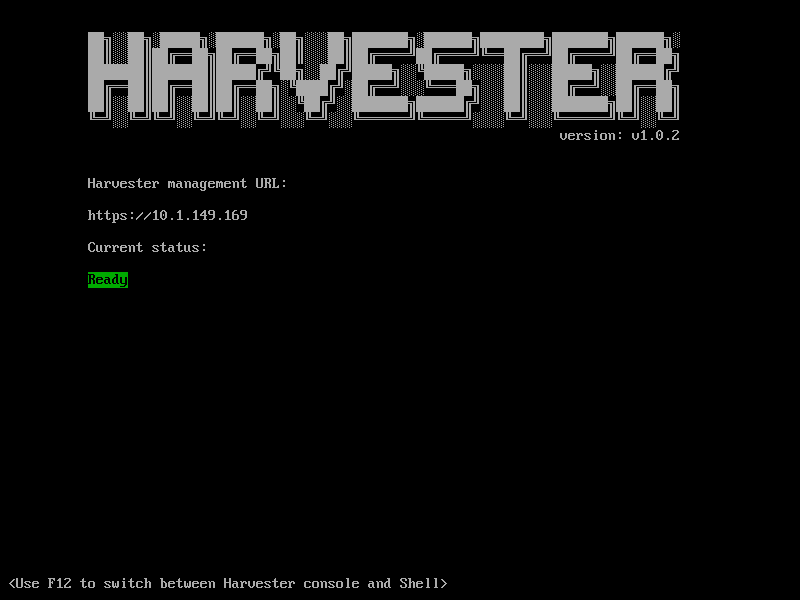
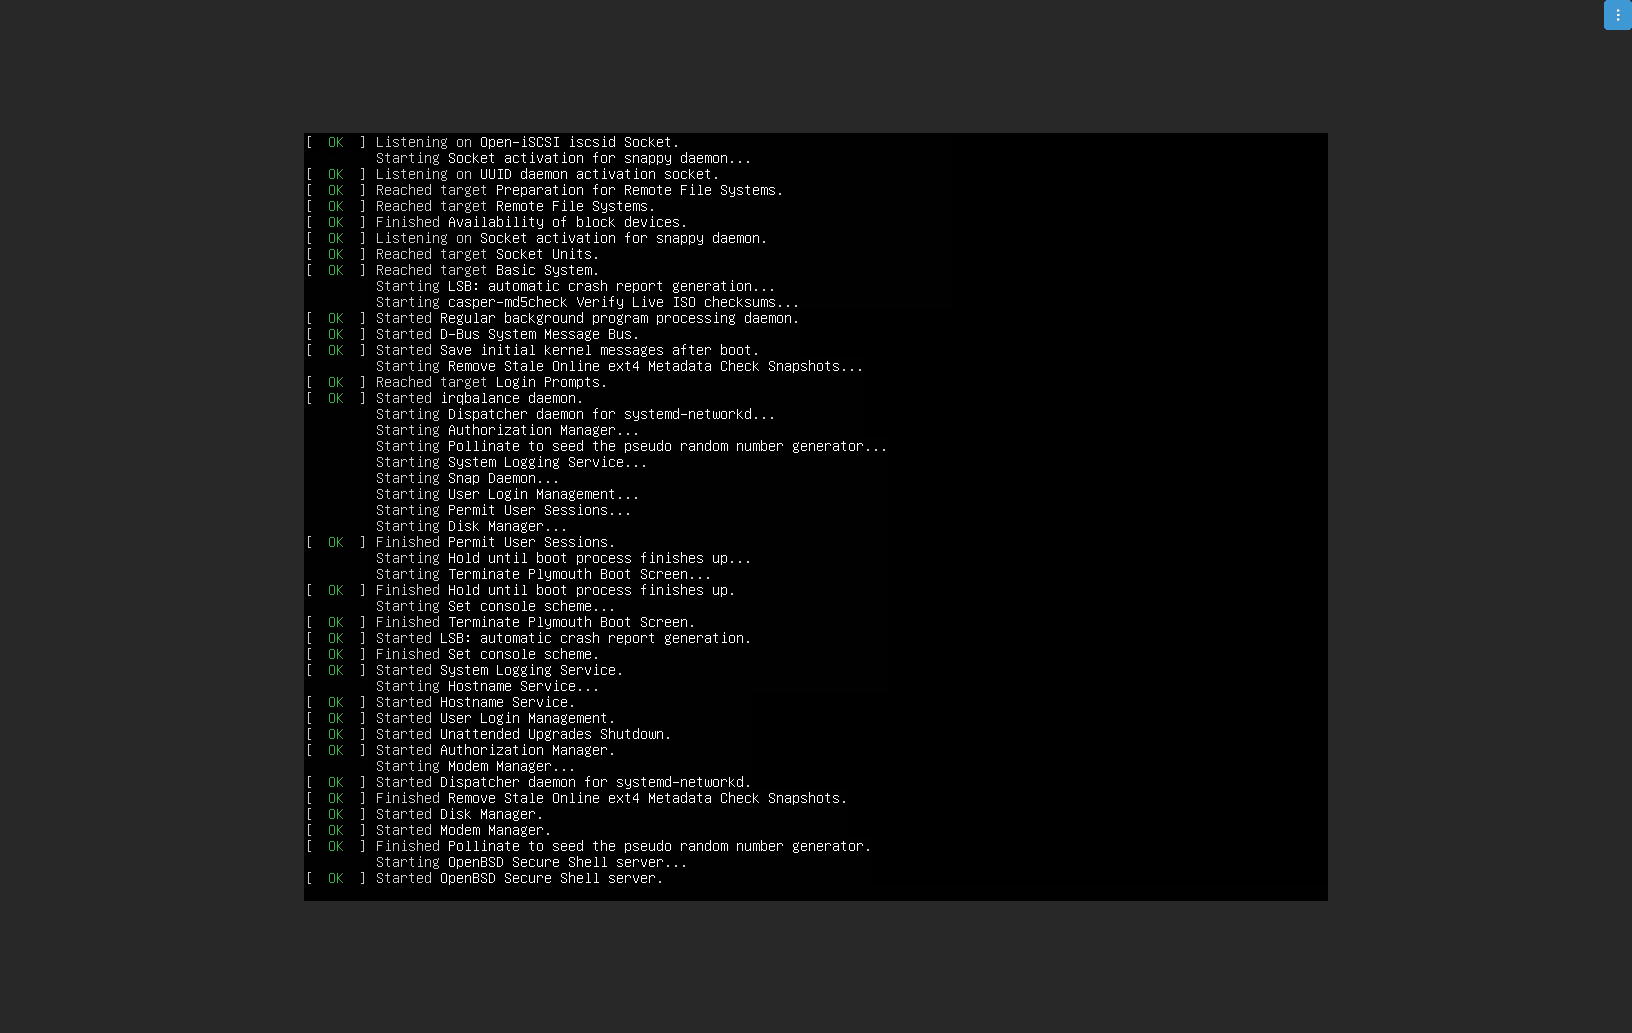
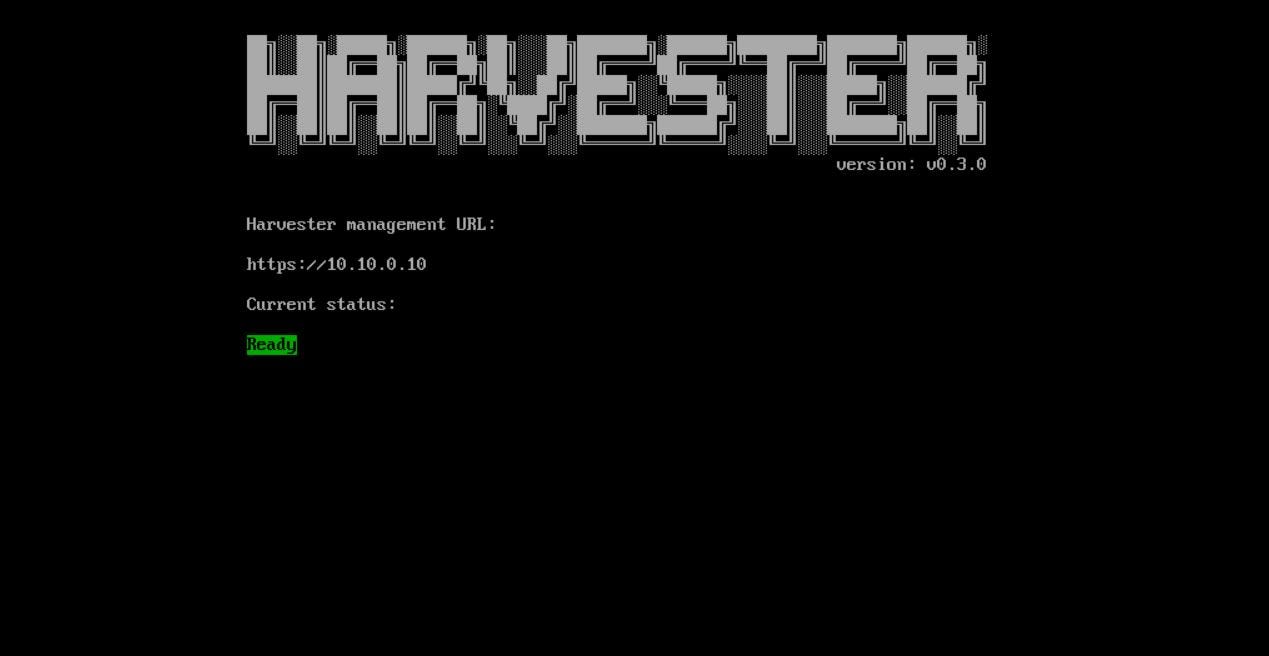
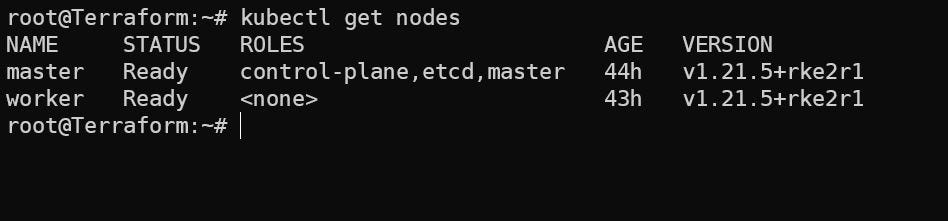
The installation takes about 10 minutes, and the node will be restarted. Then node starts joining the Cluster that takes about 5 minutes, and if everything goes fine, we should see this page with the ‘Ready’ status:

Node status

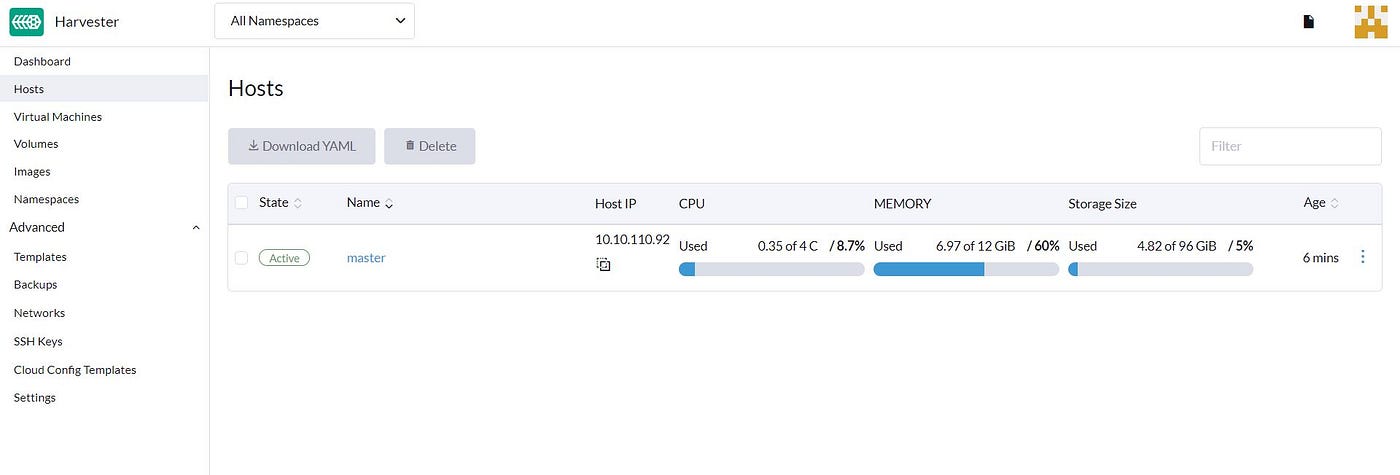
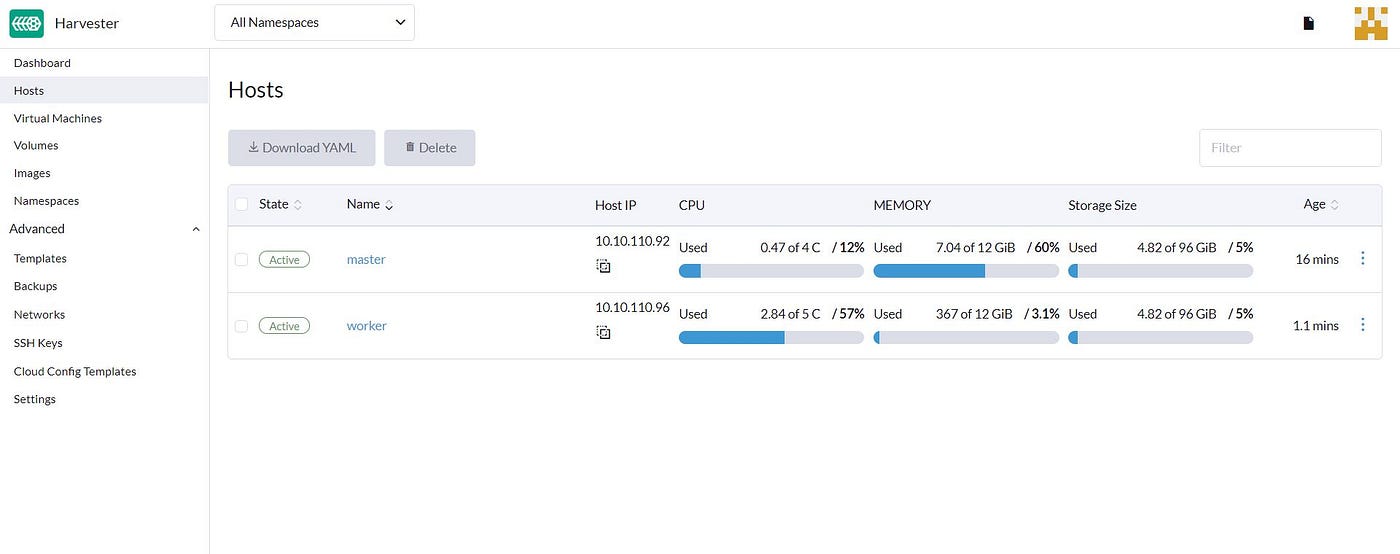
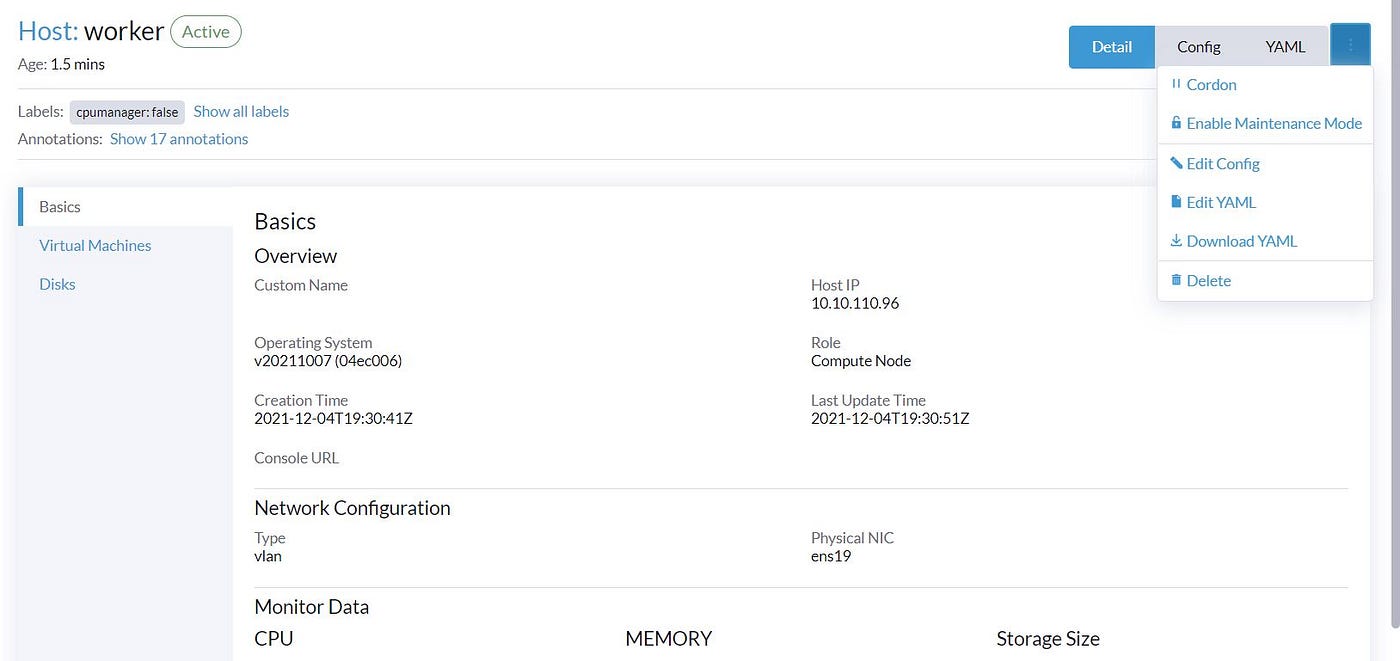
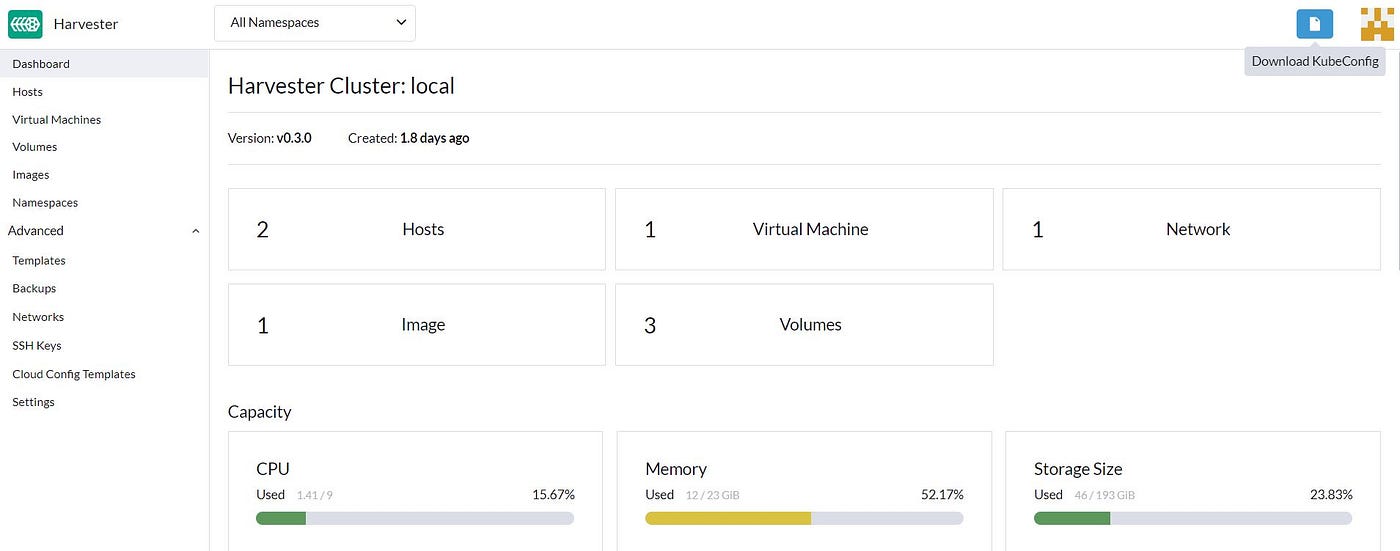
If we open the Harvester dashboard and go to the Host section, we can find our Compute node is ready and there:

Hosts

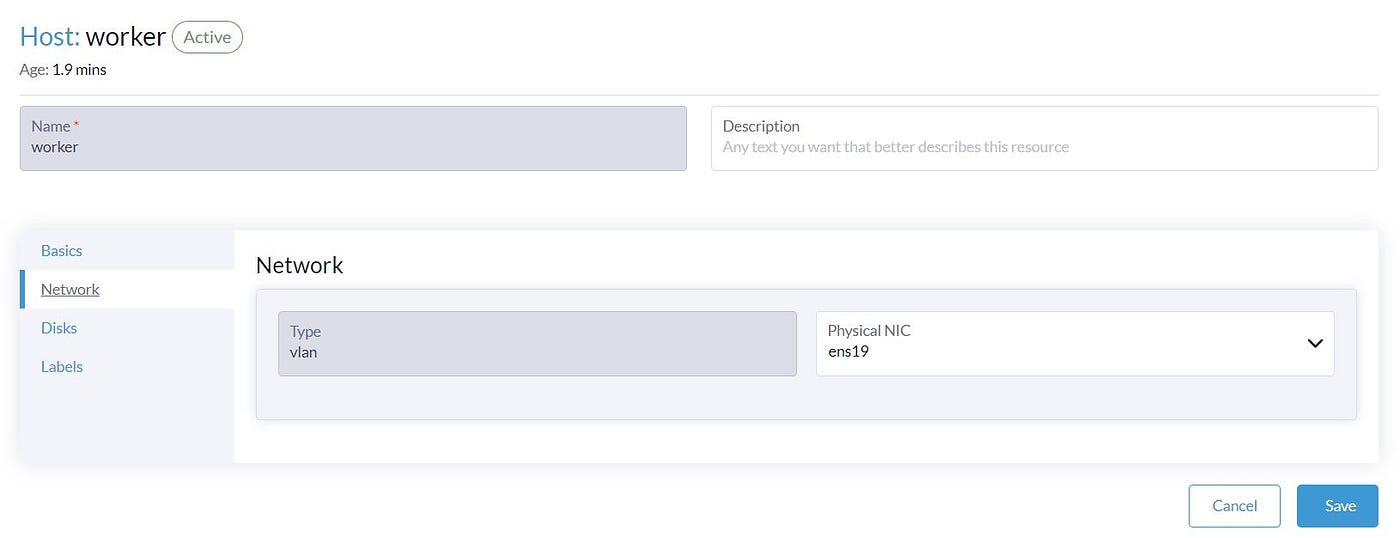
In Part1, We set the second Network interface ‘ens19’ as the default Network interface name for the VLAN network. As we use Ubuntu for both Compute and management nodes and have only two Network interfaces, we don’t need to take care of the Network interface for the VLAN network. But if you have another Network interface on the Compute node which is different than the default one, you should click on the host and ‘Edit Config’ and update this Network interface.

Change the Network interface for the VLAN network

Our compute node is ready, and we can move to the VM deployment.

VM Deploy via Dashboard

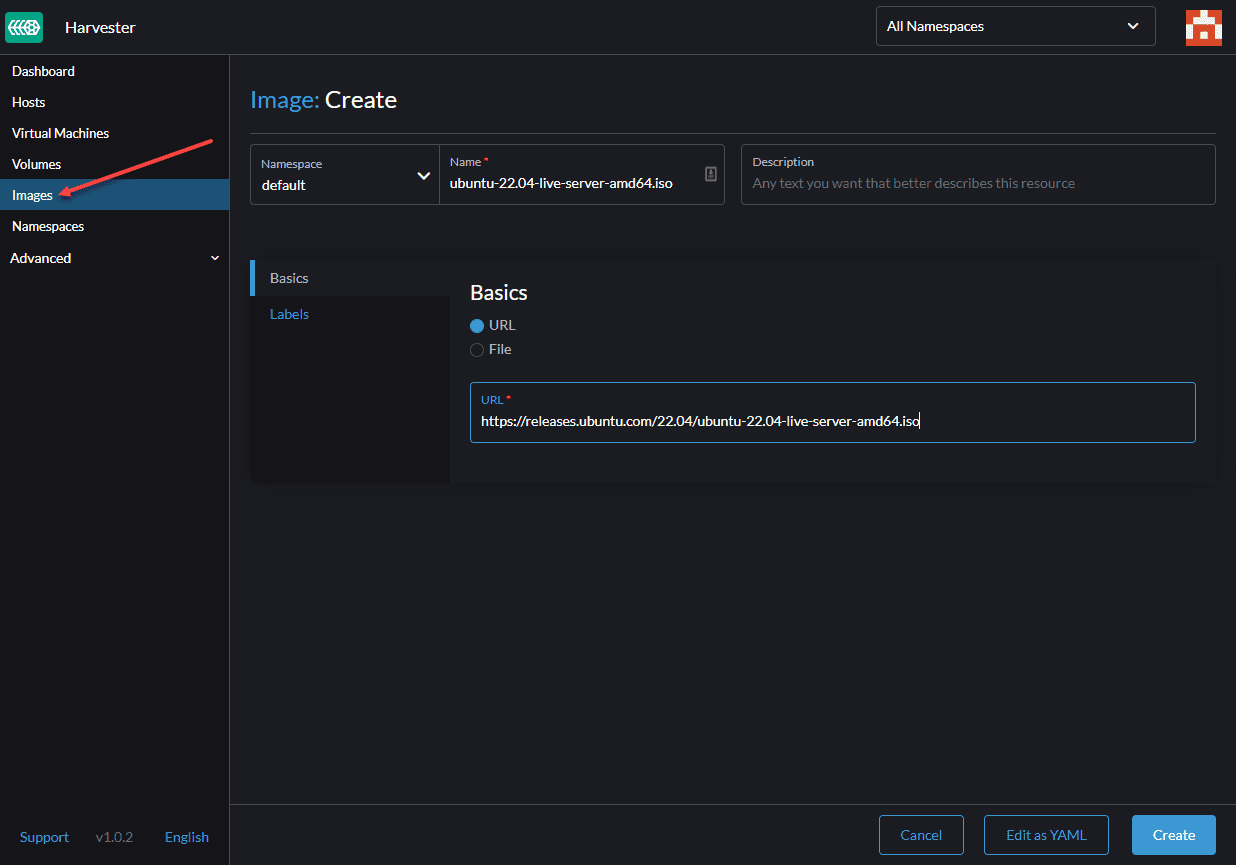
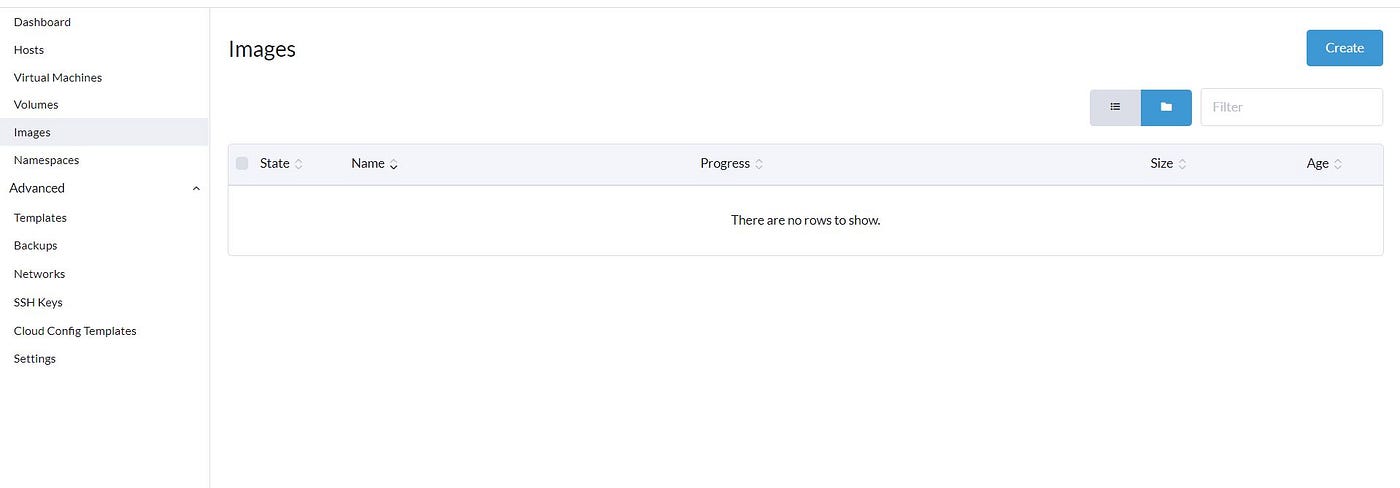
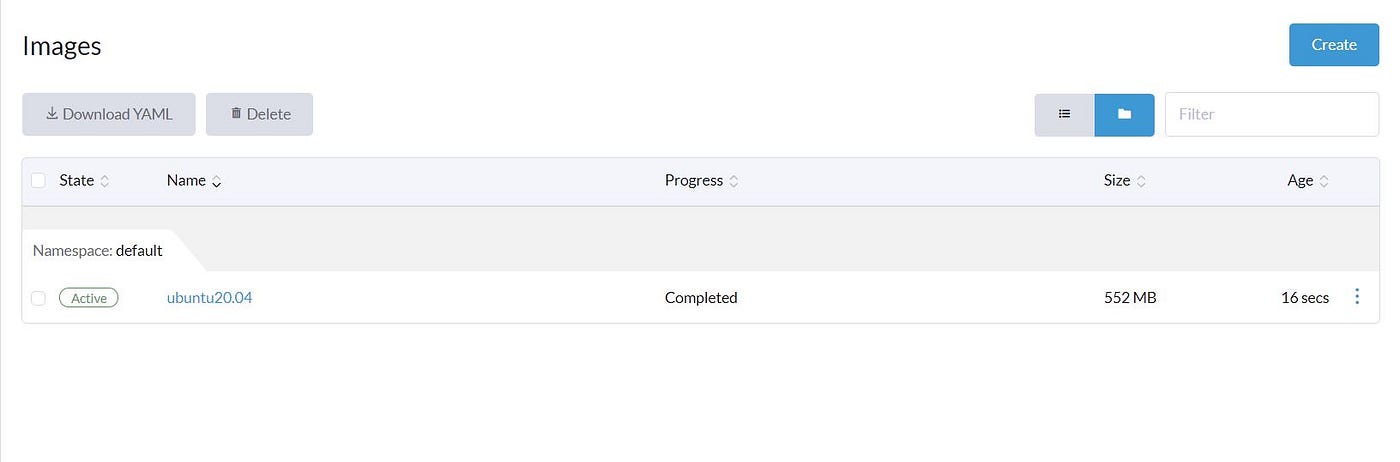
It’s obvious that we need an Image to Deploy VM. If we go to the ‘Image’ section, we can confirm there are no images in the Harvester cluster by default.

Image in the Cluster by default

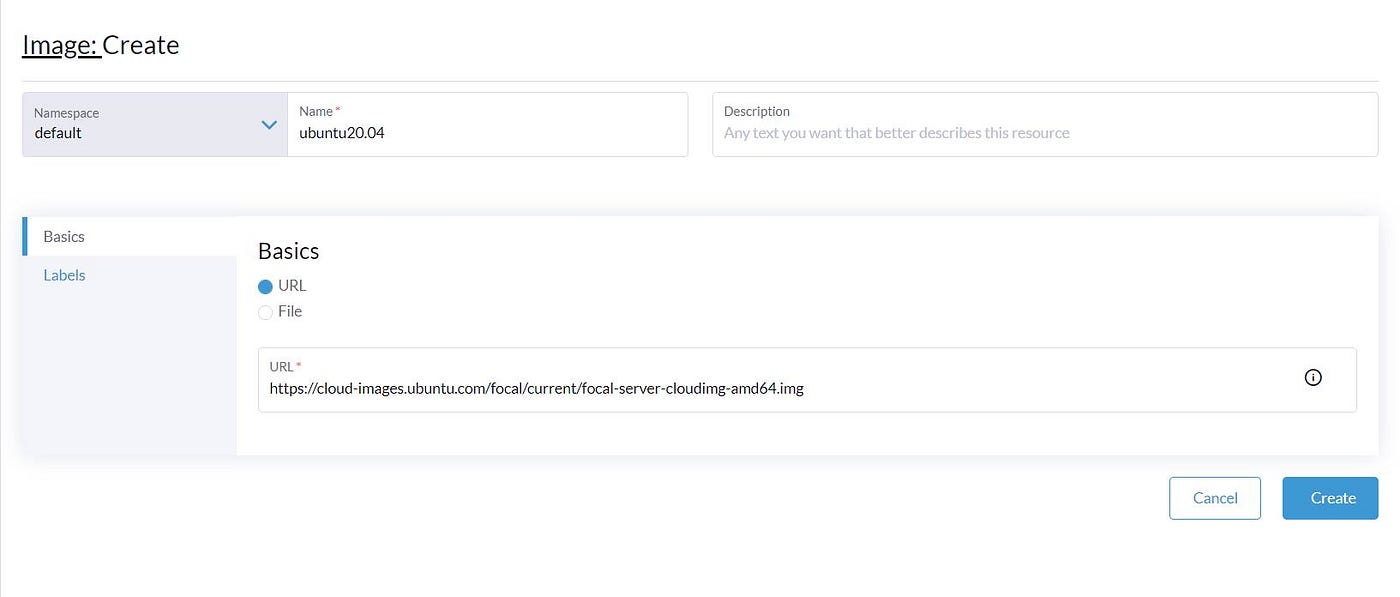
If we click on the ‘Create,’ we have two options to import images into the Cluster. Upload from our Computer or download from an URL. The image format can be qcow2, ISO, and img. We select to download the Ubuntu cloud image from the URL in our scenario.

Download Ubuntu cloud image

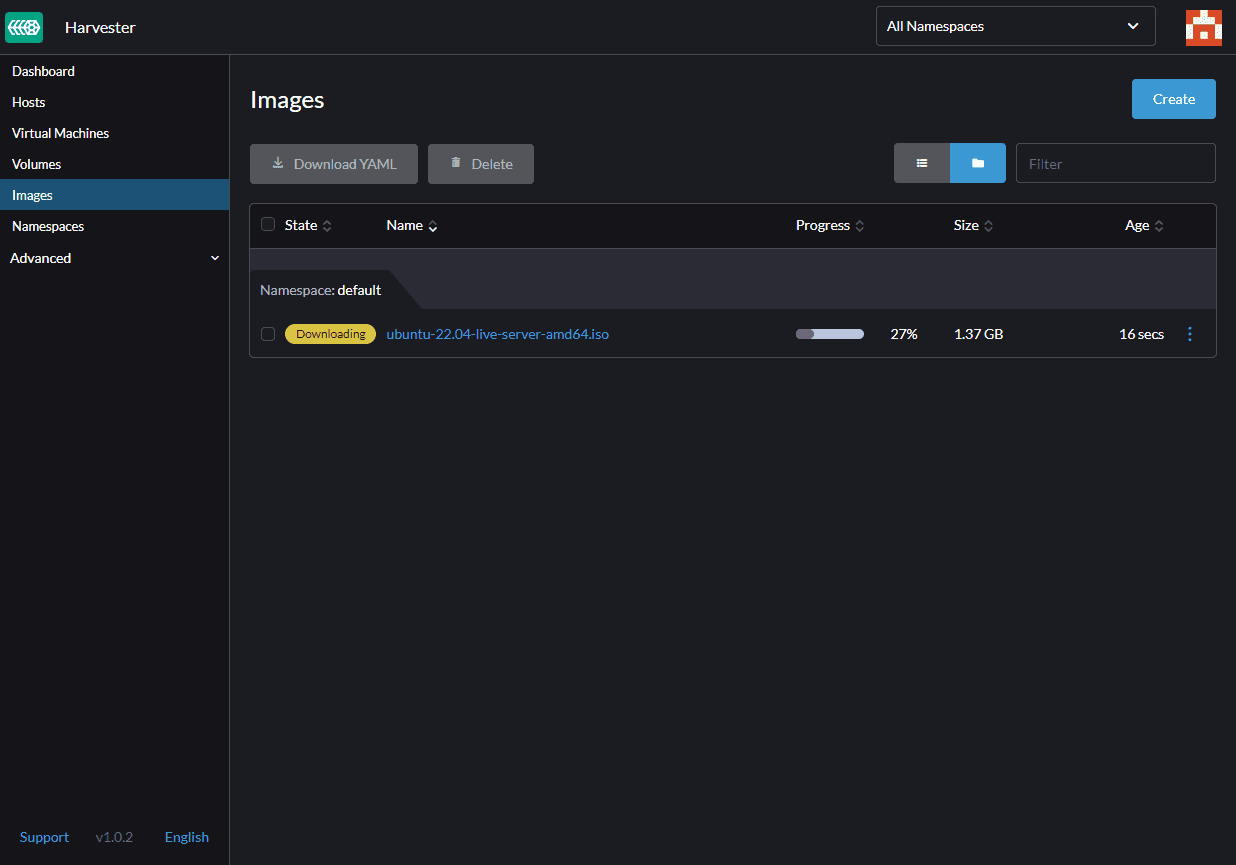
After download, we can see that the image is Active, which we can use for creating our first VM.

Active Images

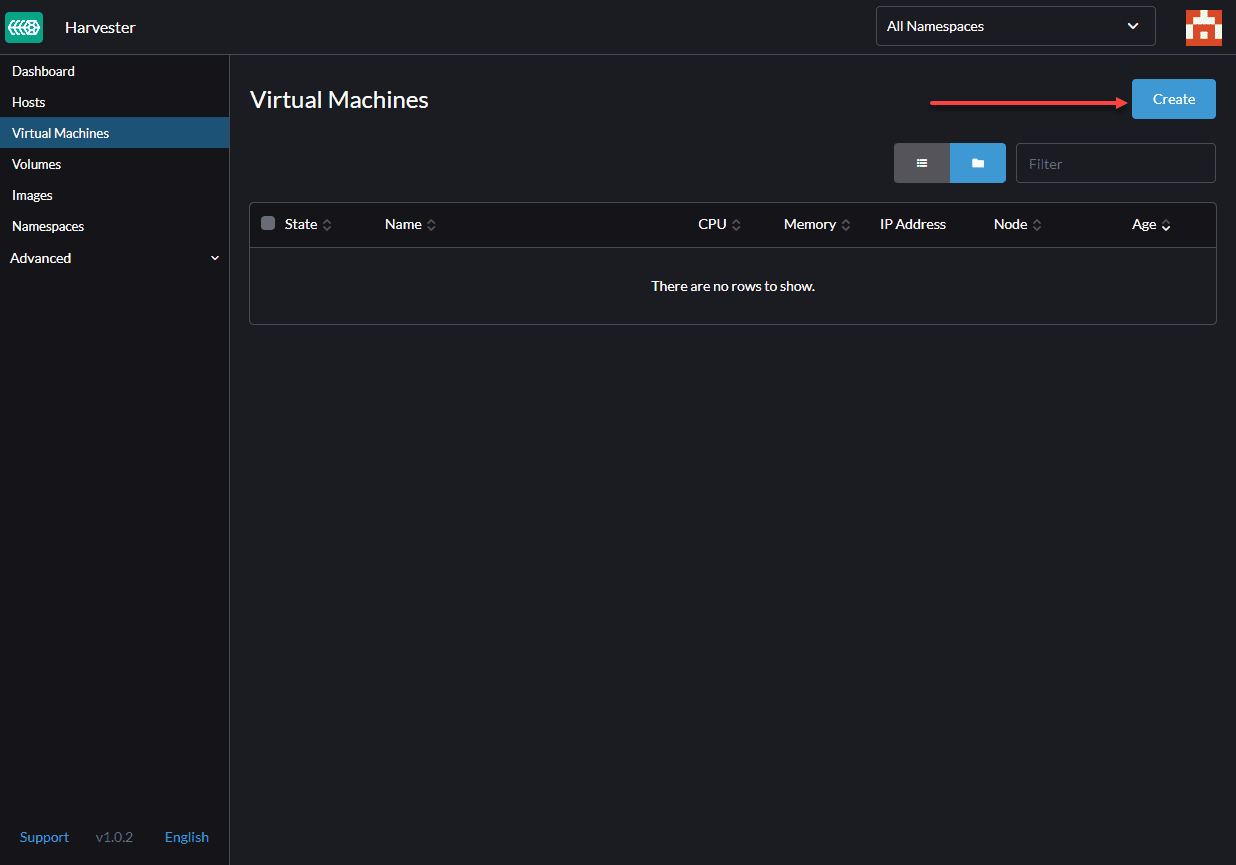
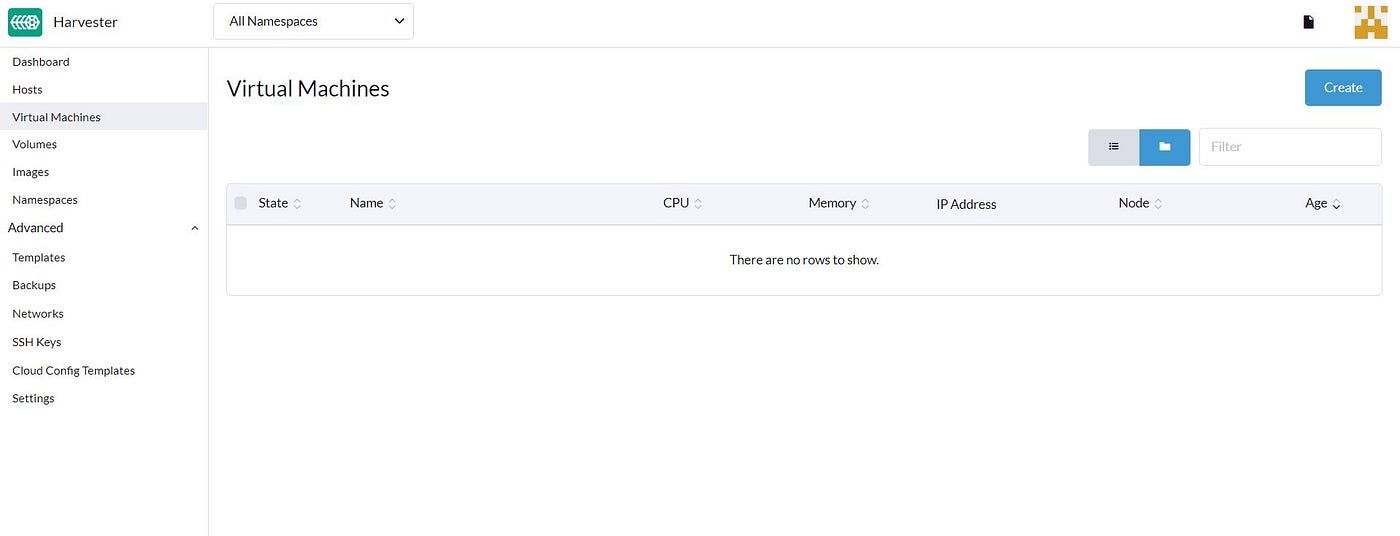
Now we have an image so that we can go to the ‘Virtual Machines’ section, and as can be seen, we don’t have any VM, so let’s click on the create:

Virtual Machines

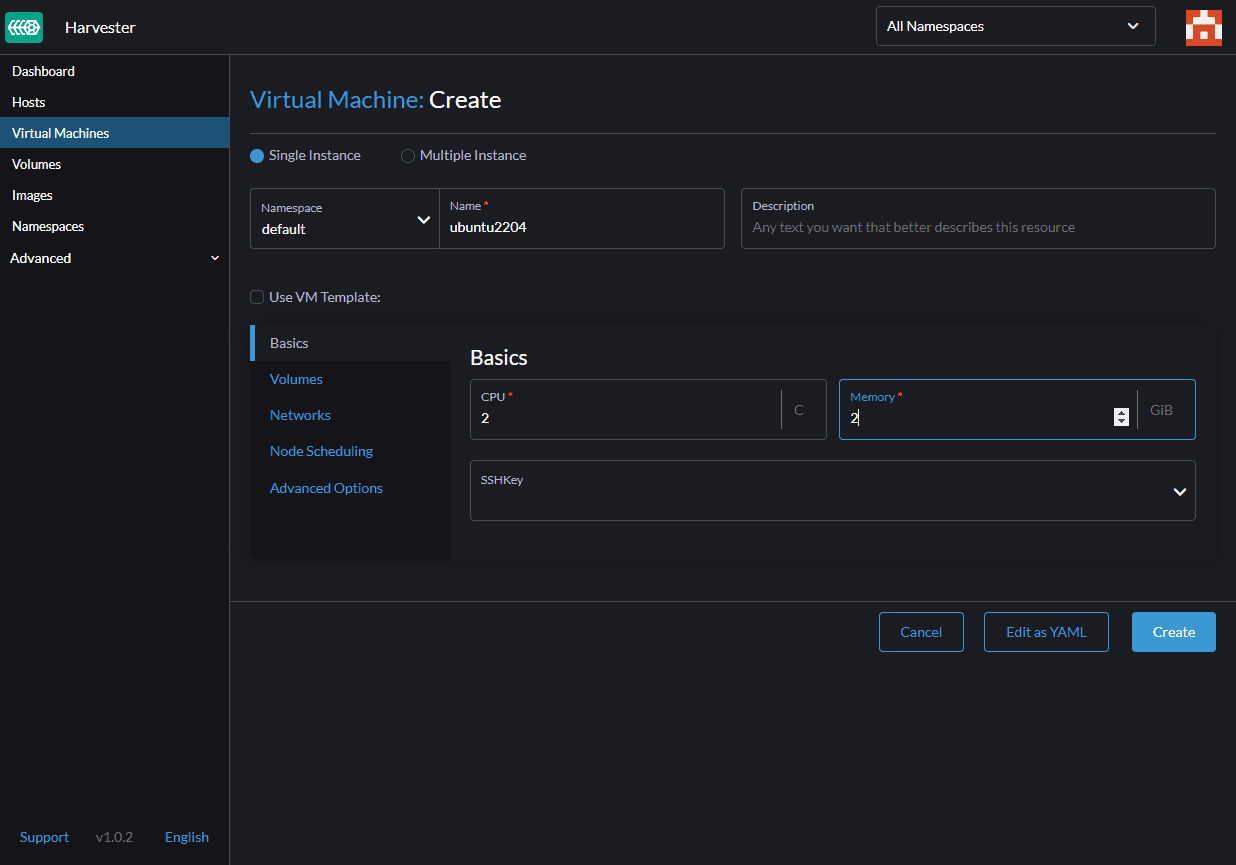
In the first section, we need to specify CPU, RAM, and VM’s name.
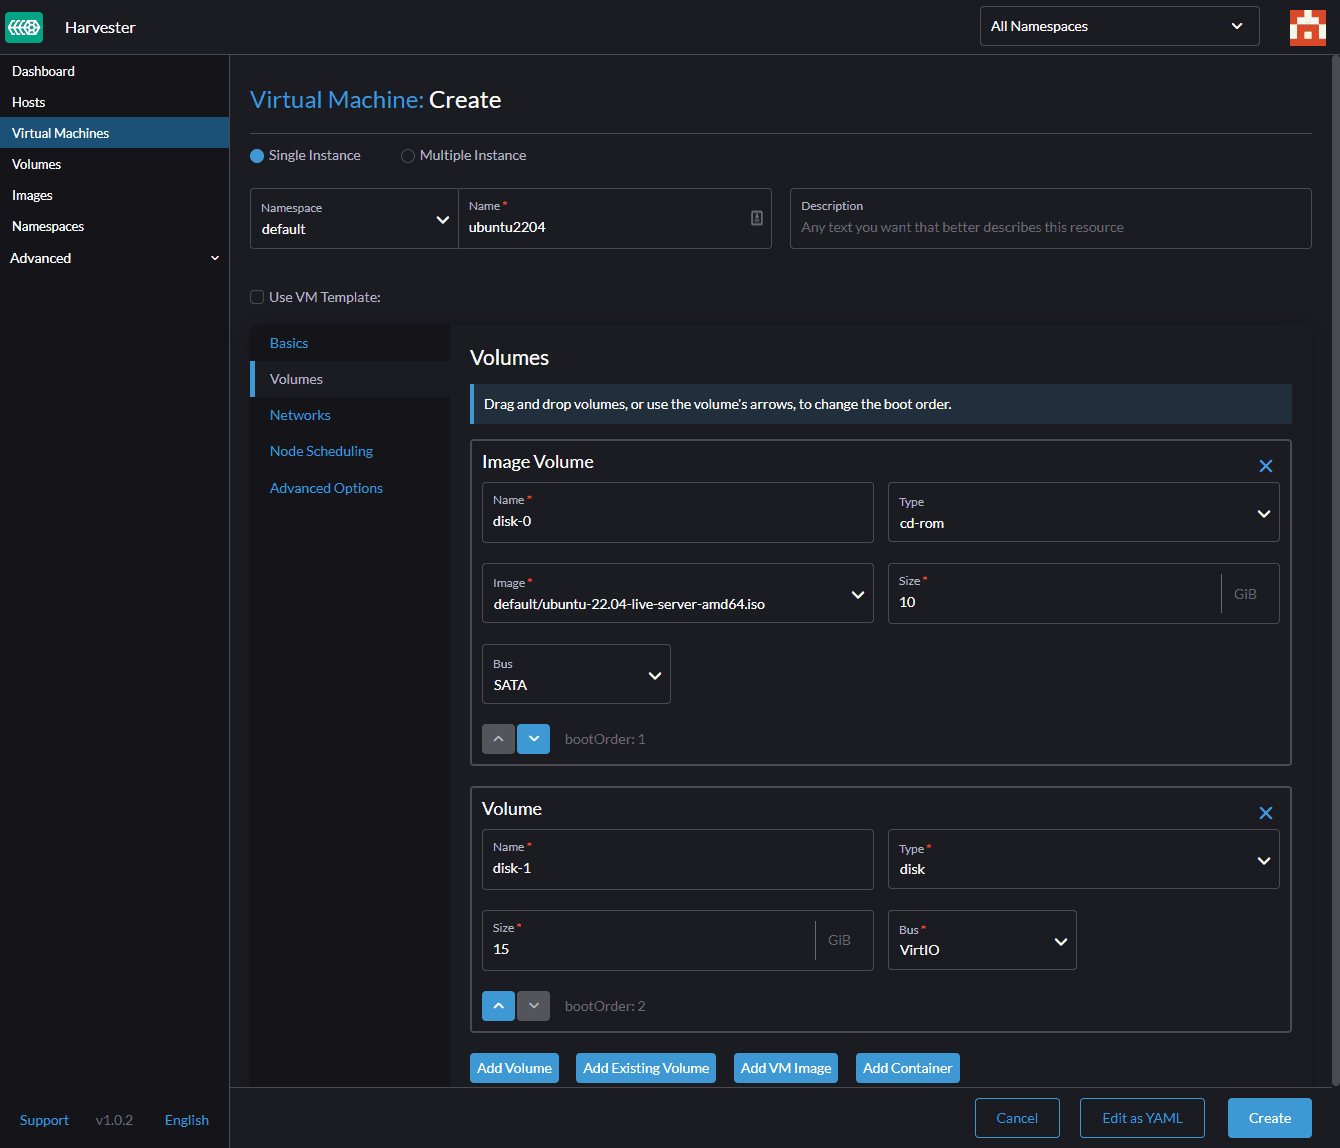
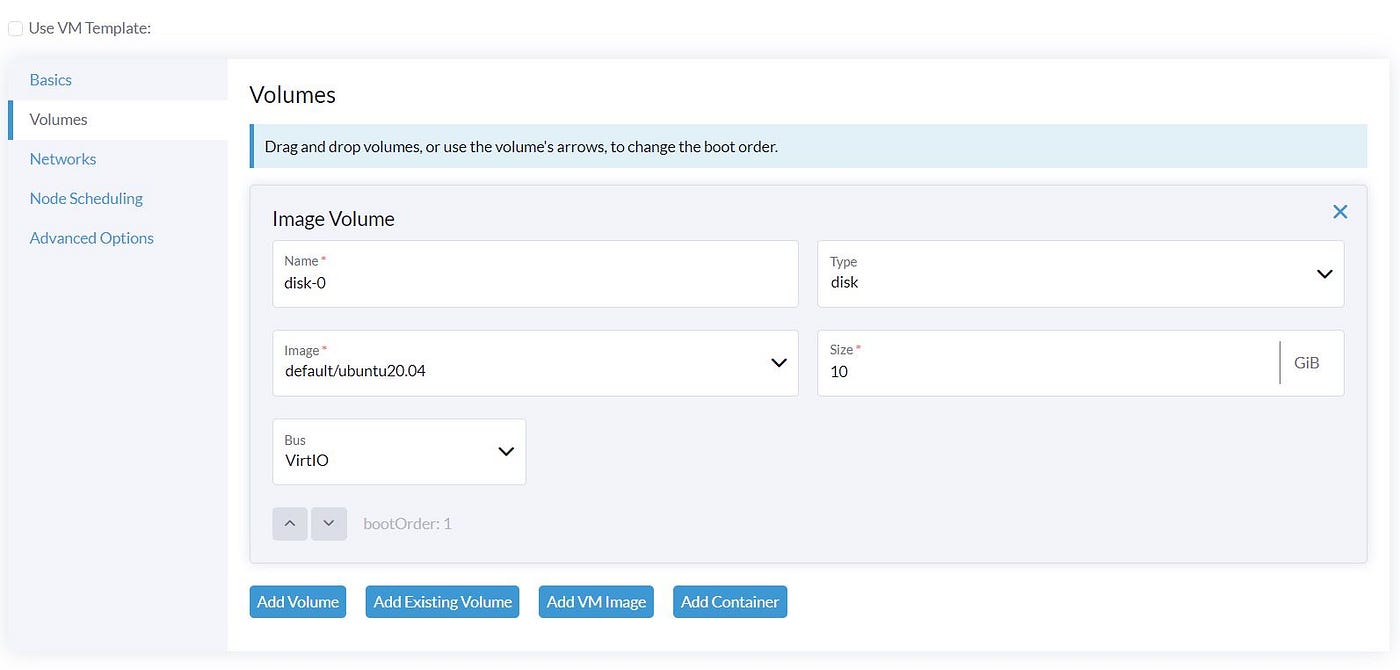
VM Basic configuraion

Let’s move to the ‘Volume section. Here we Select our Ubuntu image and the disk size.

VM Disk

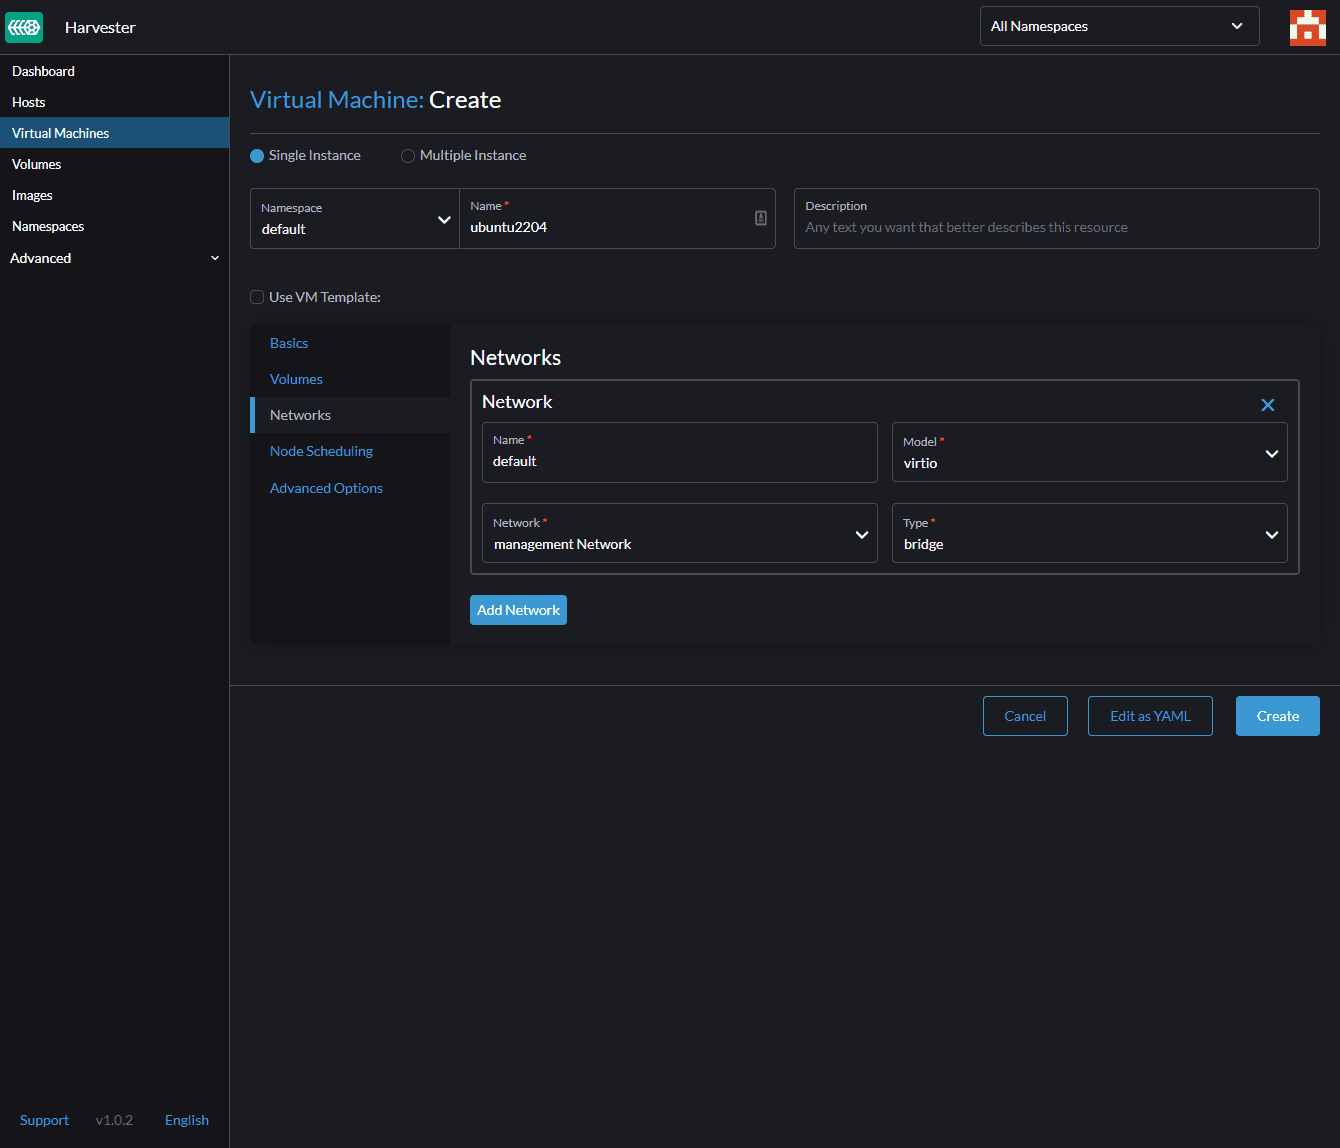
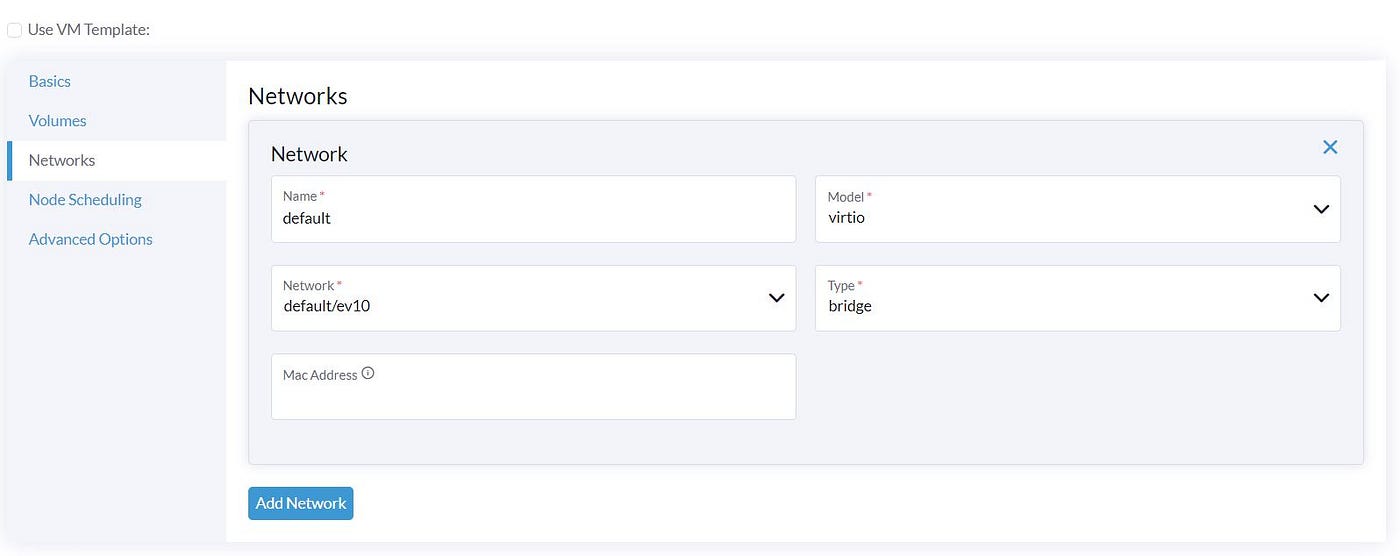
We select our VLAN Network ‘ev10’ in the ‘Network’ section.

VM Network

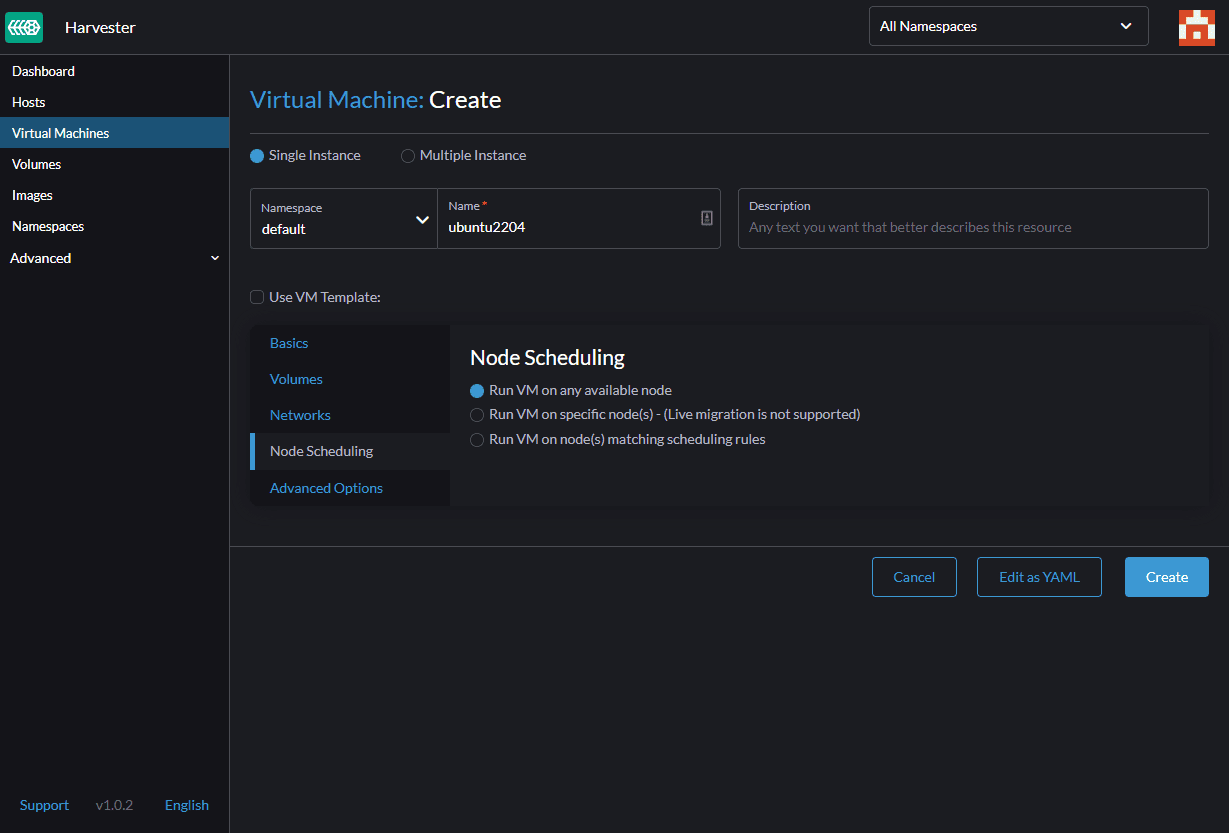
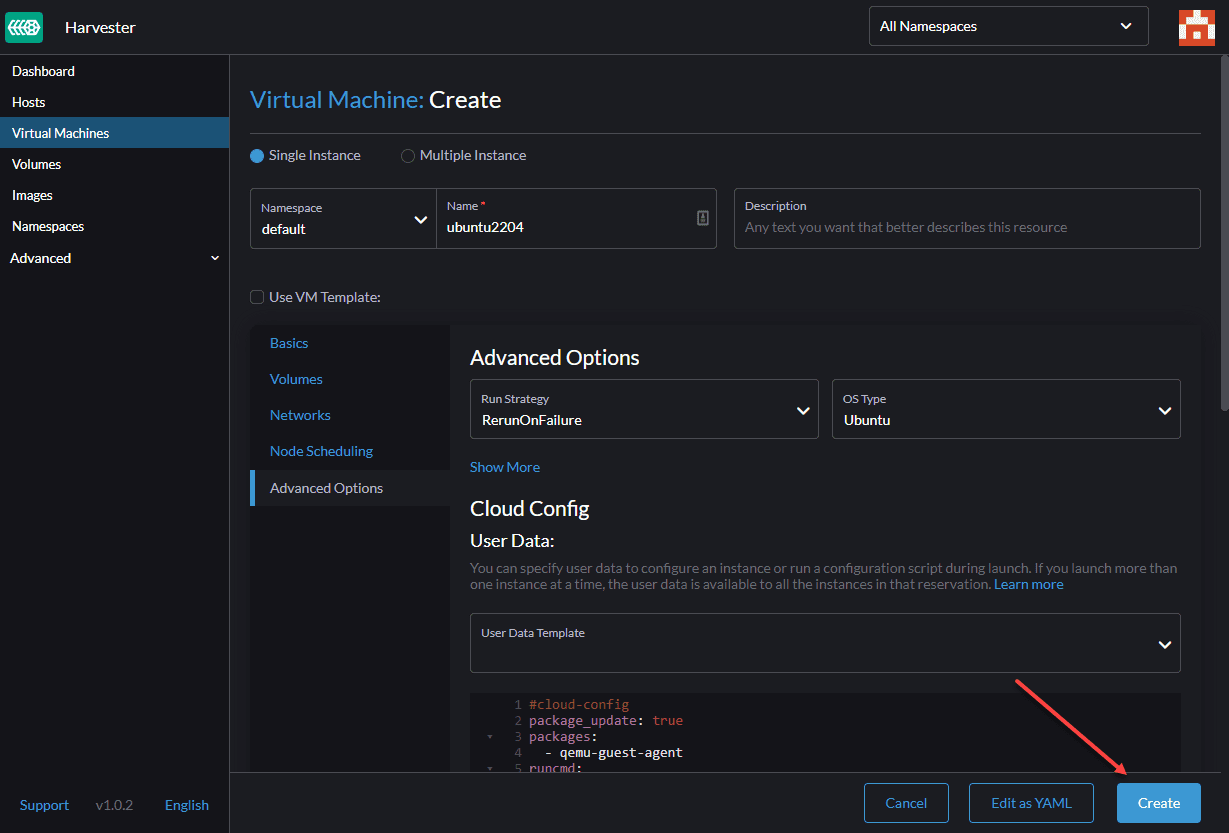
We skip the ‘Node Scheduling’ because we have only one Compute node and do not have many options. In the ‘Advanced Options’, we can set the Cloud-init script to be run in our VM. Here we set the password for the default user ‘ubuntu.’

Set Cloud-Init script

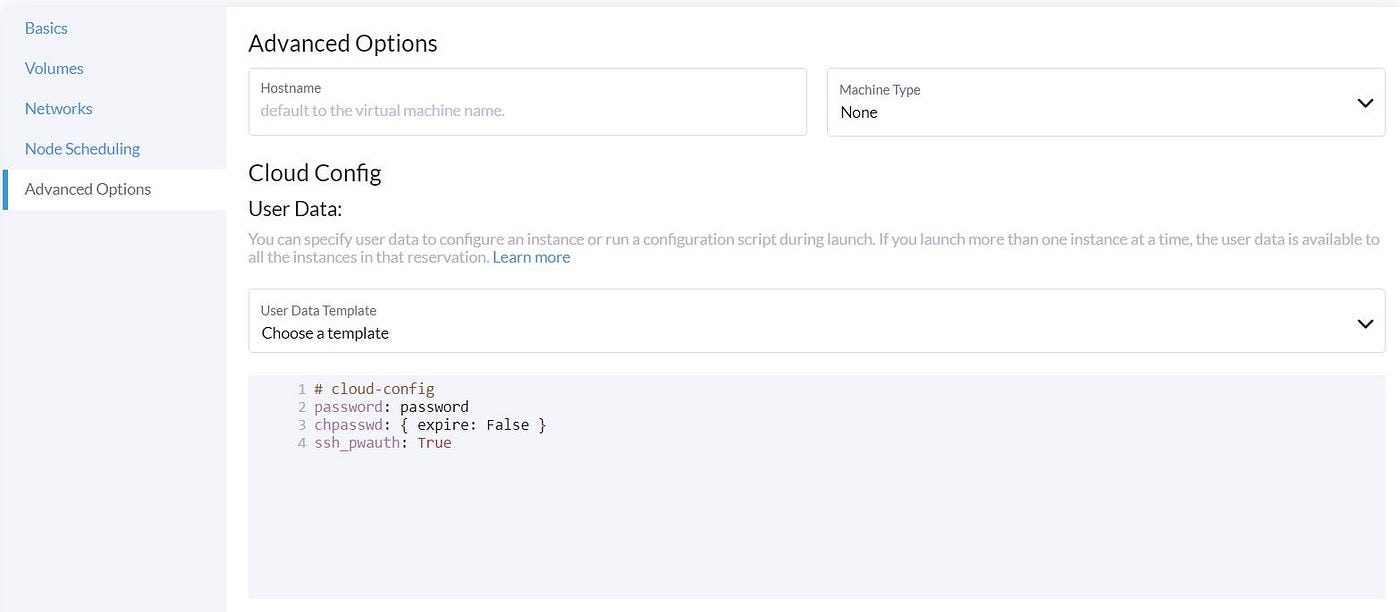
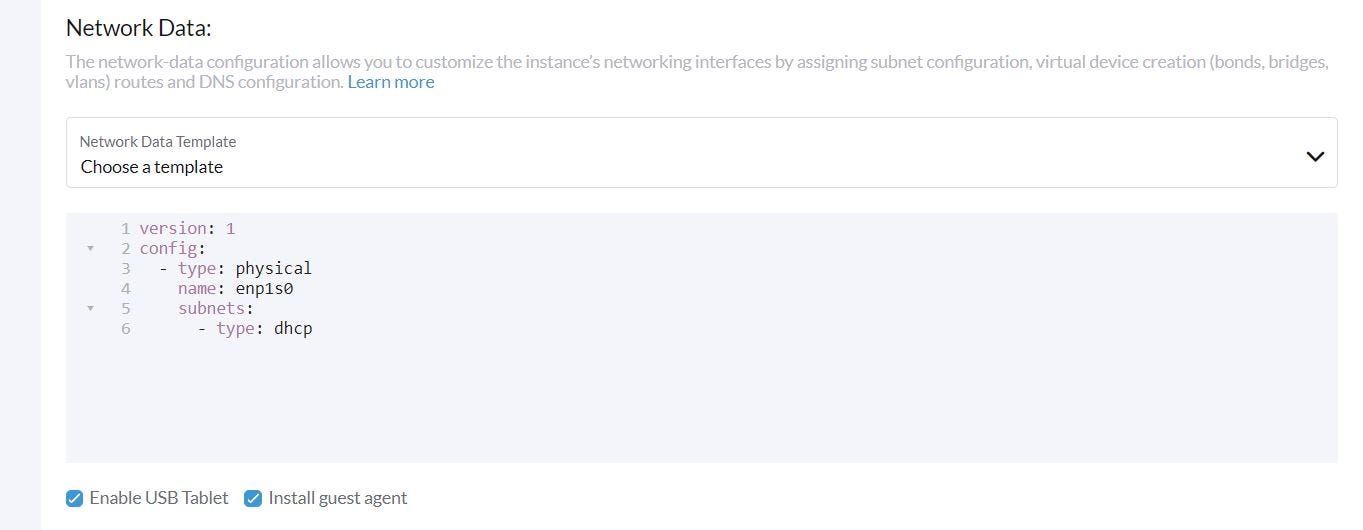
We can also configure VM networking by using Cloud-init. By default, the first network interface of a VM is enabled, but if you have more Network interfaces, you need to configure it:

VM Network Data

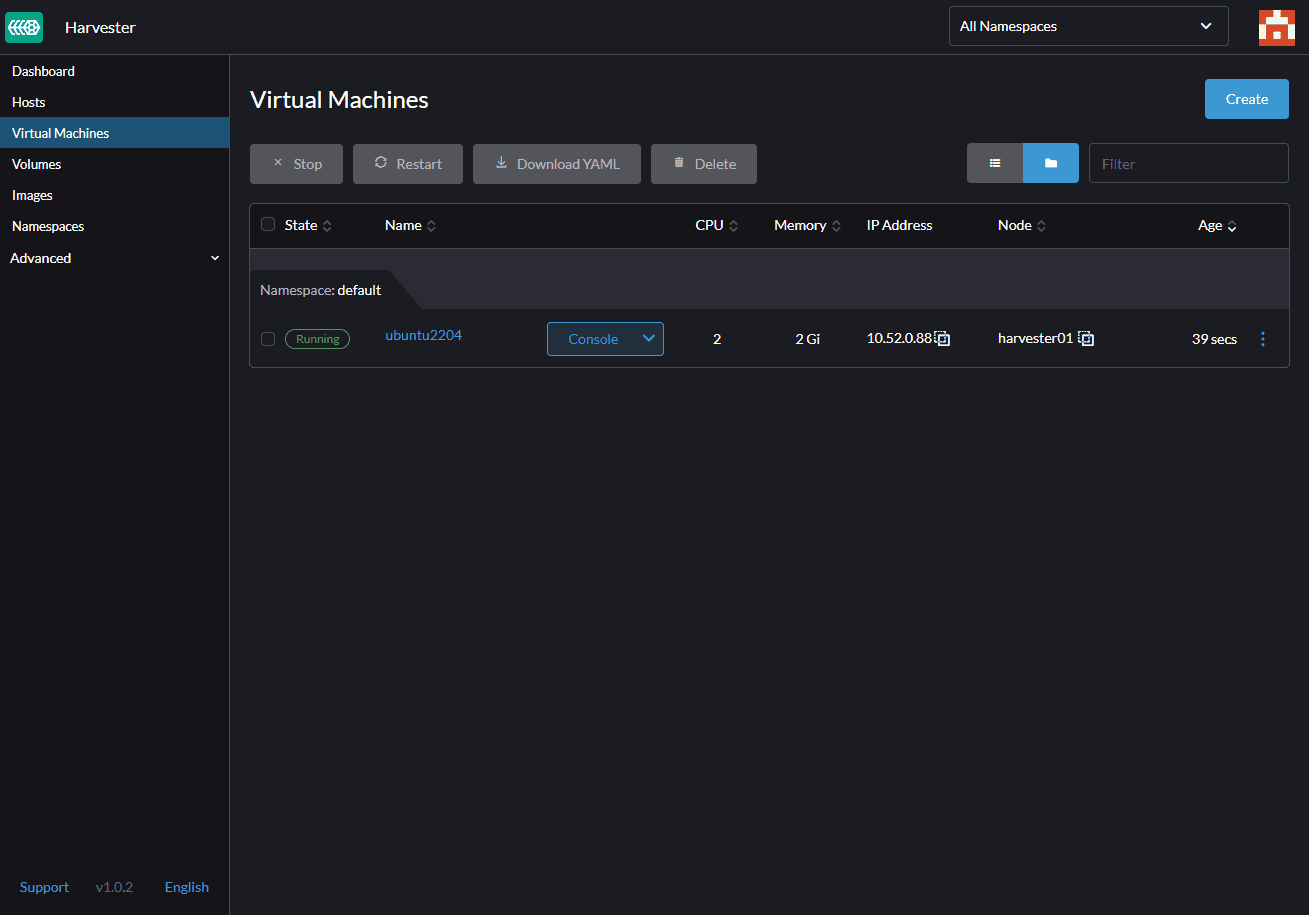
Click on the ‘Create’ and start the VM deployment process. After about 2 minutes, the VM should be running.

VM State

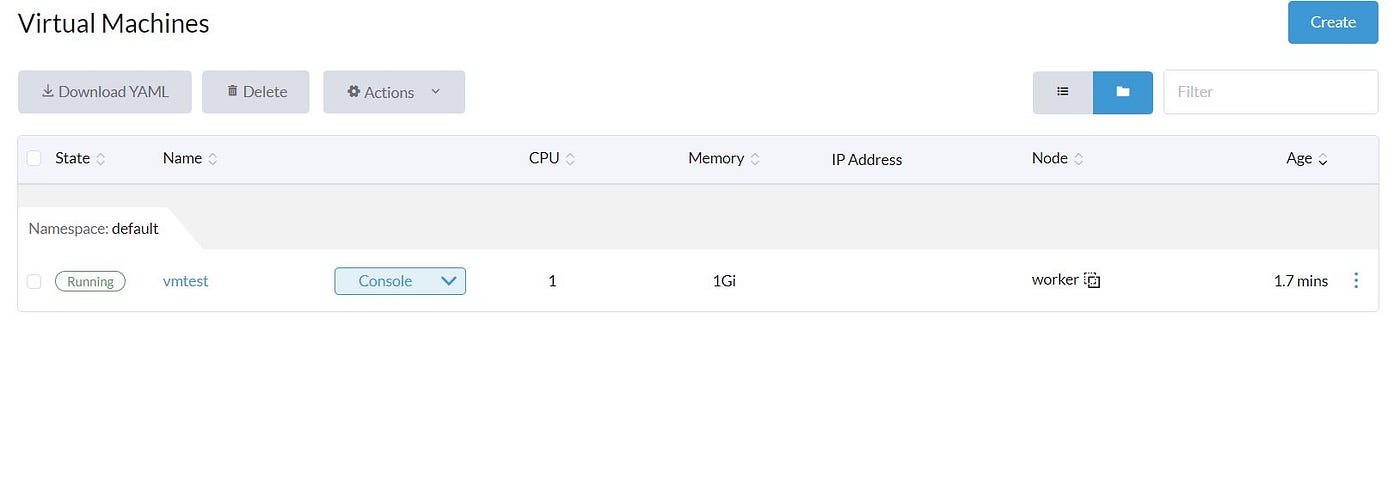
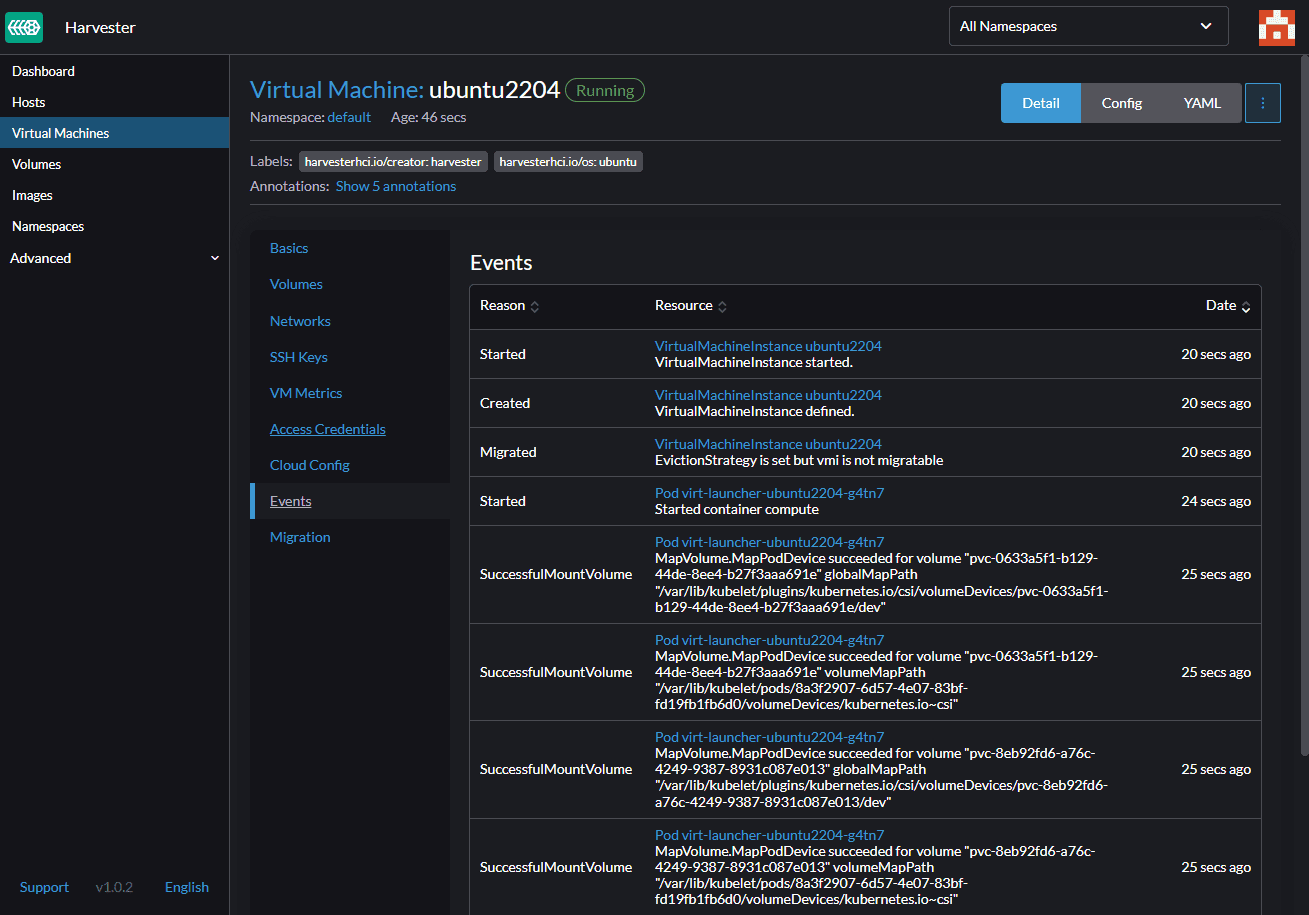
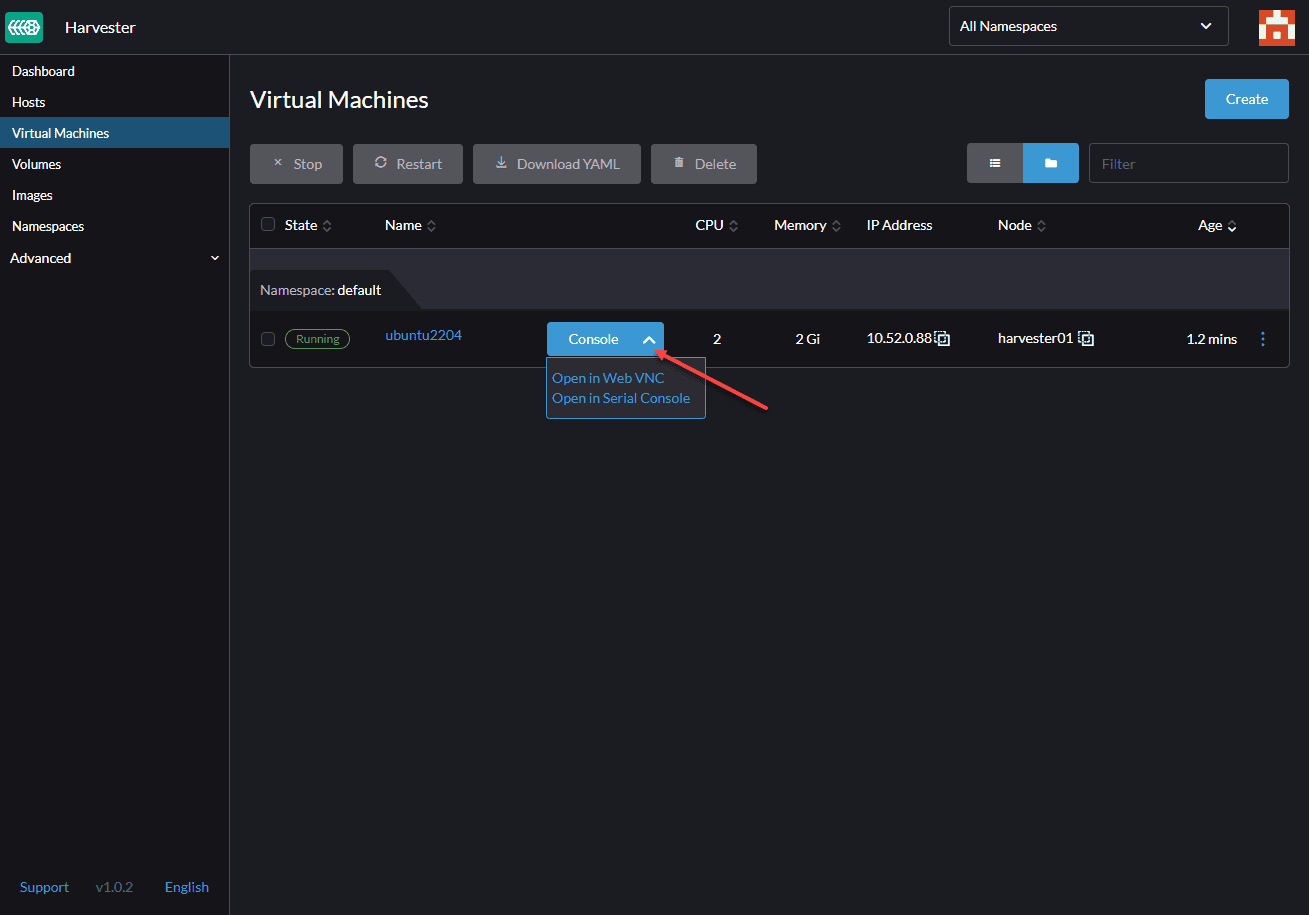
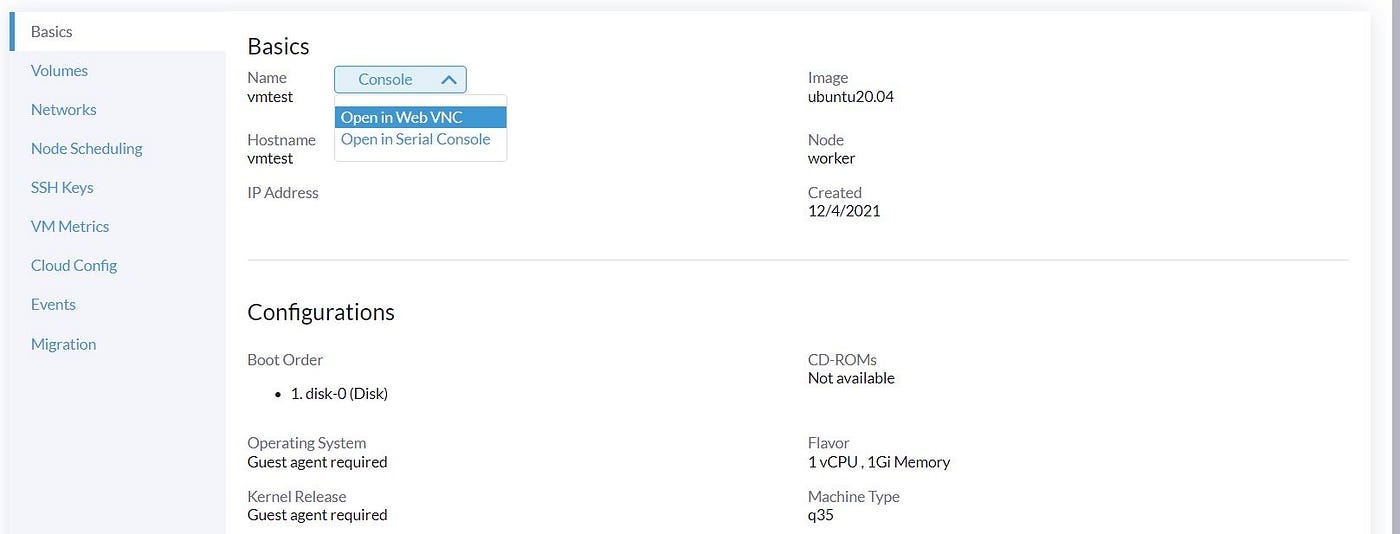
Now click on the VM and select console access:

VM Access

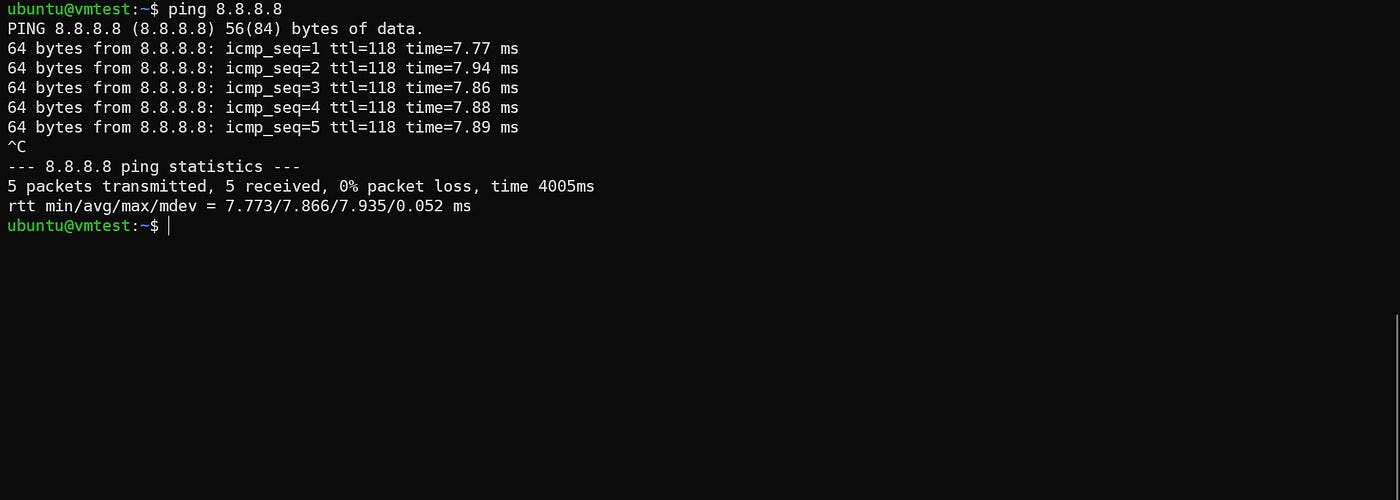
After login into the VM, we can confirm that our VM gets IP from our DHCP server, and we can access it from outside, and our VM access the Internet.

VM Details
SSH into VM
VM Access the Internet

The VM is working … COOL !!!

VM Deploy via Terraform

We have a Terraform provider for the Harvester; it’s limited like it doesn’t provide Data sources, but we can use it for creating resources. We mentioned that the Harvester Cluster is a Kubernetes Cluster too. We can access it like Kubernetes, for instance, via ‘Kubectl’.

The provider needs ‘Kubeconfig’ of the Harvester cluster that we can download from the Dashboard.

Download Kubeconfig

We want to use a dedicated Terraform VM in the Management network. We install ‘kubectl’ on it and import ‘Kubeconfig.’

Harvester Cluster

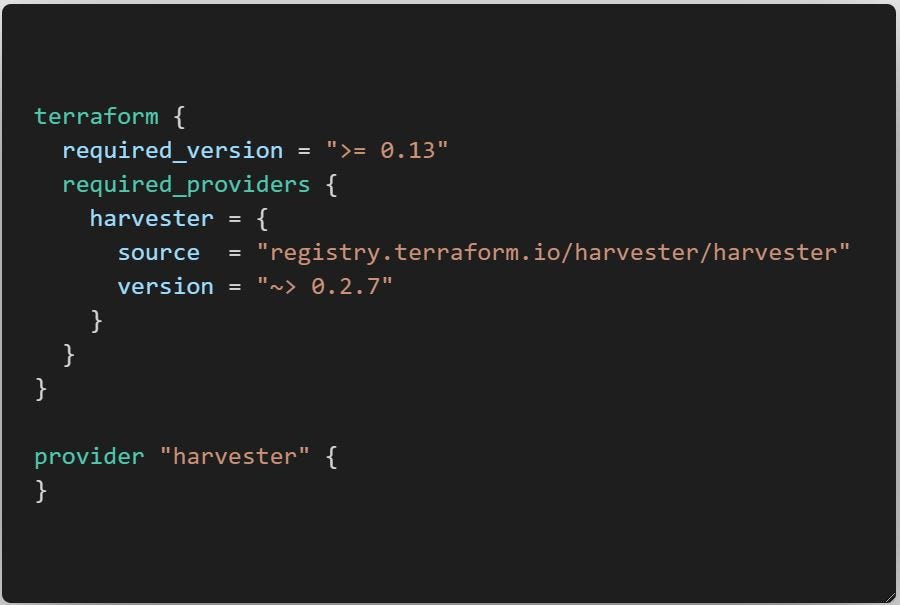
In the ‘main.tf’, we specify the provider configuration.

Provider Configuration

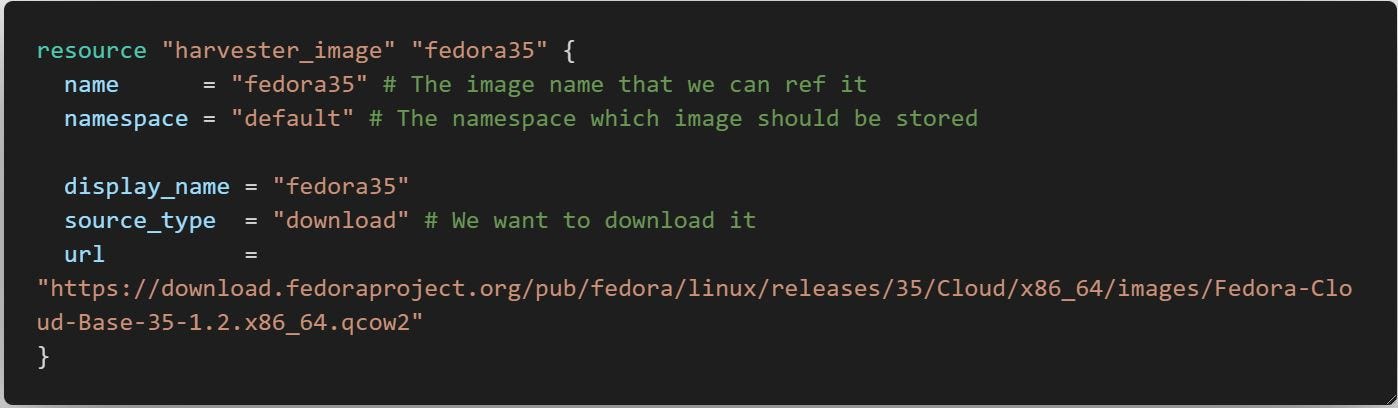
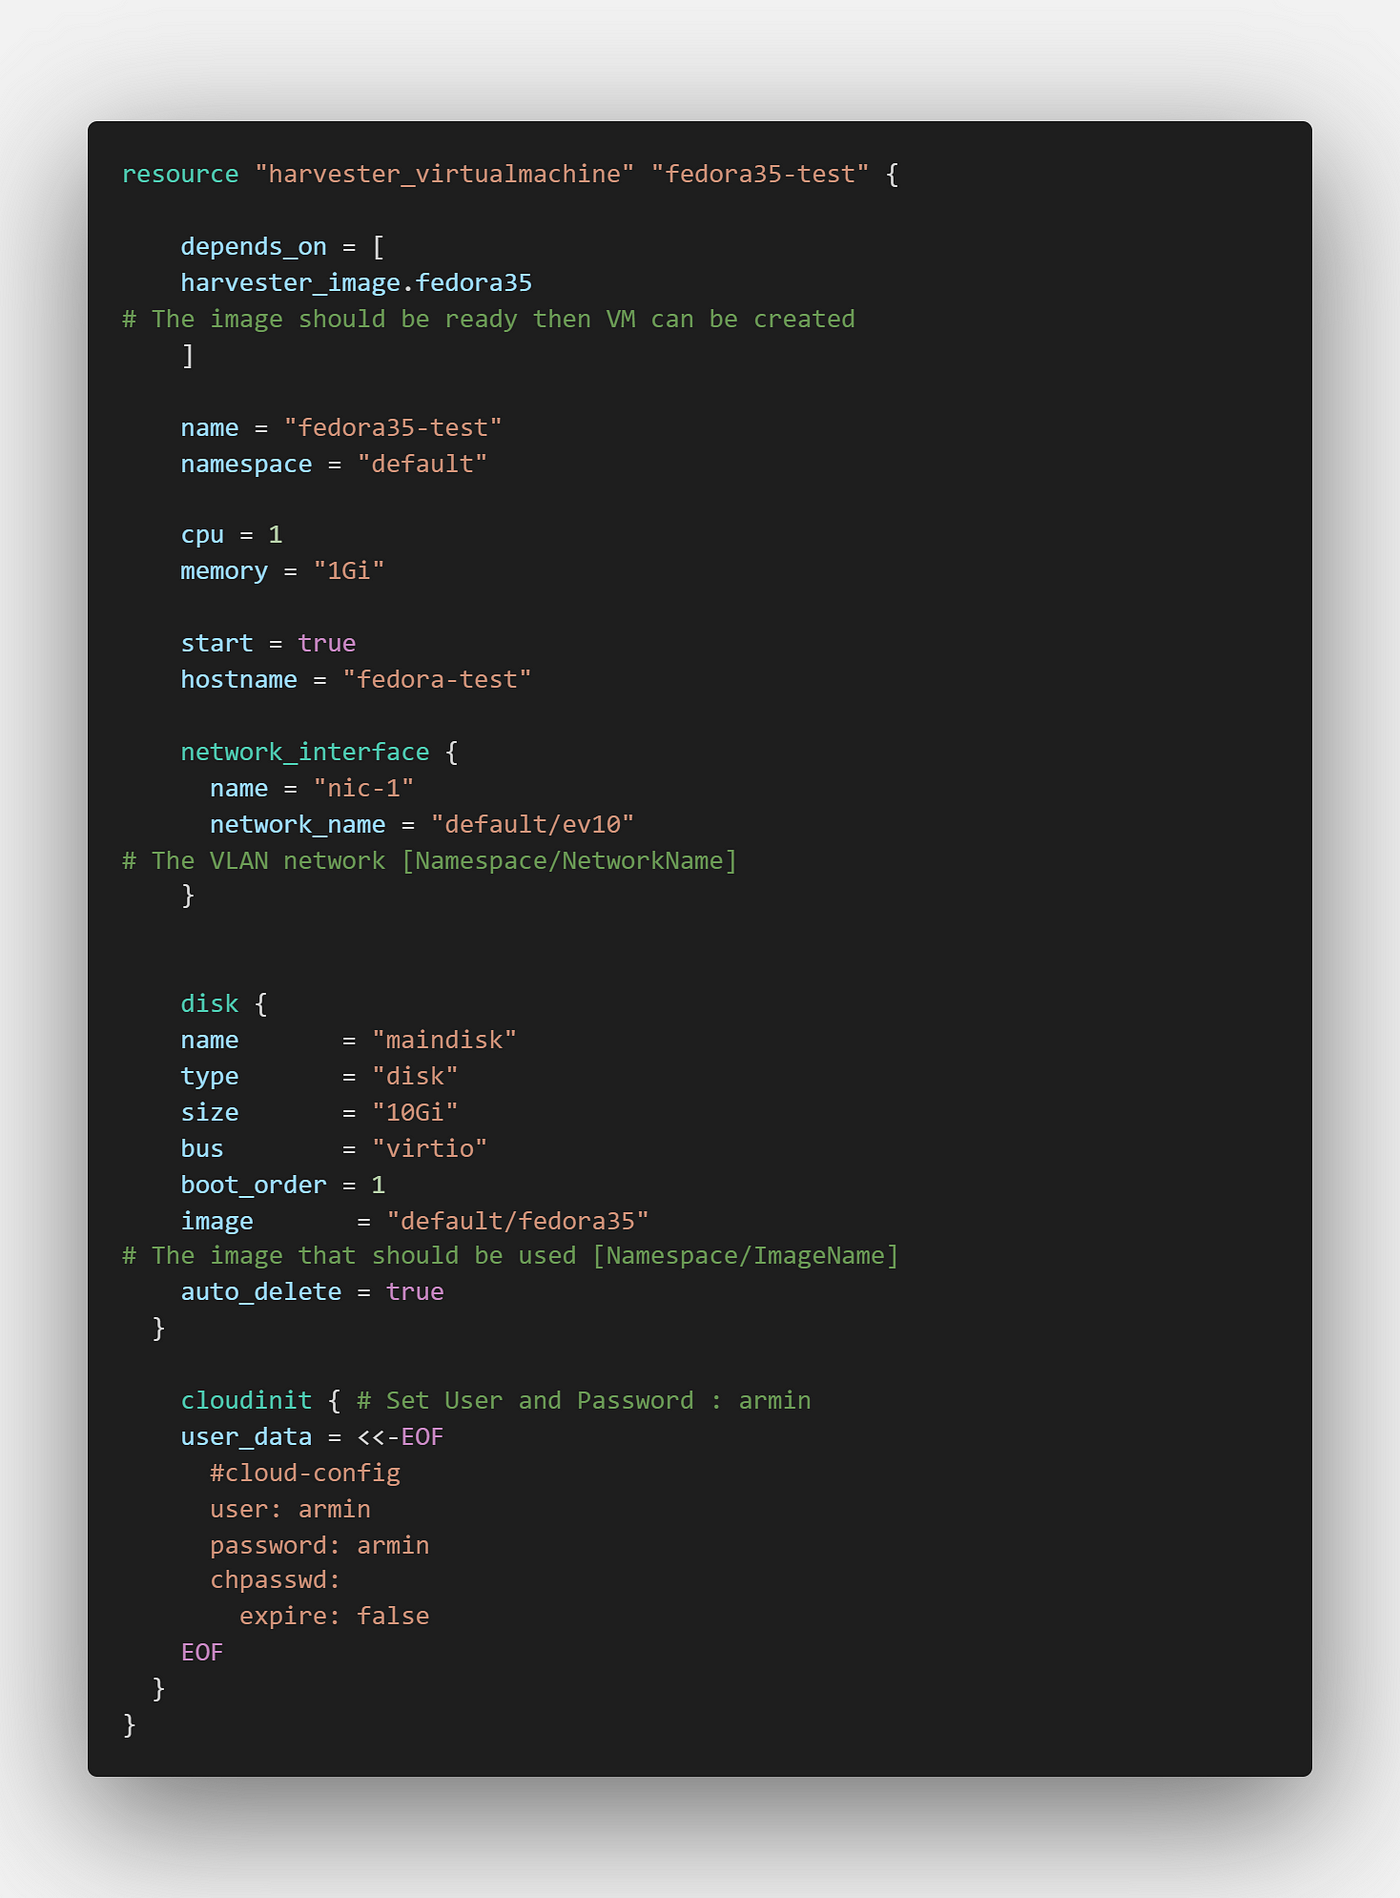
In the ‘VM.tf’ , we first create an image which here we use Fedora35 cloud image and then use that image for creating a VM.

Create Fedora image
VM in Terraform

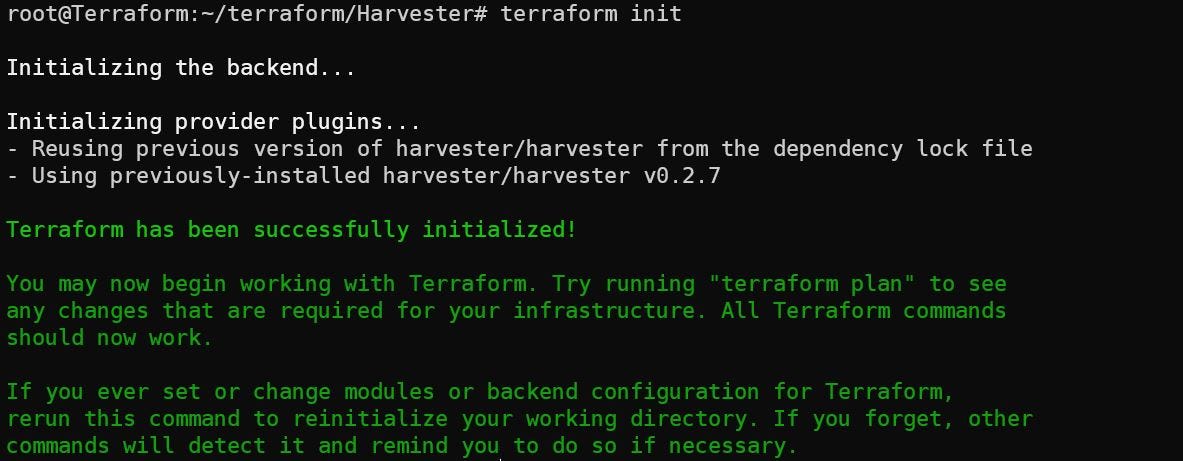
Let’s run the ‘terraform init’ to download provider:
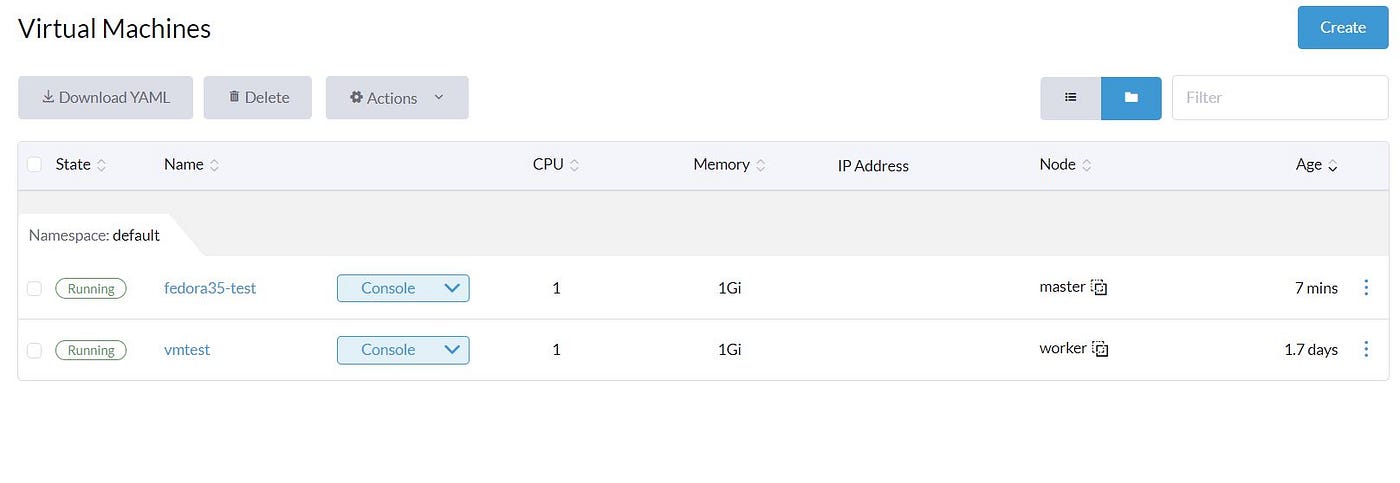
Terraform init

Now we run ‘terraform apply and accept the changes. We can confirm that both images and VM are created via Terraform.

Image Creation
VMs states

Summary

I hope you like this post. We did a lot of things. Add a Computer node into the Cluster and deploy VMs via the Dashboard and Terraform. In the next post, we will talk about managing VM like Backup, Migrate and make templates.

HARVESTER-vmware


Install Harvester in VMware ESXi

I have been playing around with Harvester by Rancher which is a pretty cool project that combines Kubernetes with Virtual Machines. For those that want to play around with Harvester and may not have a physical workstation to play around with, but you have your VMware ESXi lab, you can install Harvester inside of VMware ESXi as a nested hypervisor with nested virtualization enabled. It is pretty easy and I will walk you through the steps to get this done. Let’s look at installing harvester in VMware ESXi and see how you can setup a Harvester lab.

What is Harvester?

I just finished writing a pretty detailed blog post covering what Harvester is exactly. You can read that blog post here:

However, in brief, it is an open-source solution from Rancher that provides an HCI solution that combines the capabilities of running virtual machines and containers in the same platform. As you can imagine, since it is made by Rancher, you can integrate the solution in Rancher to have a cohesive platform to run VMs and containers. So, it is a pretty cool solution. I have written about Rancher quite a few times in the posts below:

Install Harvester in VMware ESXi

The process to install Harvester in VMware ESXi is fairly straightforward and aligns with installing any other nested hypervisor installation inside an ESXi virtual machine. You need to enable a couple of things to make sure nested virtualization works with an ESXi VM, including:

Runecast Analyzer
  • Expose hardware assisted virtualization to the guest OS
  • Change security settings for your vSphere Standard or vSphere Distributed Switch

Below, you can see the details of the CPU settings I have configured for the Harvester ESXi VM. Place a check next to the Expose hardware assisted virtualization to the guest OS.

Expose hardware assisted virtualization to the guest OS

Below is an example of how you can change the security permissions for your nested virtualization VM. Under the Security option for the vSwitch, you can change the settings for promiscuous mode, MAC address changes, and Forged transmits to Accept.

Edit the security settings for the vSphere standard or vSphere Distributed Switch

Once you have the virtual machine configured, you will need to have the Harvester ISO mounted to the CD ROM drive in the ESXi VM as well. You can download the Harvester ISO from here:

Boot the VM from the Harvester installation ISO, and begin the installation.

Starting the installation of Harvester in an VMware ESXi virtual machine

Here we choose to Create a new Harvester cluster. Even though, like me, you may just be installing a single node, it allows establishing the virtual IP address (VIP) and other configurations needed to expand the cluster in the future.

Create a new Harvester Cluster

On the installation target, you will be able to select the disk you want to install Harvester on and the partitioning scheme.

Choose the installation target

I wanted to post a screenshot on this. When I was grabbing the screens for the installation, I had only configured the VM with an 80 gig disk. After seeing this error, I went ahead and installed the node. However, when trying to configure a VM, I ran into storage issues. So, I reconfigured it with a 200 GB thin provisioned disk to give more headroom. Just beware of these requirements.

Error about disk size in Harvester

Set the hostname, Management NIC, Bond Mode, and IPv4 method.

Setting management NIC bond mode and IPv4 configuration

Configure the DNS servers you want to use.

Configure DNS servers for the Harvester installation

Configure the virtual IP address (VIP). This is the IP address that will be assumed by the Harvester cluster.

Configure the virtual IP address for the Harvester cluster

Next, you will be asked to configure a cluster token. This is the password that allows joining additional Harvester nodes to the Harvester cluster.

Configure your cluster token for Harvester

Configure your password to access the Harvester node.

Configure the password for the Harvester node

Configure NTP. Below is the default NTP server that Harvester configures. You can change this here if needed.

Configure NTP settings for Harvester

Set the optional proxy configuration if needed.

Set a proxy address if needed

Import SSH keys if needed.

Import SSH keys for your Harvester node

Set the remote Harvester config if you have a config you want to use that is accessible via HTTP.

Remote Harvester configuration from HTTP

Finally, confirm your installation options. Select Yes to begin the Harvester installation.

Confirm the installation options of Harvester in VMware ESXi

The installation of Harvester begins.

Harvester installation begins after confirming the installation options

Once the Harvester installation completes, you will see the Current status change to Ready. As a note, my node took a couple of minutes to change to the Ready state.

Harvester node is installed and in a Ready state

Accessing the Harvester admin page

Now that we have the Harvester node in the ready state, we should be able to access the management URL by browsing the VIP of the Harvester cluster. This page looks identical to the Rancher initial configuration. It will suggest a randomly generated password to use, or you can manually set a specific password to use.

Setting your Harvester admin password 1

Now that we have access to the Harvester admin interface, navigate to Images. To install a virtual machine, we need to have an image to install from. Here, we can select URL and provide a download URL, such as for the latest Ubuntu 22.04 Server.

Uploading an Ubuntu image for installing Ubuntu 22.04 Server

The download of Ubuntu 22.04 ISO image begins.

The Ubuntu 22.04 Server ISO begins downloading

Once the image finishes downloading, navigate to Virtual Machines and select Create.

Beginning to create a new virtual machine in Harvester

On the Basics page, name the virtual machine and set the CPU and memory configuration.

Set the CPU and memory configuration

On the Volumes configuration, for the first volume, change the type to cd-rom and select the image you downloaded under Image. Add an additional volume to serve as the hard disk for the VM. Here I am selecting the defaults for the most part. I have set the size to a meager 15 gigs just for testing purposes. I left the Bus configured for VirtIO.

Configure the storage for the VM including the ISO image

Under Networks, you can configure the networking for the Ubuntu virtual machine. Here I have selected Management Network to share the management network and set the type to Bridge. Model is virtio.

Configure your network options

I didn’t change anything here, but if you have multiple Harvester nodes, these options are interesting. It affects how VMs live migrate or are pinned to specific hosts.

Viewing the node scheduling options for a Harvester VM

I also did not change anything in the advanced options screen, but again, lots of interesting options, including Cloud Config. When you are ready to create the VM, click Create.

Viewing advanced options for the Harvester VM

The VM starts automatically and you should see it enter the Running state.

The virtual machine immediately starts running

If you have issues or see your VM get stuck starting, you can navigate to the Detail > Events screen, which shows the log entries. If you have any issues, they will be listed here.

Viewing events for the Harvester virtual machine

To open a console connection to your VM, go back to the Virtual Machines screen and click the arrow next to Console. You have a couple of choices here, but I am selecting Open in Web VNC.

Opening the virtual machine console in Harvester

The web VNC window opens, and you now have console access to your Ubuntu VM. Cool stuff.

Ubuntu Server installation begins as it boots from the ISO image

Wrapping Up

As shown, the process to Install Harvester in VMware ESXi is pretty straightforward. This is an interesting solution that I would like to play around with more. I think solutions like Harvester have a long way to go before offering the enterprise features and capabilities businesses are used to with a mature, robust hypervisor like ESXi. However, for organizations already using Rancher and who want to stick with open source solutions for running virtual machines, Harvester has a lot of potential with seamless integration to their cloud-native stack.