Tips Broadcast Live Streaming Lewat YouTube
Jika dulu broadcast streaming di Youtube perlu dilakukan menggunakan Google Hangouts, kini kita tidak perlu lagi melakukannya dengan platform berbeda. YouTube Creator studio, fitur yang kini dimiliki YouTube telah memiliki menu untuk membuat konten broadcast streaming secara langsung.
Penasaran seperti apa caranya, ikuti tips singkat berikut ini.

Setelah masuk ke menu Live Streaming di Dashboard Youtube, pertama-tama yang harus anda lakukan adalah memverifikasi akun YouTube anda. Yaitu dengan memasukan nomer ponsel anda, yang nantinya Google akan mengirimkan kode untuk anda masukan saat memverifikasi akun YouTube.

2.Setup Encoding
Setelah melakukan verifikasi, anda harus melakukan setup encoding. Ini diperlukan untuk menyesuaikan konten ke sistem YouTube agar bisa diunggah dan secara langsung juga dibroadcast. Untuk setup Encode, kita memerlukan aplikasi encoding. Salah satu contohnya yaitu Xplit Broadcaster, seperti yang akan kami gunakan dibawah ini. Sebagai contoh kami mengunduh aplikasi Xplit Broadcaster versi gratis berikut ini.
3.Authorize Account
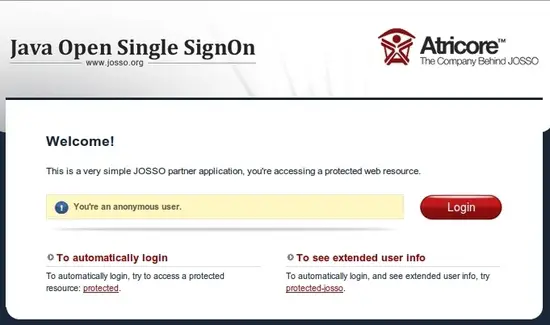
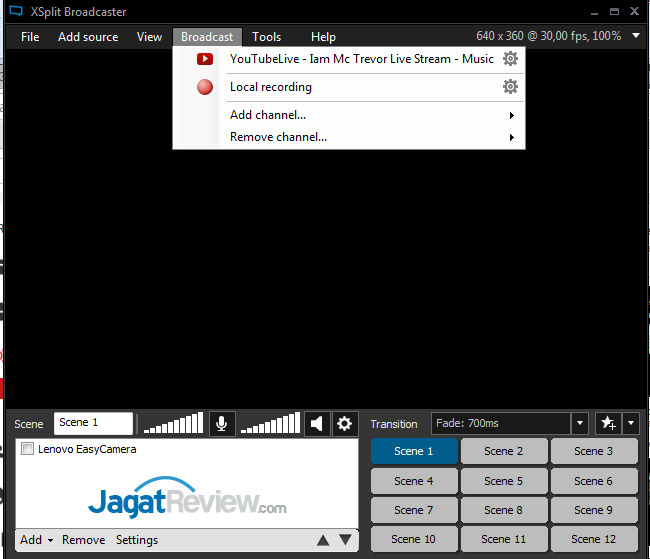
Setelah itu anda akan diminta untuk malkukan otorisasi ke akun YouTube yang ingin anda gunakan untuk melakukan Broadcast streaming Live. Pilih menu Broadcast, lalu pilih icon settingyang ada di sebelah pojok kanan. Setelah itu akan muncul tampilan seperti berikut
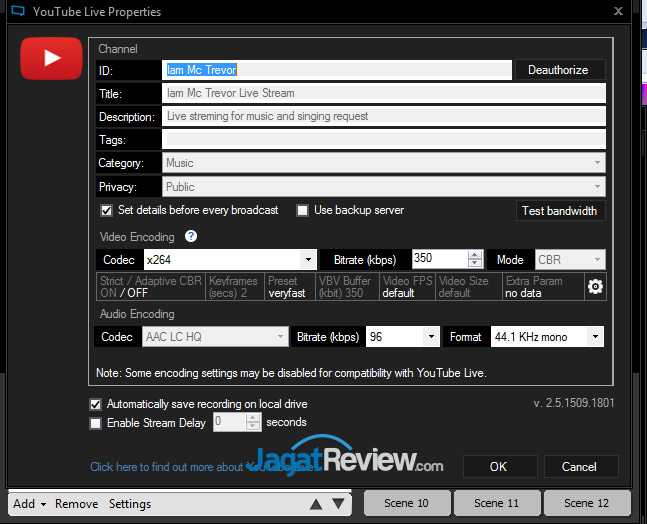
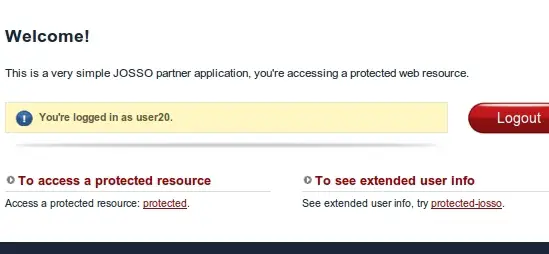
Pilih Authorize, lalu masukan alamat gmail yang anda gunakan untuk akun YouTube anda. Setelah berhasil, akan muncul tampilan seperti ini.

4.Setting Kamera
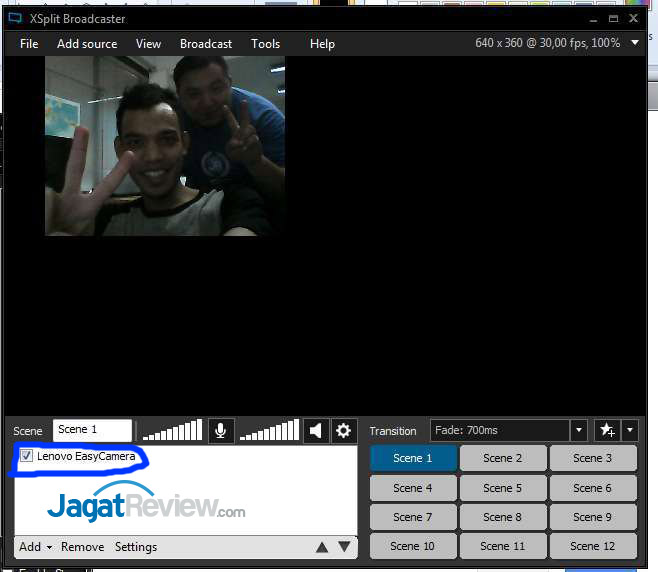
Pilih perangkat kamera yang anda akan anda gunakan. Jika anda menggunakan Laptop atau notebook maka secara otomatis pilihan camera akan muncul pada kotak dialog yang berada di gambar berikut. (LenovoEasyCamera)
5.Setting Audio
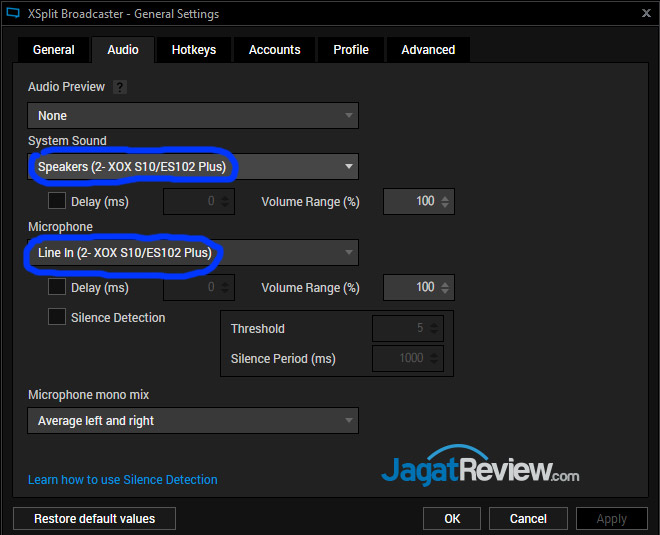
Setting audio diperlukan untuk input suara yang akan anda siarkan melalui live streaming broadcast Anda. Untuk mengatur pilihan audio bisa anda pilih pada menu Tools>General Settings seperti gambar dibawah ini.

Kemudian muncul menu windows General Setting. Disana anda bisa memilih input dan output yang akan anda gunakan. Ada plihan microphone untuk broadcast, disini kami menggunakan perangkat XOX ES102. Selain itu ada pula pengaturan volume suara dan sebagainya.
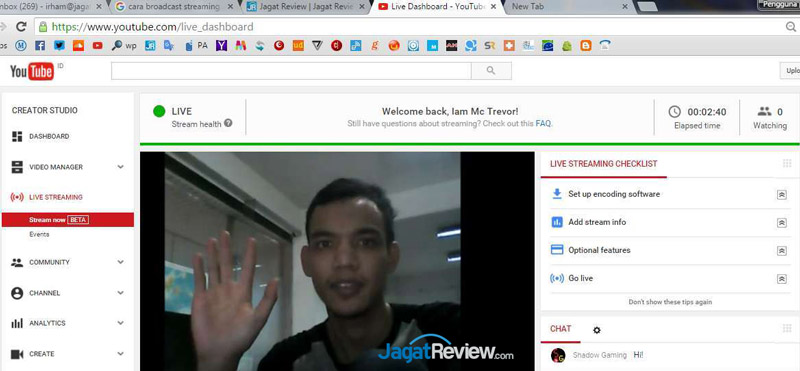
6.Mulai Live Streaming
Setelah berhasil melakuan setup kamera dan audio, langkah berikutnya tinggal memulai streaming. Kembali ke menu Broadcast, pilih tanda ‘Play’ akan muncul menu seperti dibawah ini.

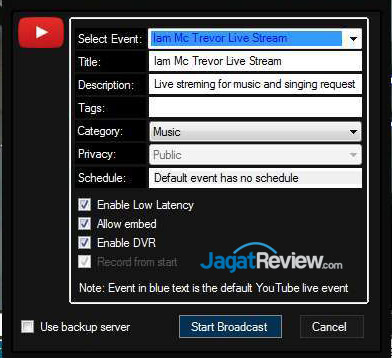
Terakhir tinggal klik ‘Start Broadcast’ maka anda telah berhasil melakukan broadcast live streaming melalui YouTube.