NexoPOS 4 is a free point of sale system build using Laravel, TailwindCSS, Vue and other open-source resources. This POS System focuses on utilities and functionalities to offer for most businesses all the tools they need to manage better their store. NexoPOS 4.x include a responsive and beautiful dashboard that ease the interaction either on a smartphone, tables or desktops.
Demo
- Regular : https://v4.nexopos.com
- MultiStore : https://v4-multi.nexopos.com
- Gastro 4.x : https://v4-gastro.nexopos.com
- Username : demouser
- Password : 123456
Documentation
All the documentation for NexoPOS 4.x can be found on My NexoPOS. That includes :
And for developpers, there are more technical tutorials that convers:
We've also create video tutorial that will help you performing those easilly. 
How To Unlock Premium Features
The premium version of NexoPOS 4.x is available on CodeCanyon. While purchasing on CodeCanyon, you also get :
- $40 In credit to My NexoPOS balance.
- Access to NexoPOS 4.x marketplace
- Premium Support & Installation Service
- You're eligible for customization
Changelog & Feature Announcement
We're frequently discussing about the future of the app (while waiting discussion are allowed). You can join the WhatsApp group where tips are shared on NexoPOS 4.x.
Support Terms
1 - The support on NexoPOS 4.x only applies to the information provided by the users while creating an issue. This means we won't either do the installation on your server or check an issue on your server. You're therefore invited not to post your server information while creating an issue. We'll use your explanations to reproduce your issue and therefore to solve it.
2 - If you would like to have a dedicated support. Consider registering as a member to My NexoPOS platform.
Troubleshooting
Here we list the knowns issues and the way around. Not everyone is likely to face these issues as it depends on the used enviroment.
CSRF error After Installation Chances are when you make your installation, you'll have your website URL changed. Unfortunately, if the domain has to change, it must be clearly described on the .env file. We've written a guide that explains how to solve the CSRF issue on NexoPOS 4.x.
Error After Database Details (using
php artisan serve) If you're serving the project usingphp artisan serve, after setting up the database credentails and having them validated, you migth stop on an infinite loading page.

This is caused because during the database setup, the ".env" is updated which cause Laravel to restart the development server and therefore invalidate your session. The way around, is just to refresh the page and you'll end up on the application details section.
Contribution Guidelines
Do you plan to contribute? That's awesome. We don't have that much developer on it, so we're open to any type of contributions. If you're a developper, you'll start by forking the project and deploying that locally for further tests. Typically, you'll need to build the project (Vue.js) in watch mode. You'll then start by making sure the .env value "NS_ENV" is set to "dev". From there, you can run the following command :
To install Node.js dependencies
npm run install
To watch the Vue compoment changes (Vue.js)
npm run watch
To watch the project changes (TailwindCSS)
npm run css-watch
To build the project for production, you'll need to only run that command: This will build the JavaScript file and CSS files.
npm run prod
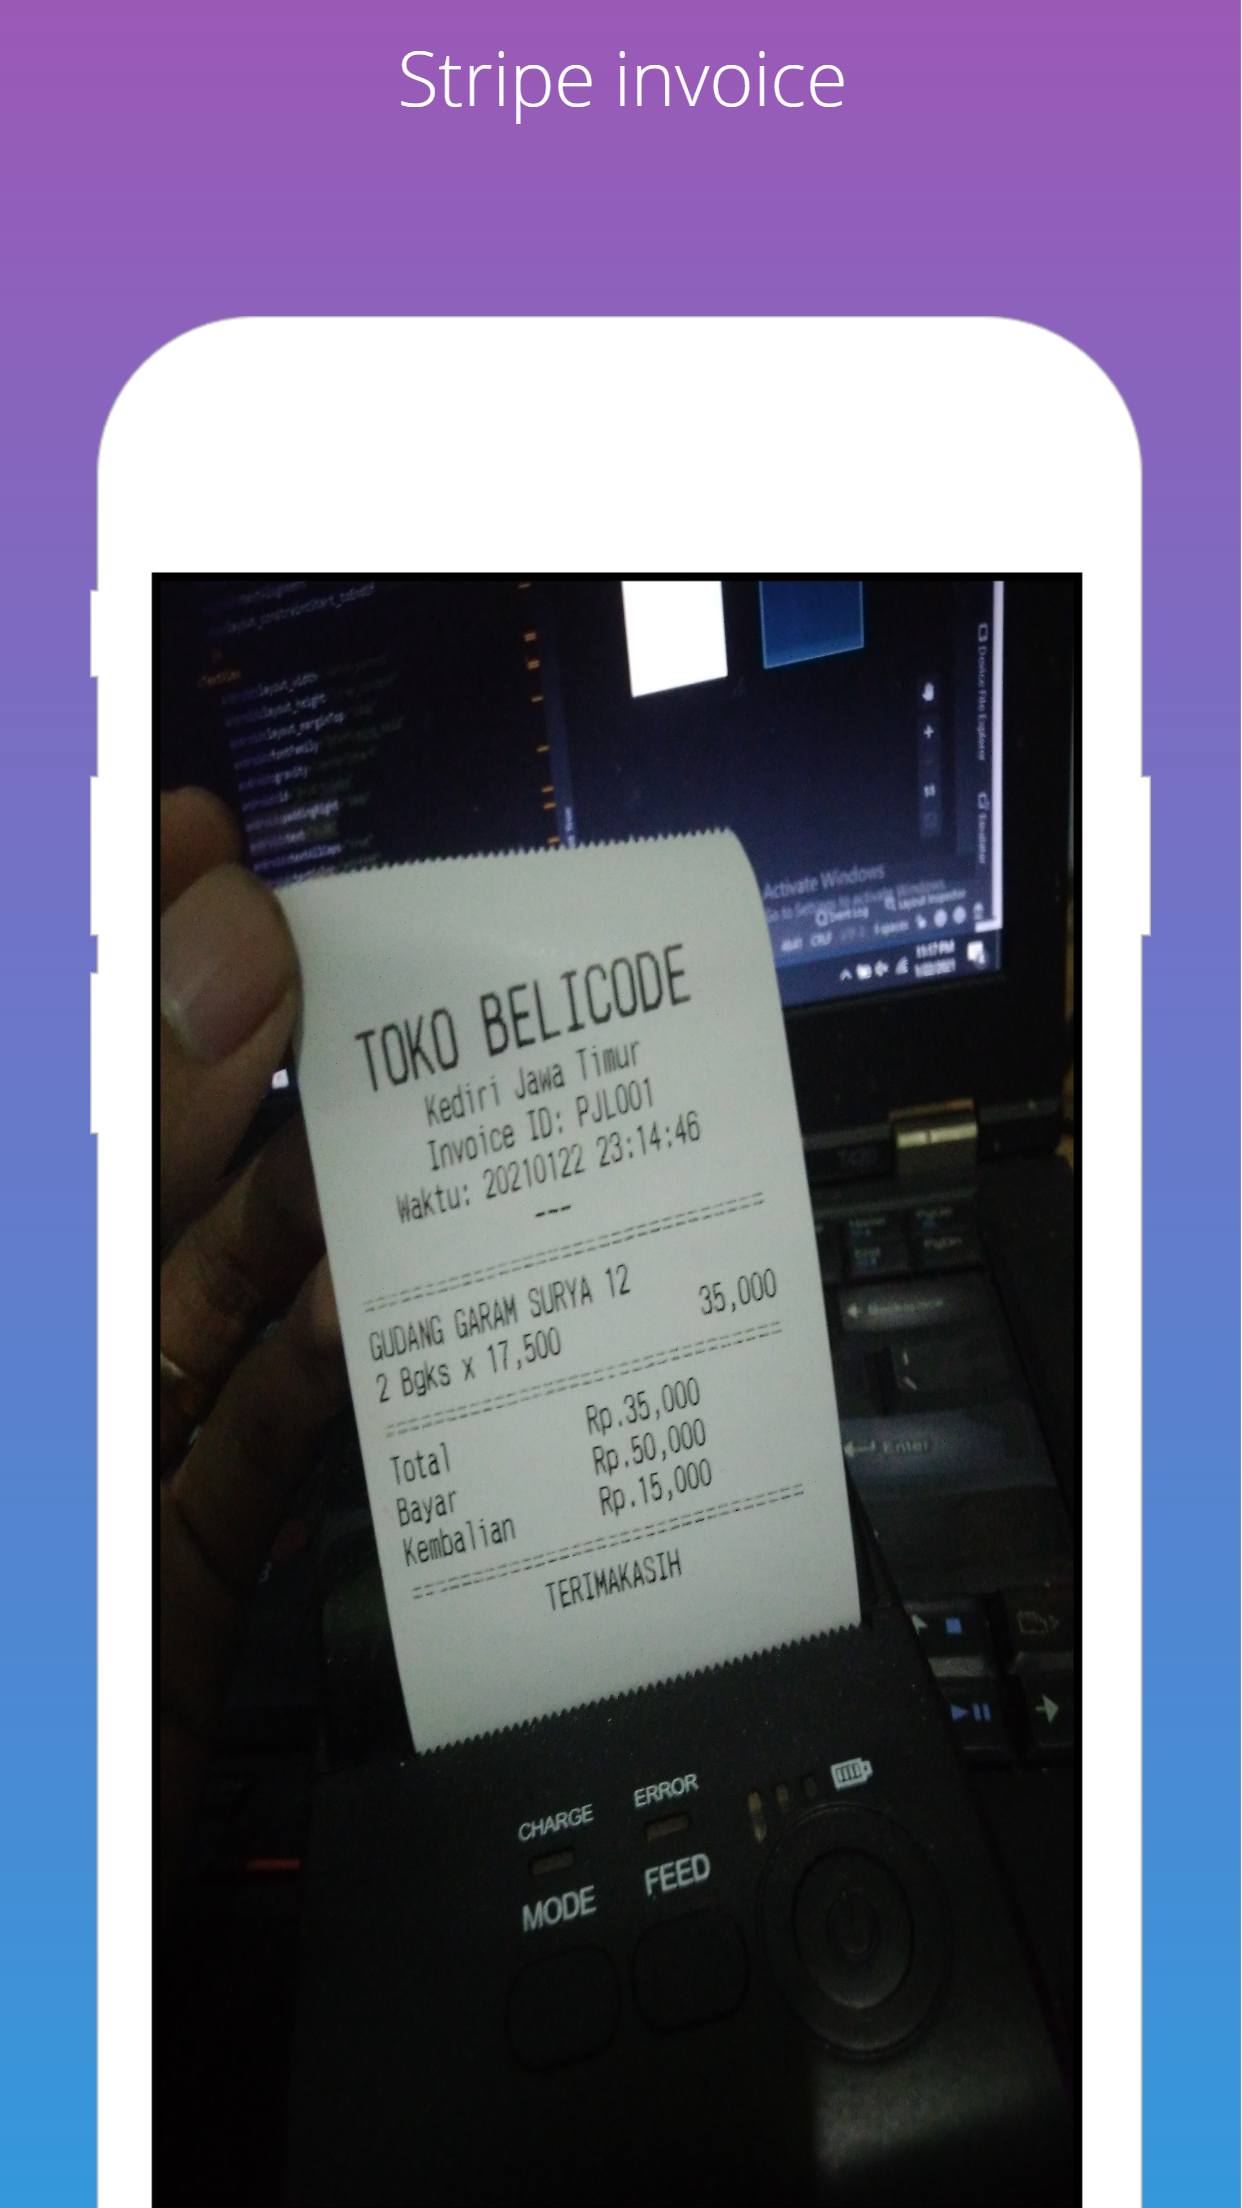
Screenshots
The branch 4.7.x introduce the "Dark Mode" which will make working continuously with NexoPOS easier without hurting sight.
Media Component
The media components help uploading images and managing them. This comes with a field that will ease assigning image to products. 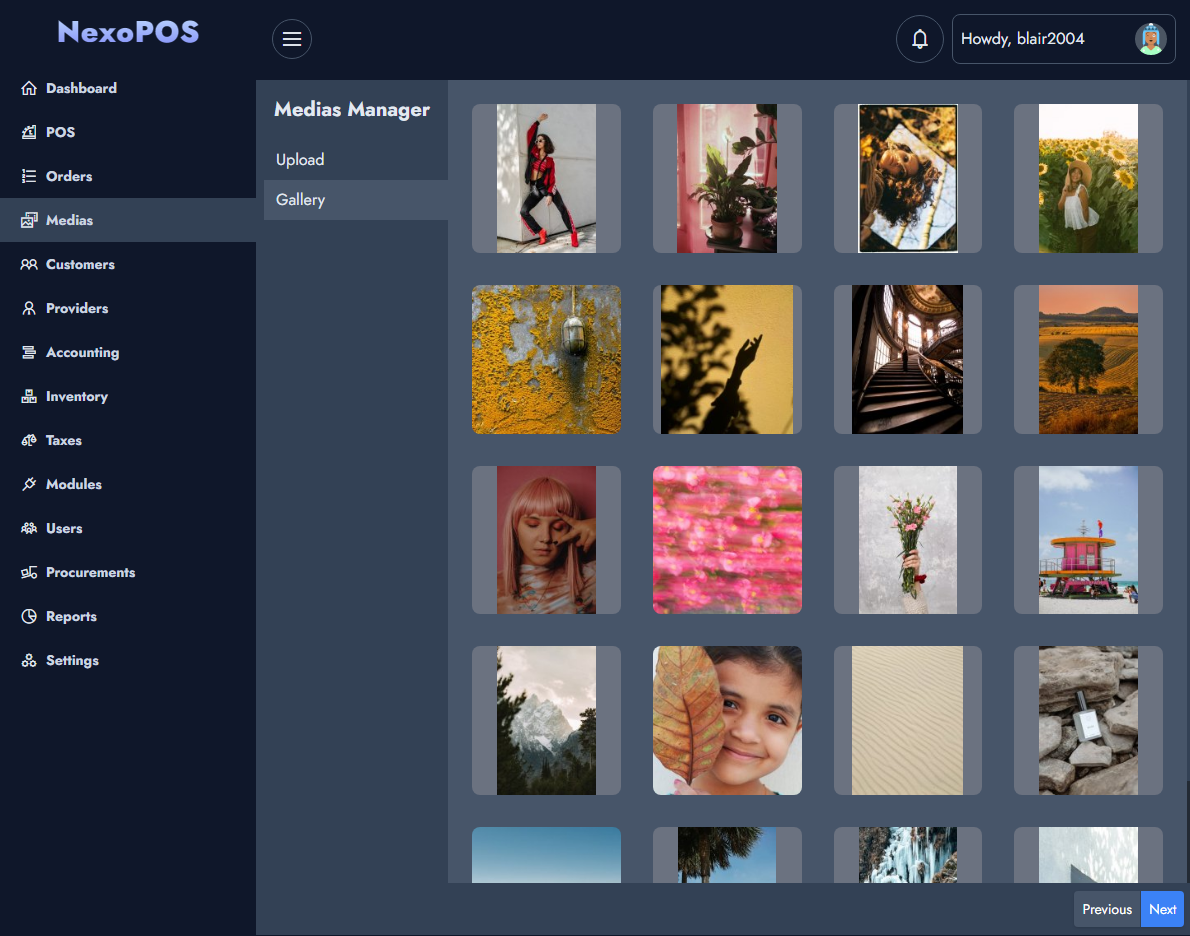
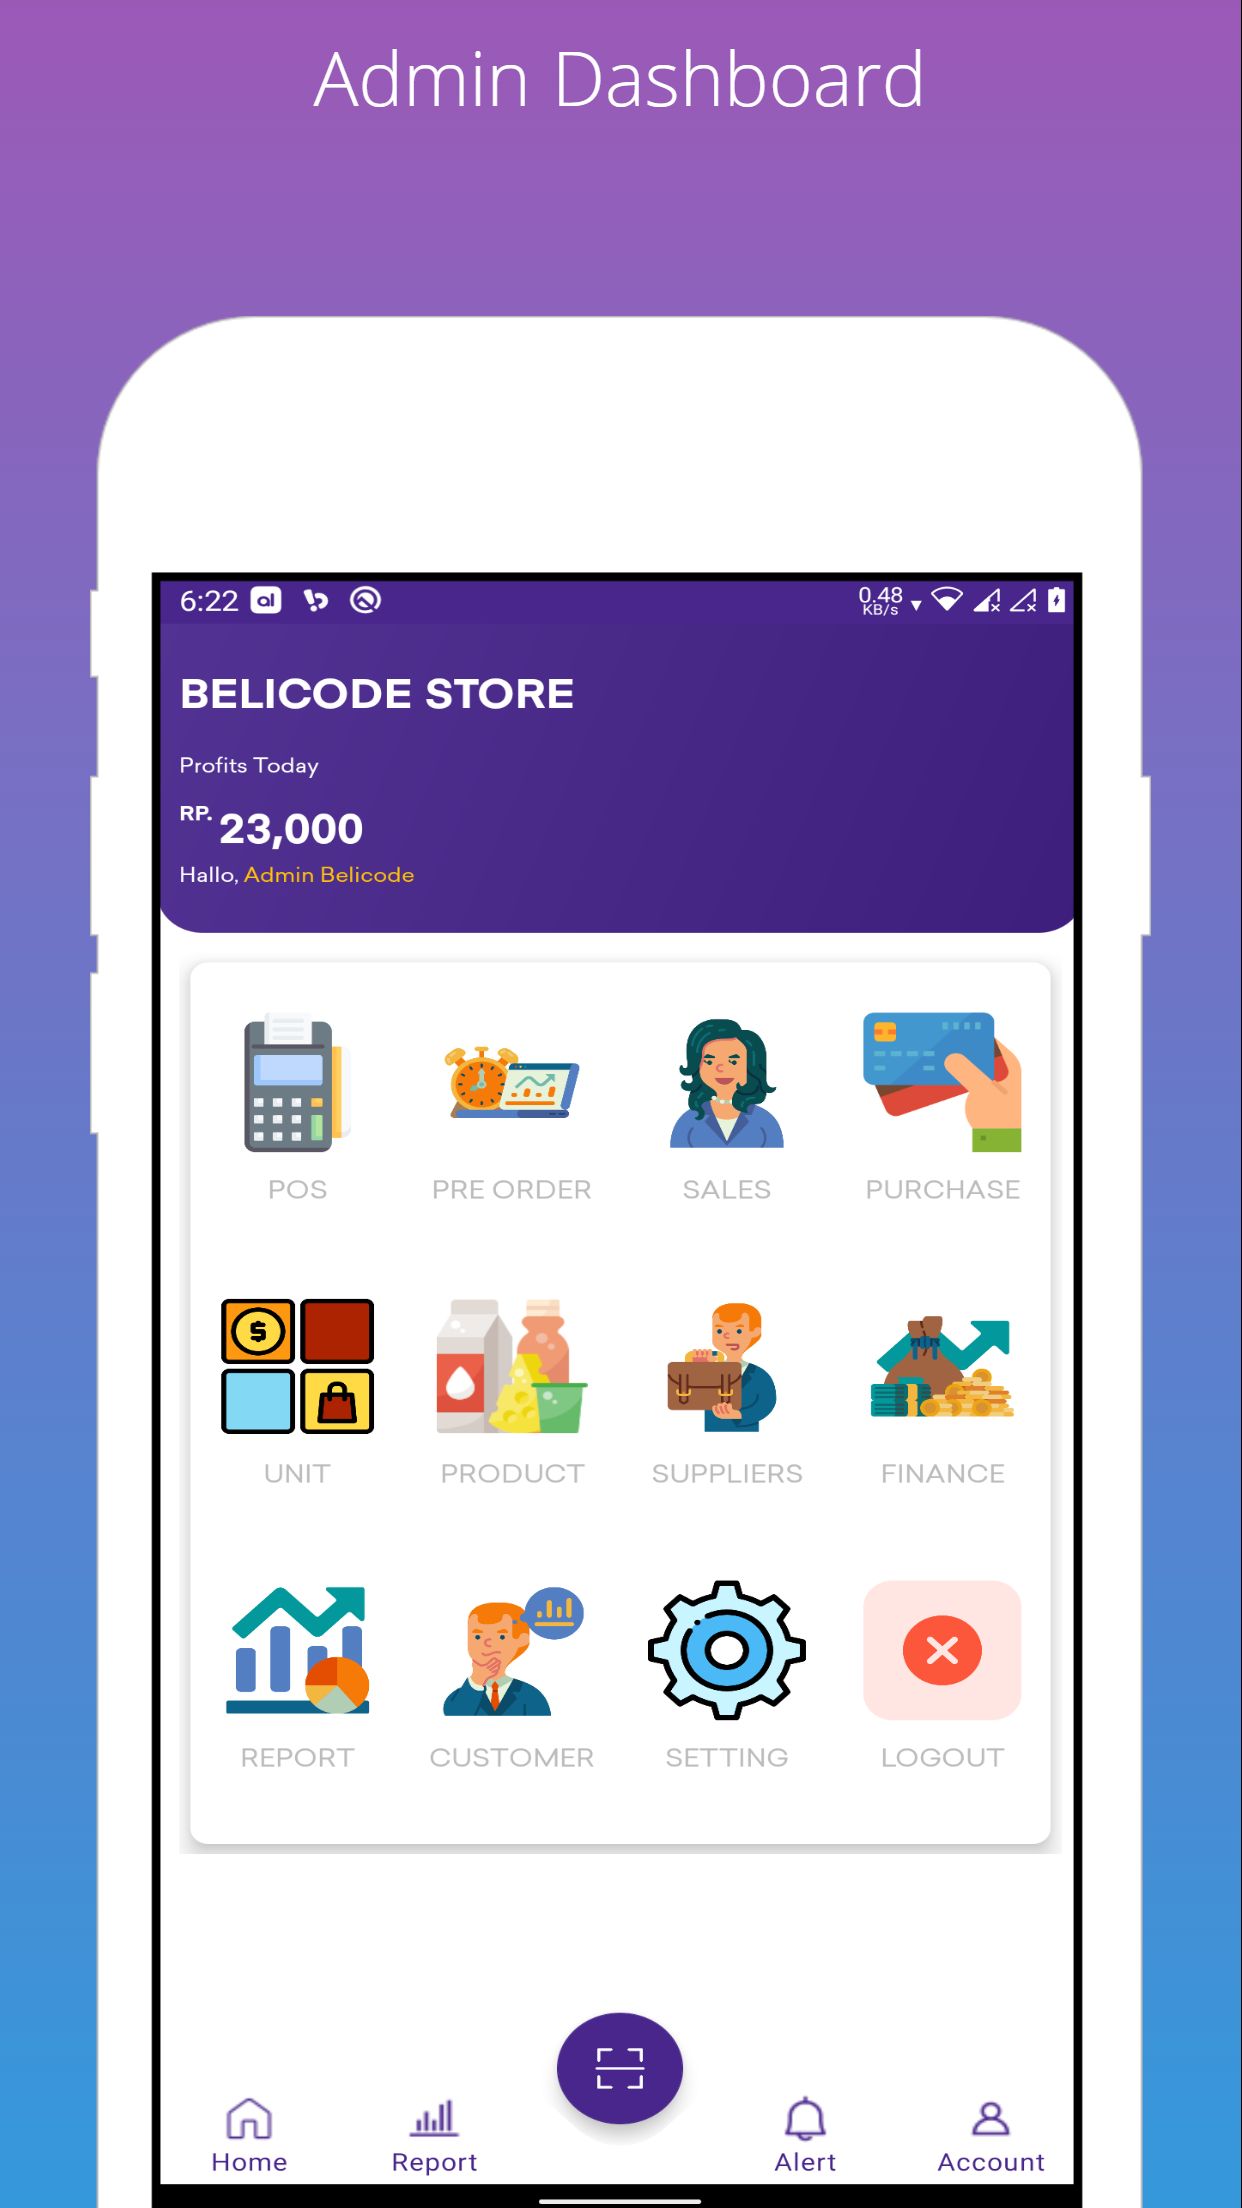
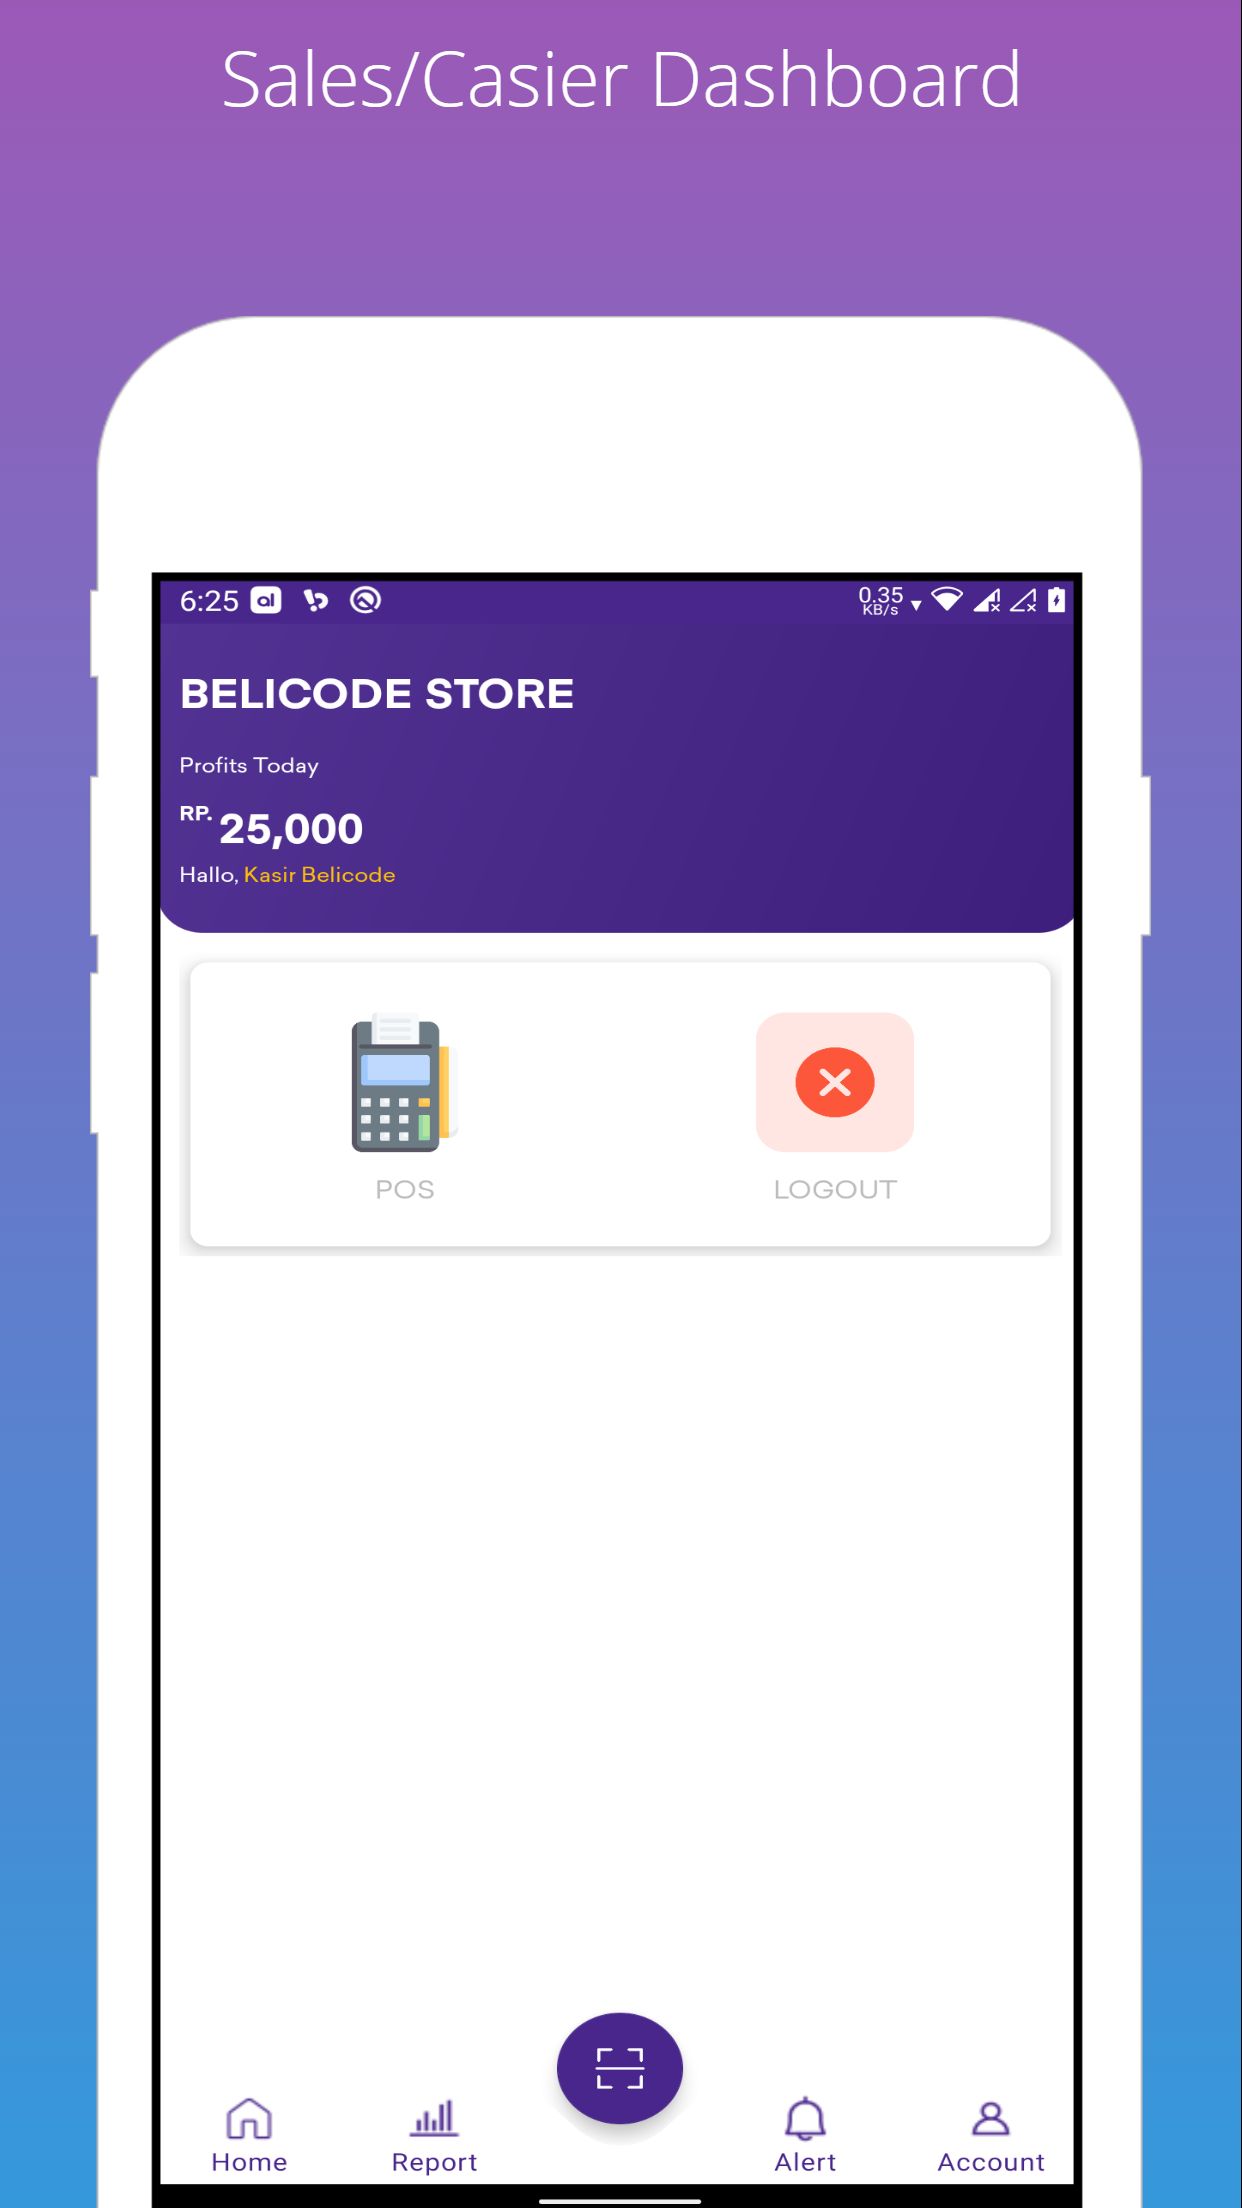
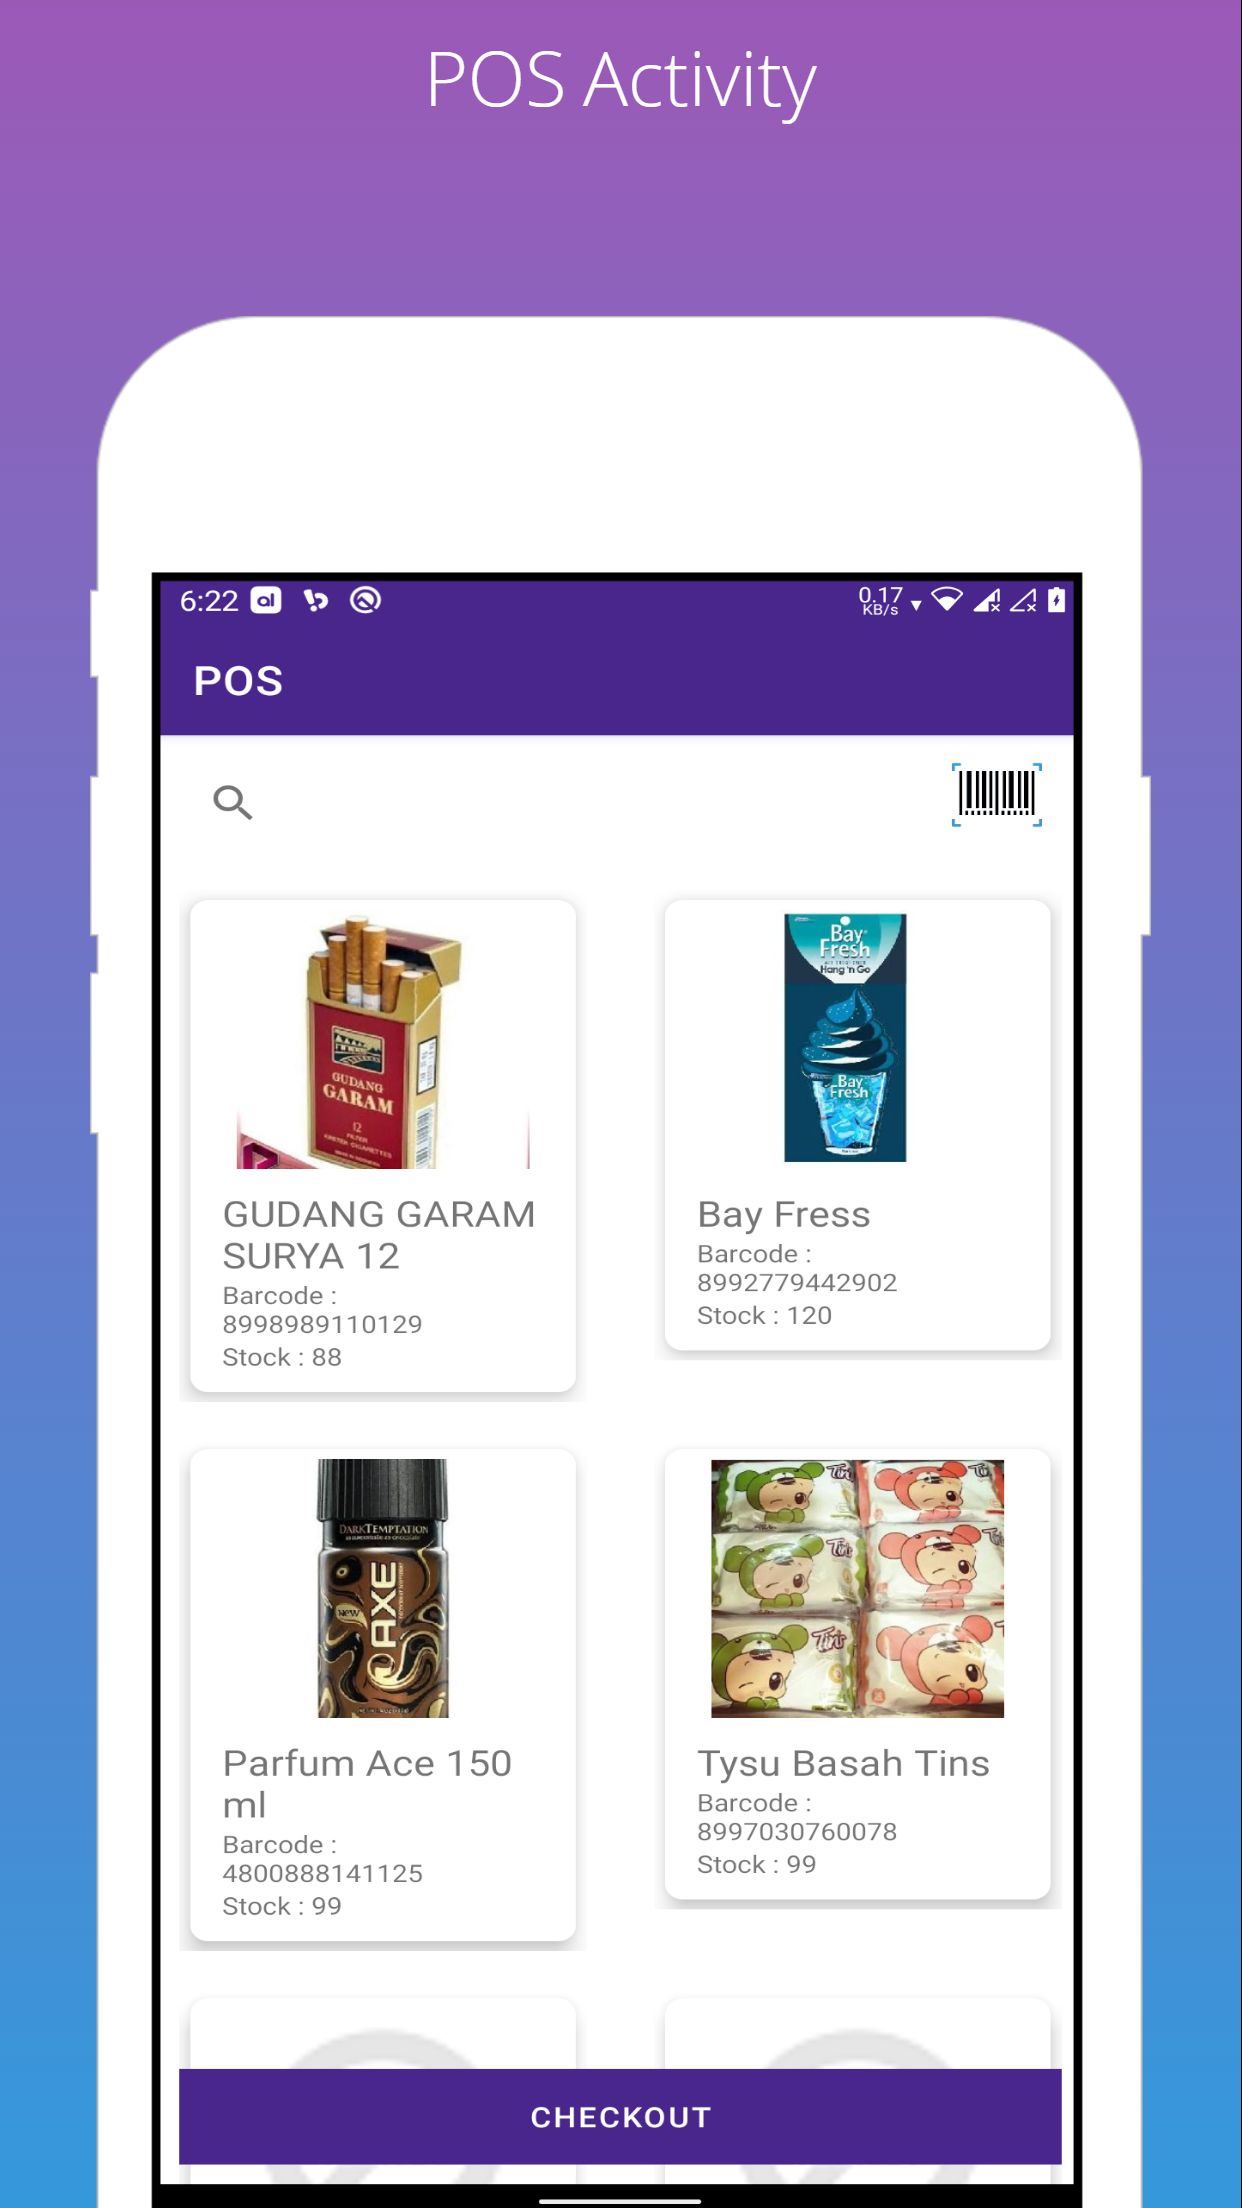
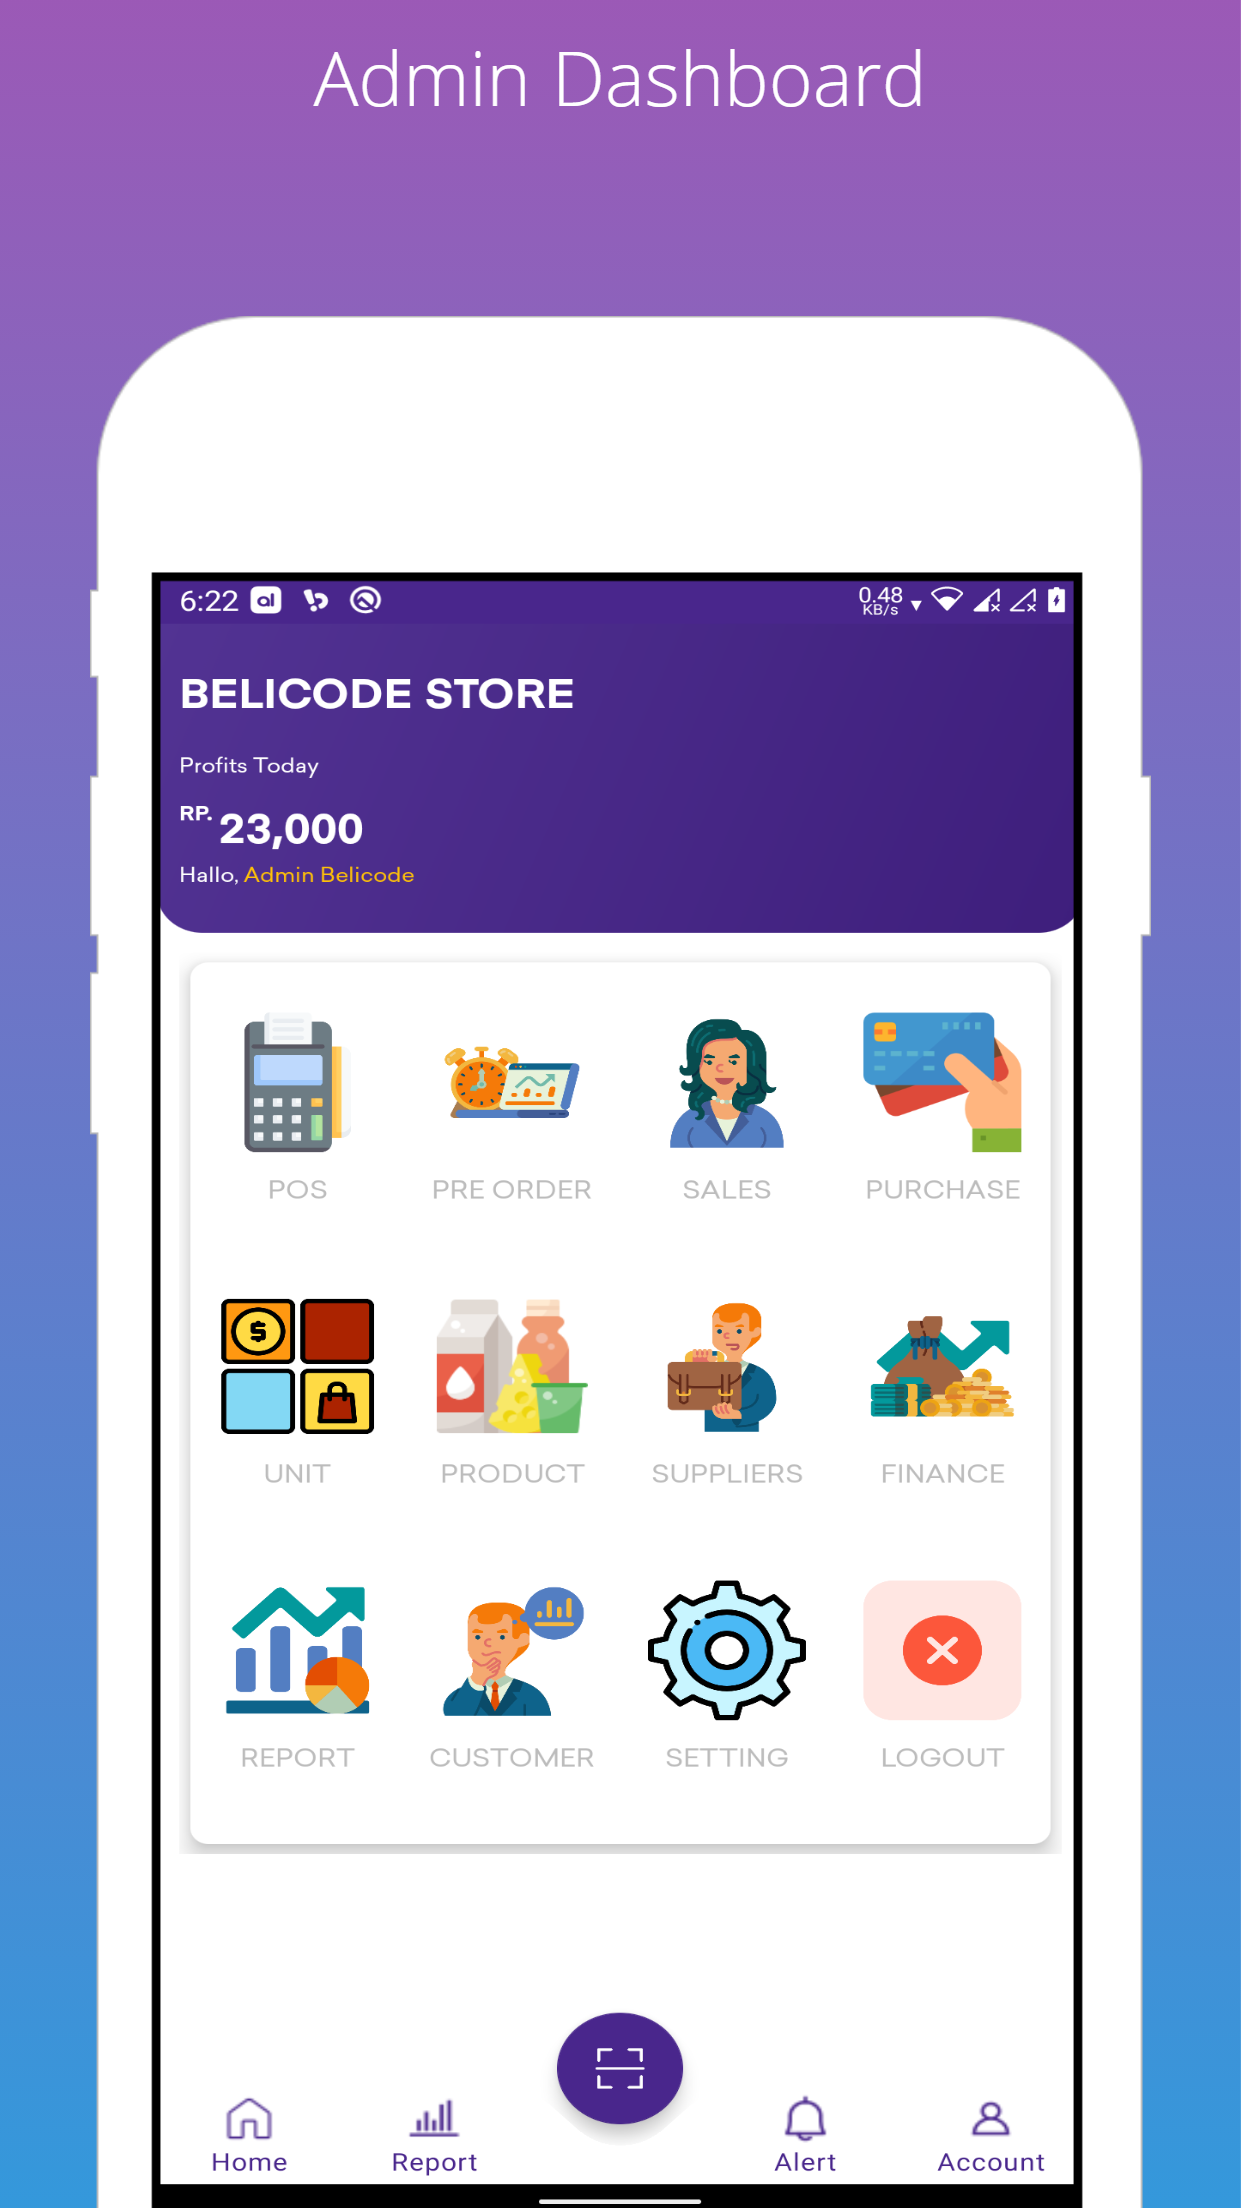
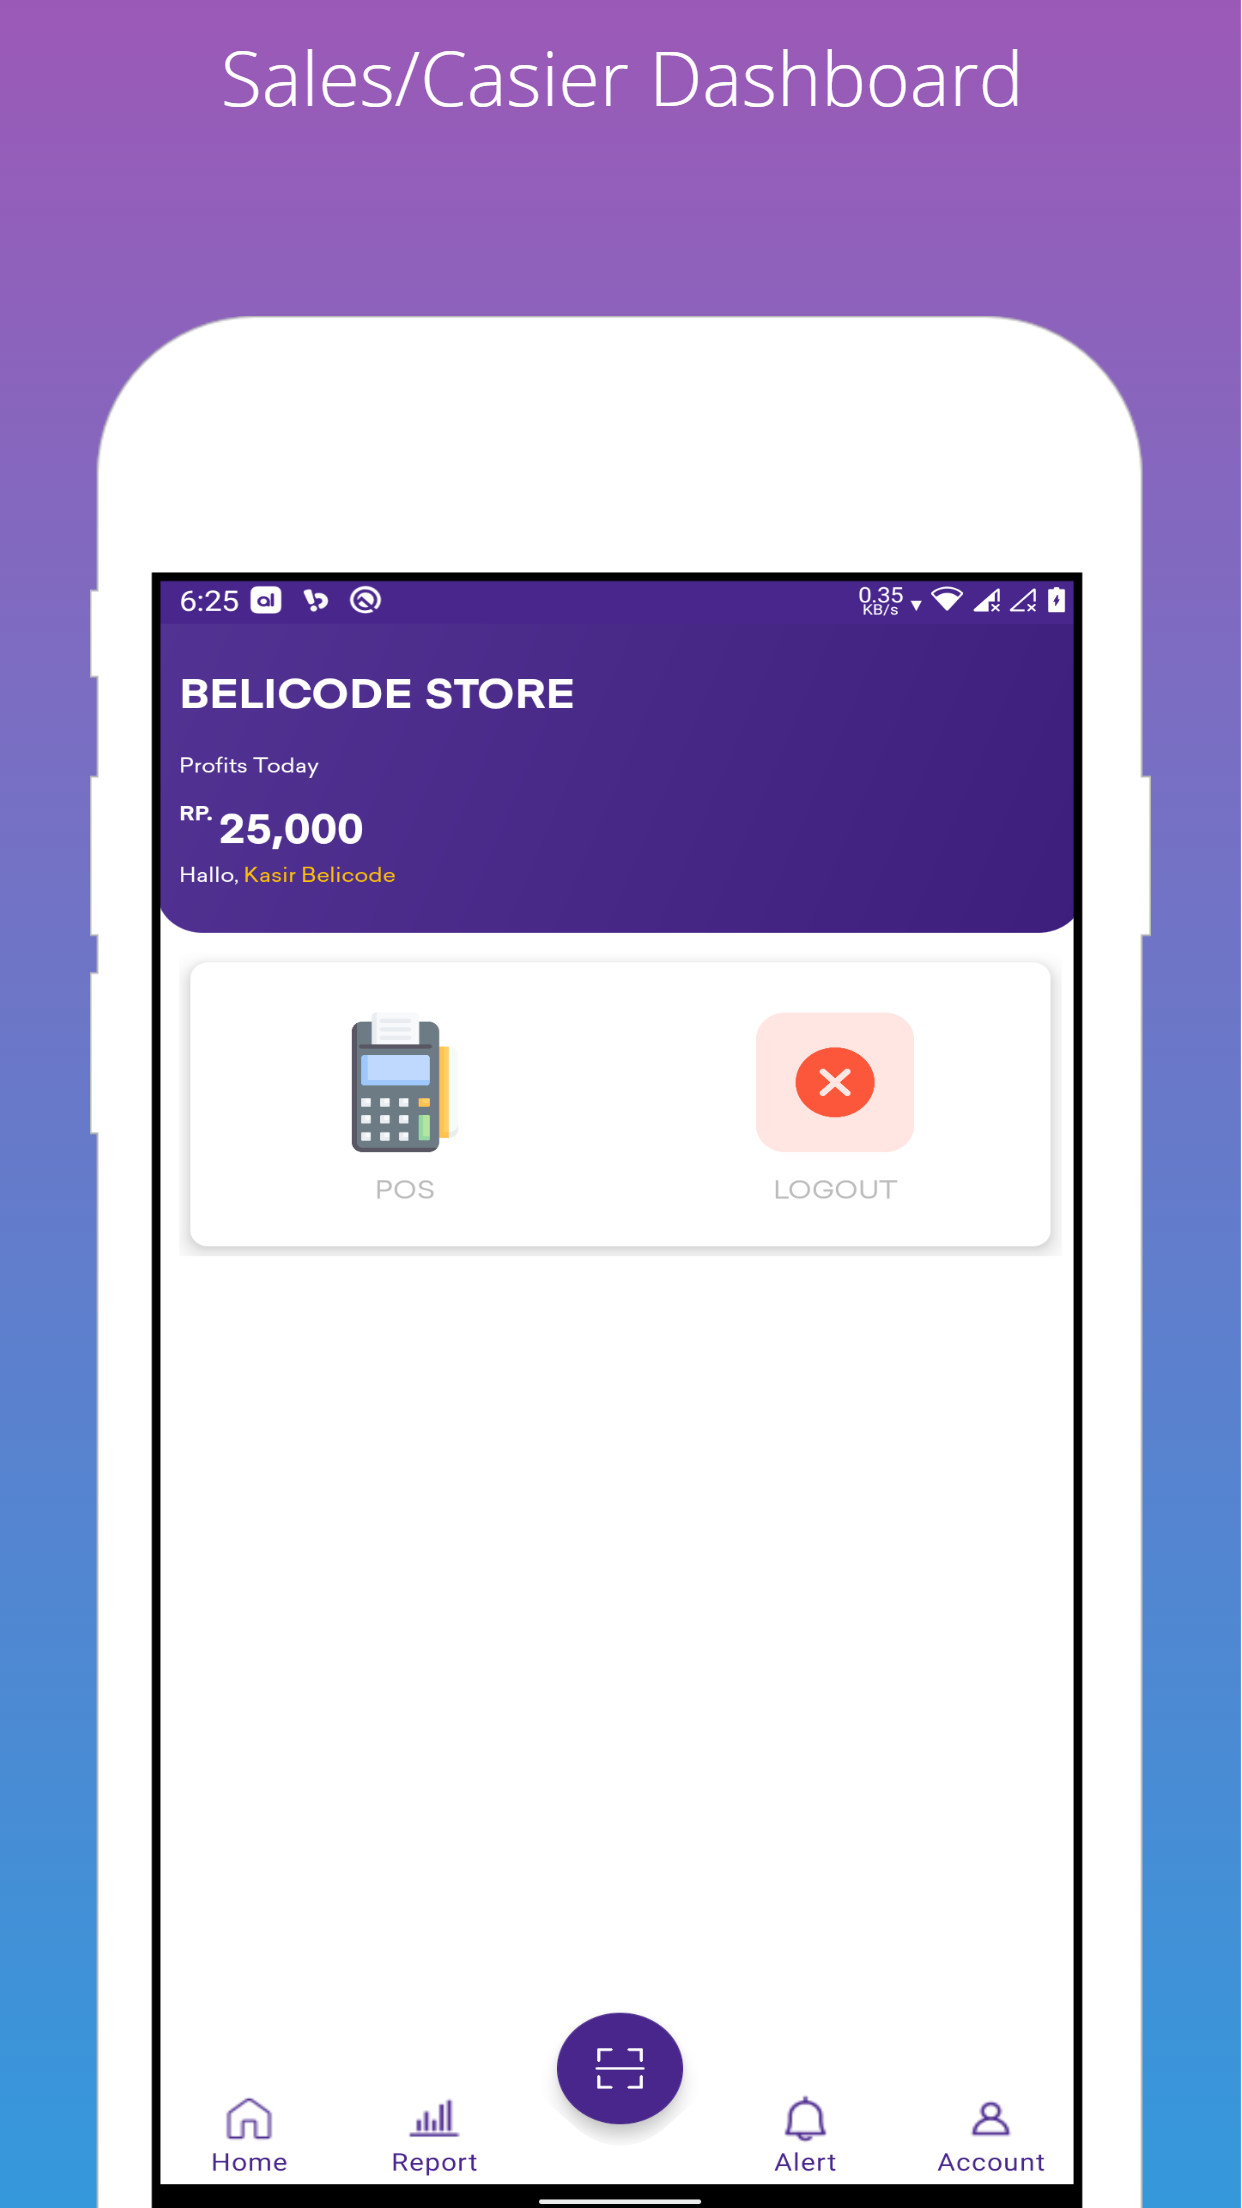
POS Component
The POS is the place where sales are made and handled. The POS is made to provide everything the cashier need to process orders quickly and easilly. 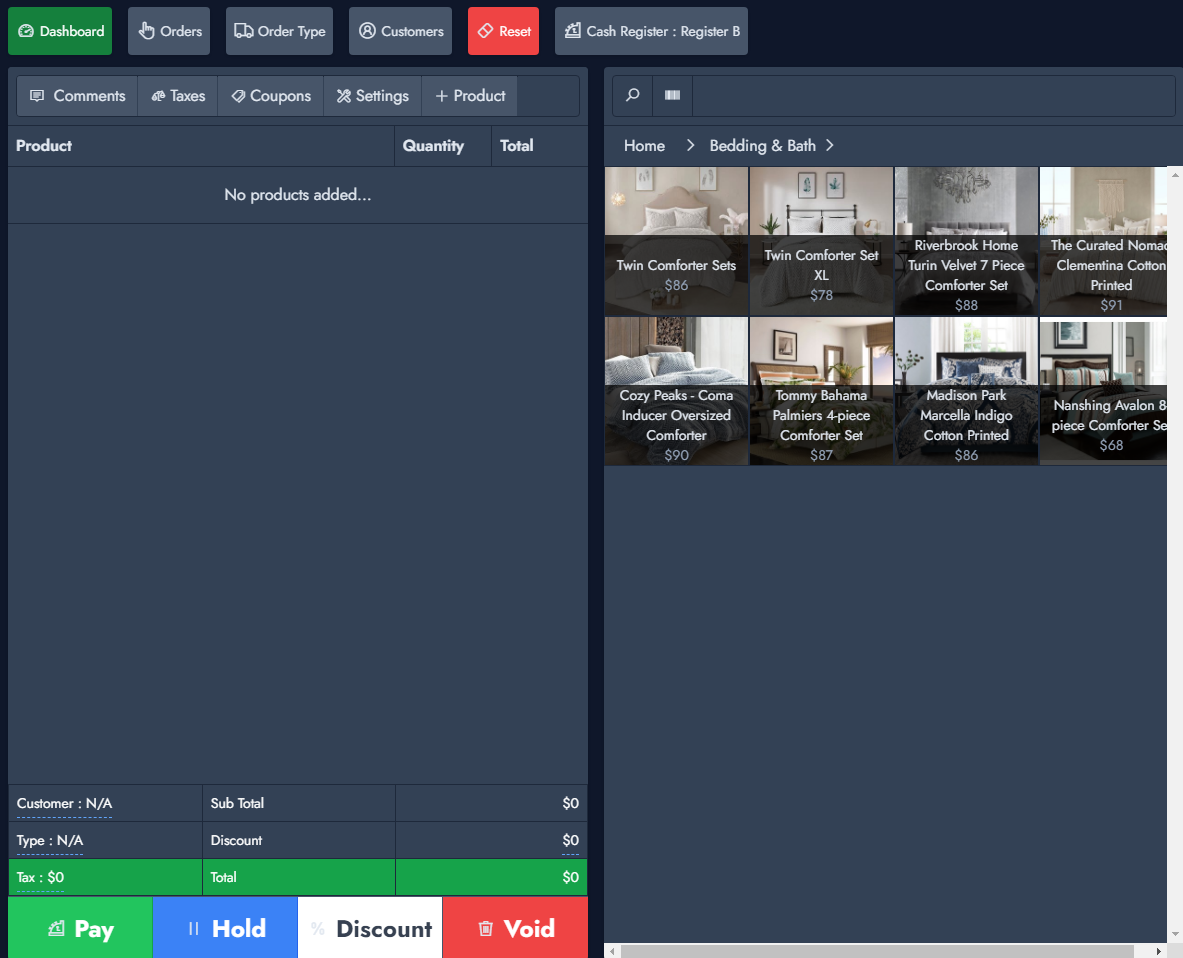
Orders Components
Every saved sales are listed on the orders list. From there various operation such as opening the receipt, proceeding a refund, making payment can be performed. 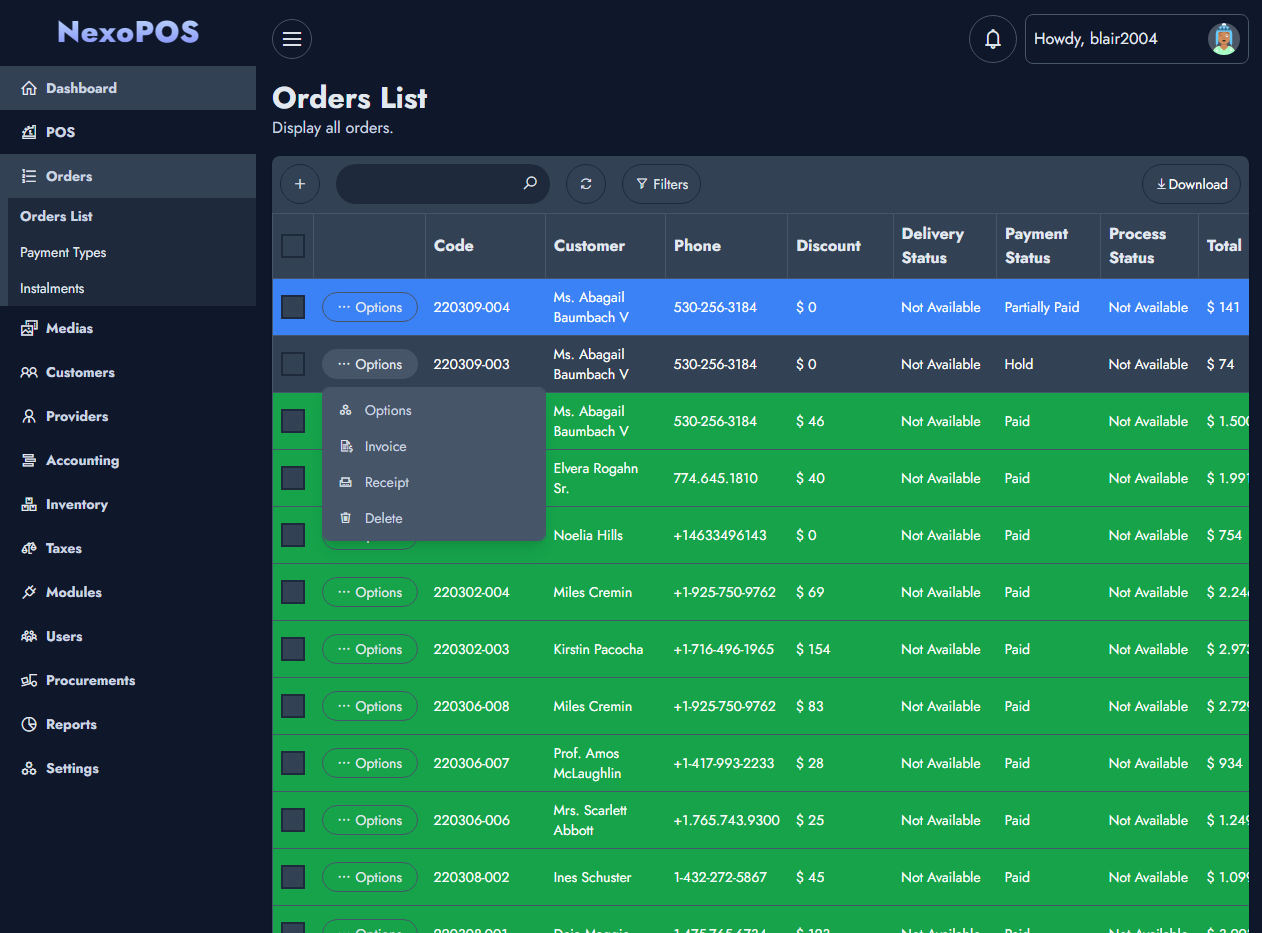
Products Components
The resources that are sold are the products. The product UI has been simplified to make sure all necessary details can be added. 
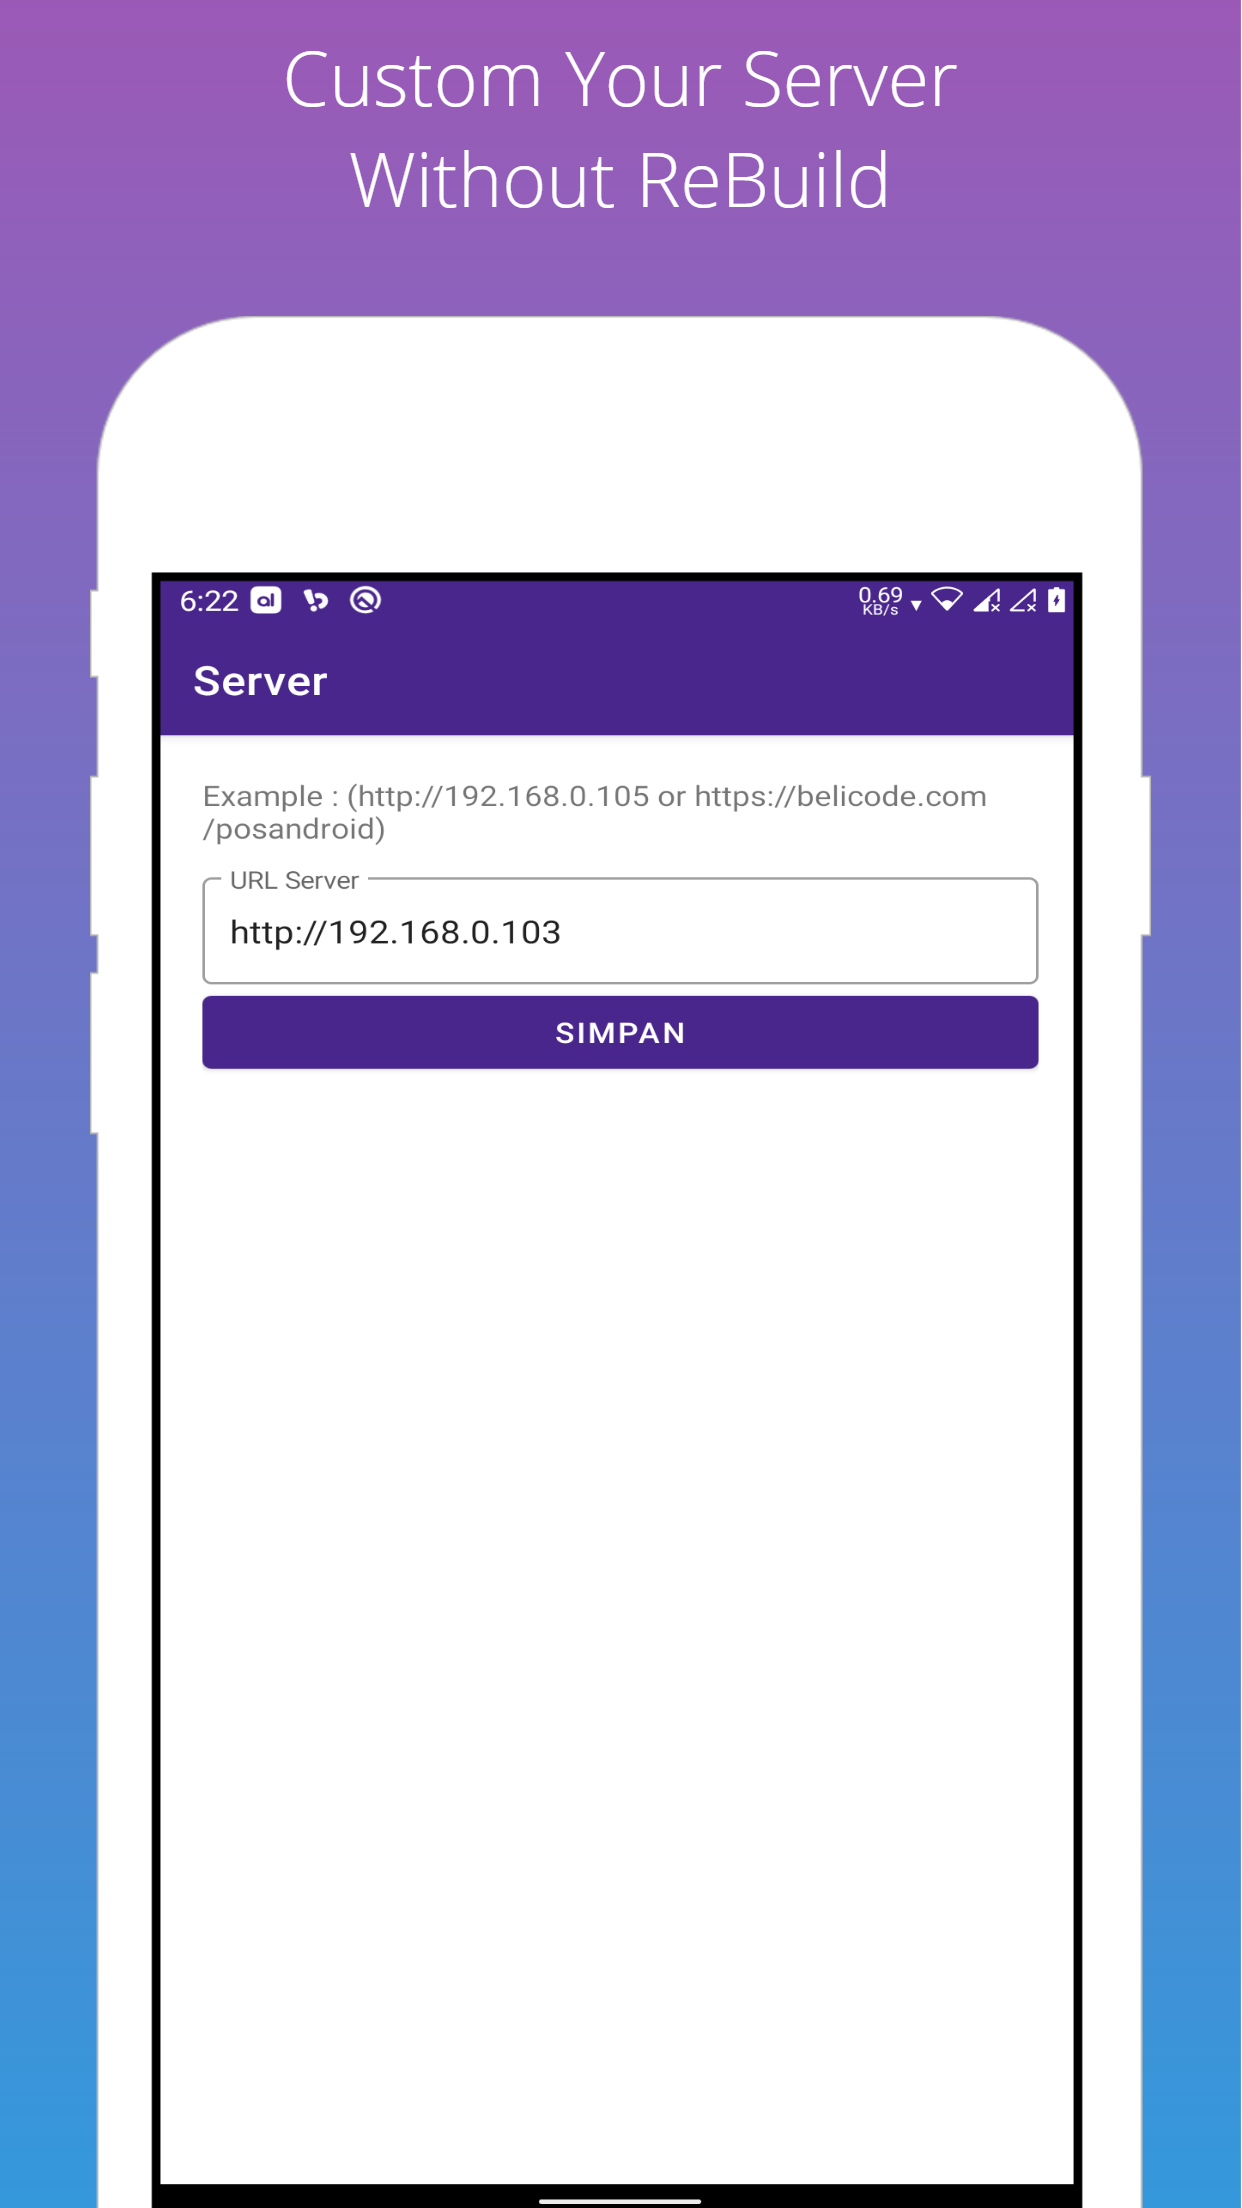
Settings Components
Configure how NexoPOS works. From the settings you can configure various section of your application including the currency, the POS features, the orders and much more.