How to migrate VMs from VirtualBox to VMware
Introduction
When we talk about Virtual Machines (VMs) we always talk about VMware VMs. VMware has been dominating the x86 virtualization market for years. There are still other vendors out there that also deliver x86 virtualization solutions. One of those is Oracle VirtualBox for example.
VirtualBox is a free and open-source hypervisor for x86 virtualization that was originally released by Innotek GmbH in 2007. Sun Microsystems acquired Innotek in 2008 and Oracle bought Sun in 2010. Since then, the product is known as Oracle VirtualBox.
VirtualBox is a so-called “Type 2 hypervisor”, which means it runs on top of an operating system such as Windows, Linux or macOS. VMware Workstation for Windows/Linux and VMware Fusion for MacOS are type 2 hypervisors.
A “Type 1 hypervisor” runs directly on bare metal. KVM and VMware ESXi are examples of type 1 hypervisors.
Type 2 hypervisors are often used on workstations or laptops to spin up additional machines with isolated operating systems. For example, you can install Windows on a MacBook inside a type 2 hypervisor. Software developers also make frequent use of type 2 hypervisors because they can spin up isolated Dev/Test environments very easily.
This blogpost will explain how to migrate Virtual Machines from Oracle VirtualBox to VMware Fusion and to VMware ESXi.
Environment
The environment used to detail the steps required for this migration is fairly straightforward.
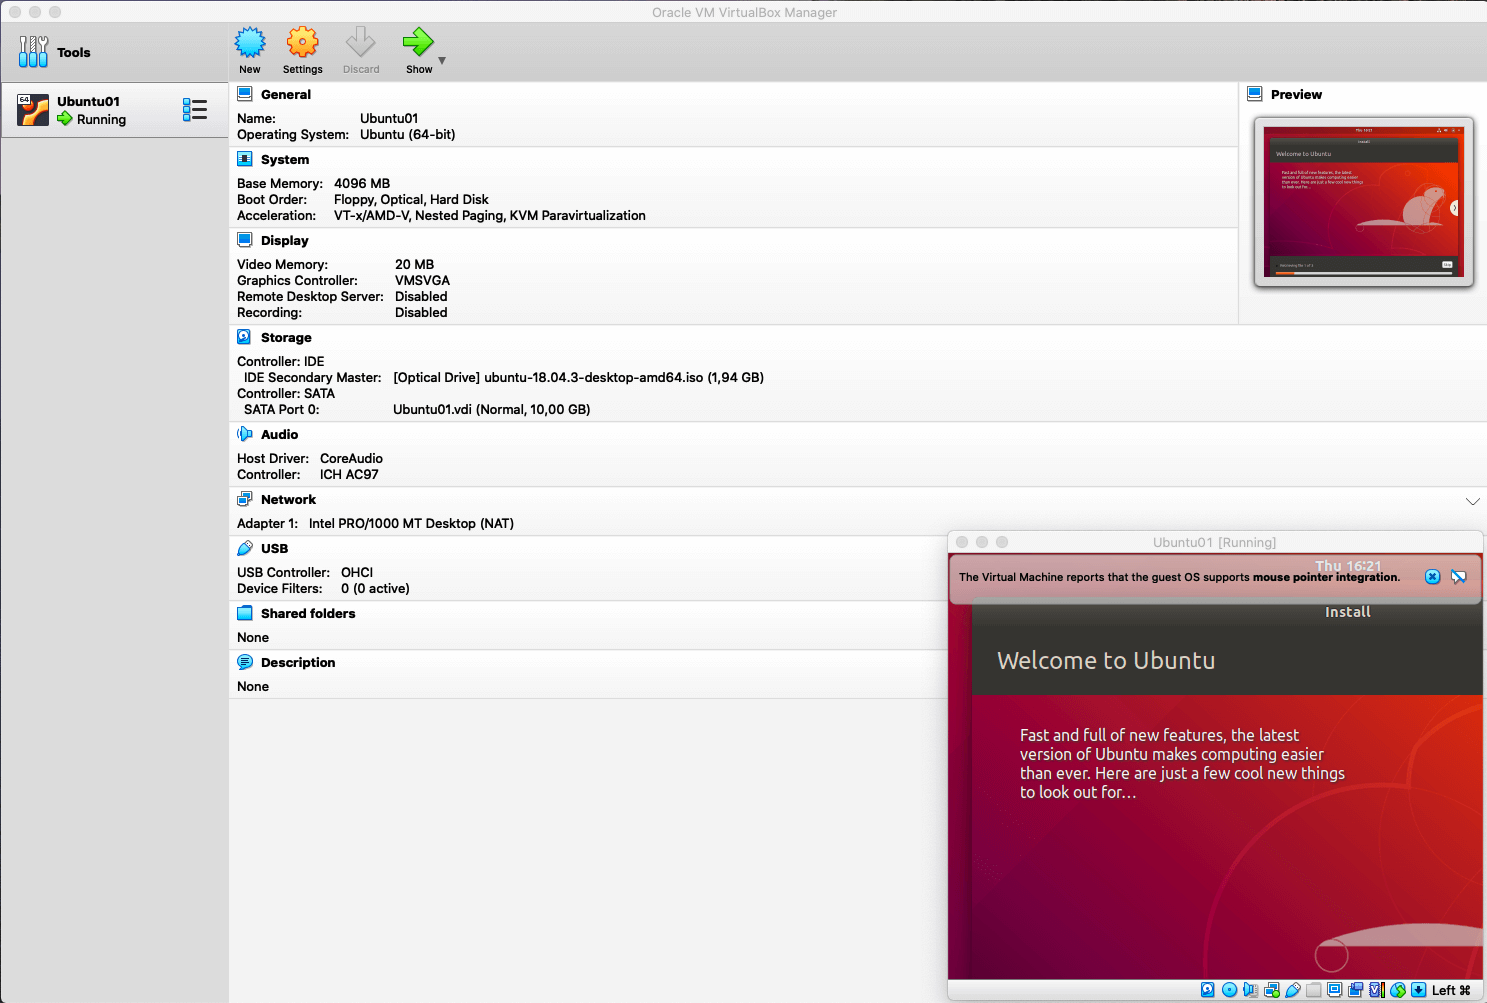
Oracle VirtualBox 6.1 is installed on a MacBook Pro and an Ubuntu 18.04 Virtual Machine is running inside VirtualBox:
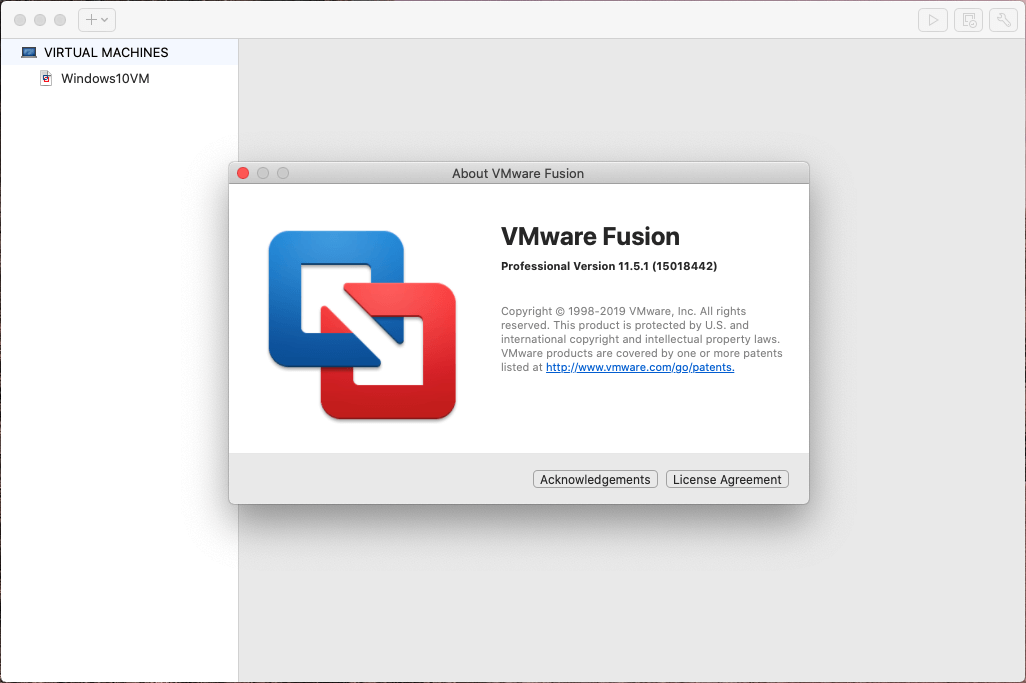
VMware Fusion 11.5.1 is also running on the MacBook Pro:
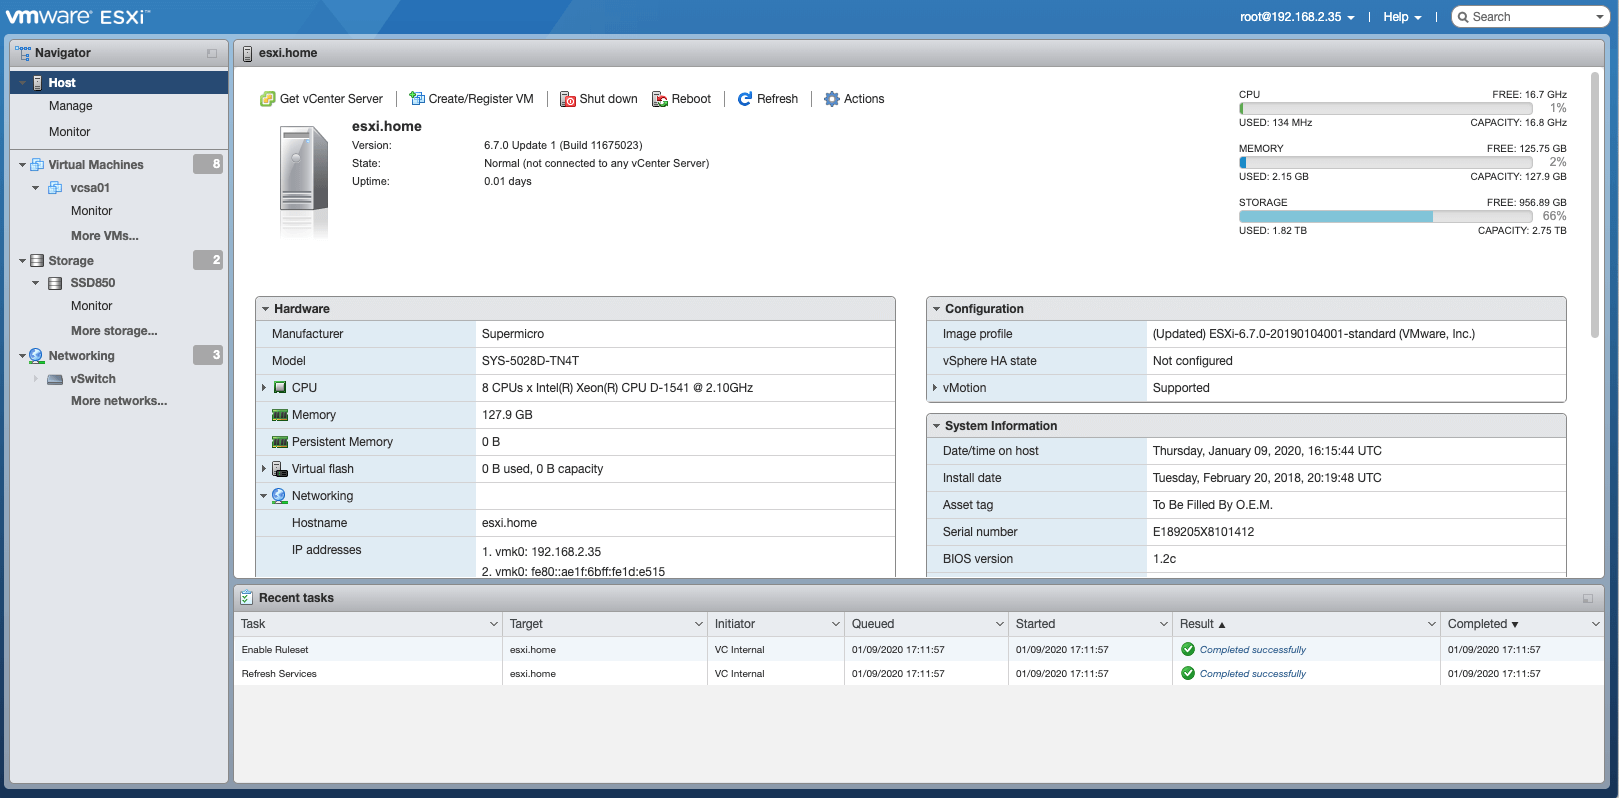
To test migration from Oracle VirtualBox to VMware ESXi, there is also a server running ESXi 6.7 U3 available:
Tools used
There are multiple ways to migrate a Virtual Machine between hypervisors and various tools can play a role. VirtualBox can export a Virtual Machine to an Open Virtualization Format Archive (OVA). OVA is an open standard for packaging and distributing virtual appliances and is widely supported. Finally, there are tons of third party solutions in the market that support this type of migration.
Step-by-step process
In this process, we are going to export the VirtualBox VM to OVA format which we will be importing in VMware Fusion and ESXi.
Exporting to OVA
- In VirtualBox, shut down the VM
- Go to File, Export Appliance and select the VM to export
- Click Continue
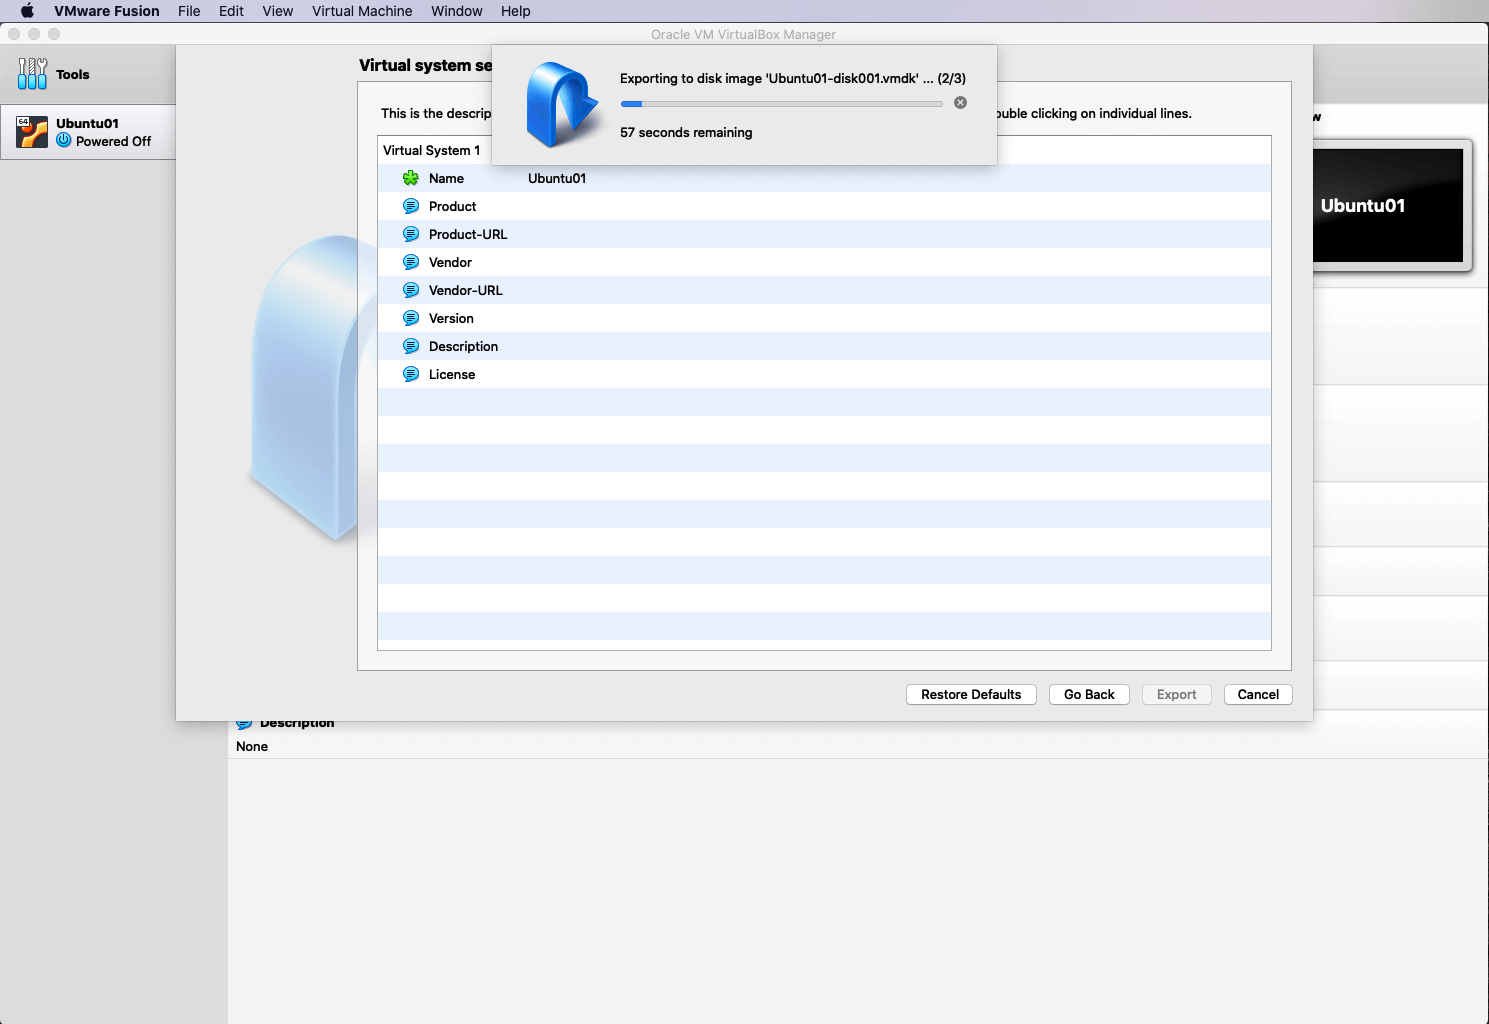
- Click Export
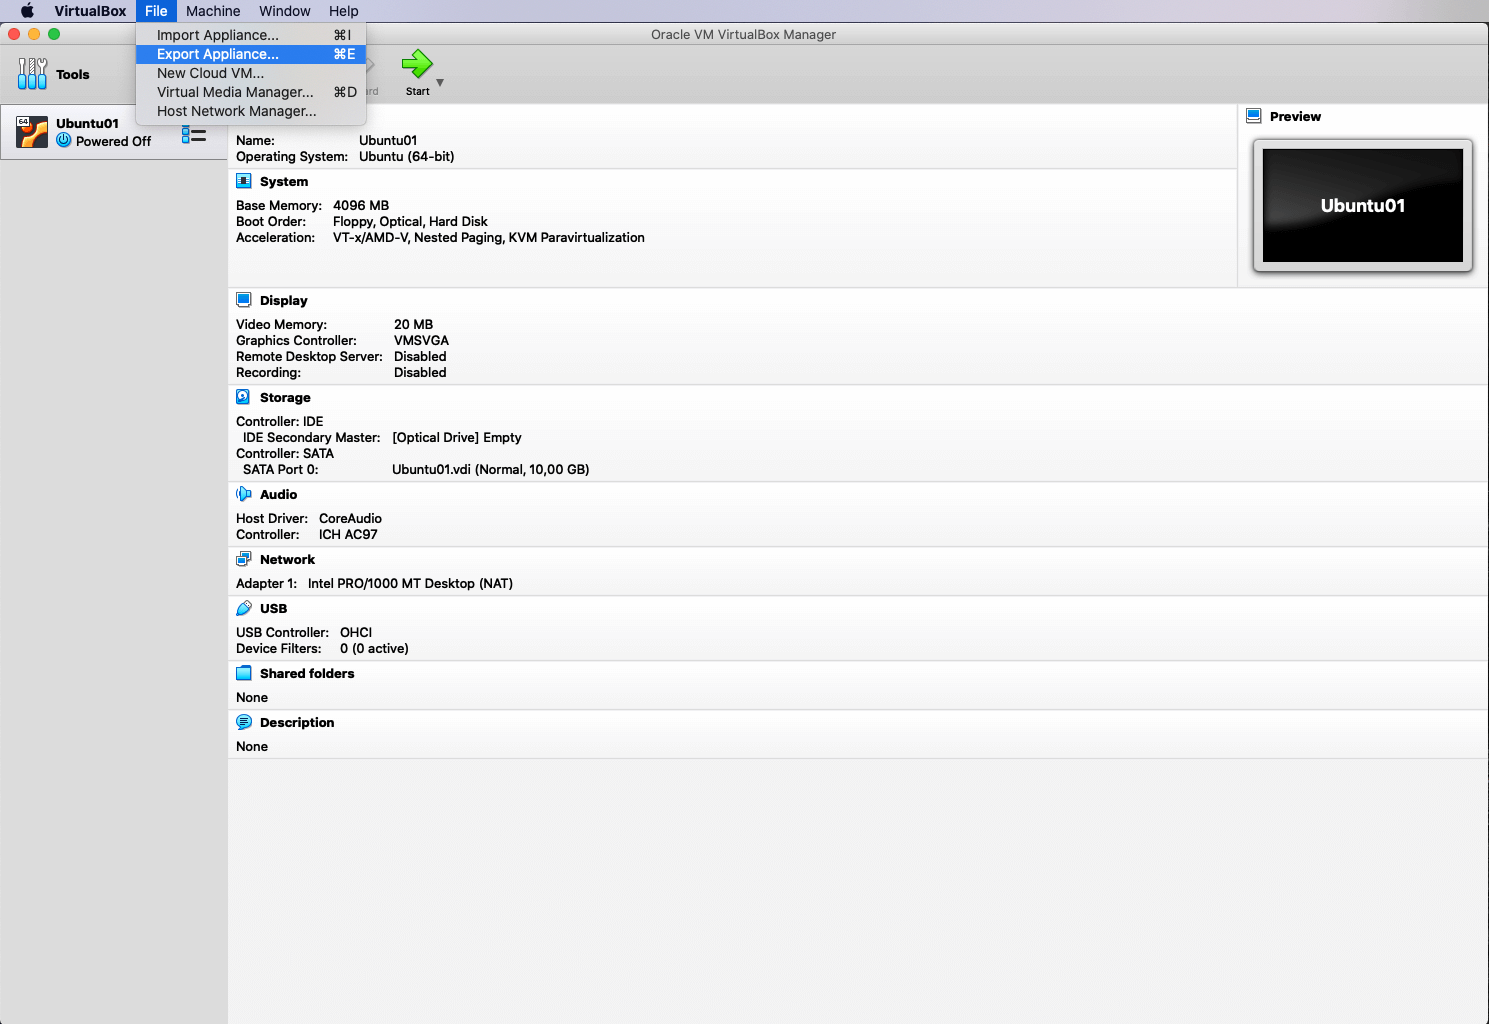
The VM is now being exported as an OVA which we can import into VMware Fusion
Importing the OVA in VMware Fusion
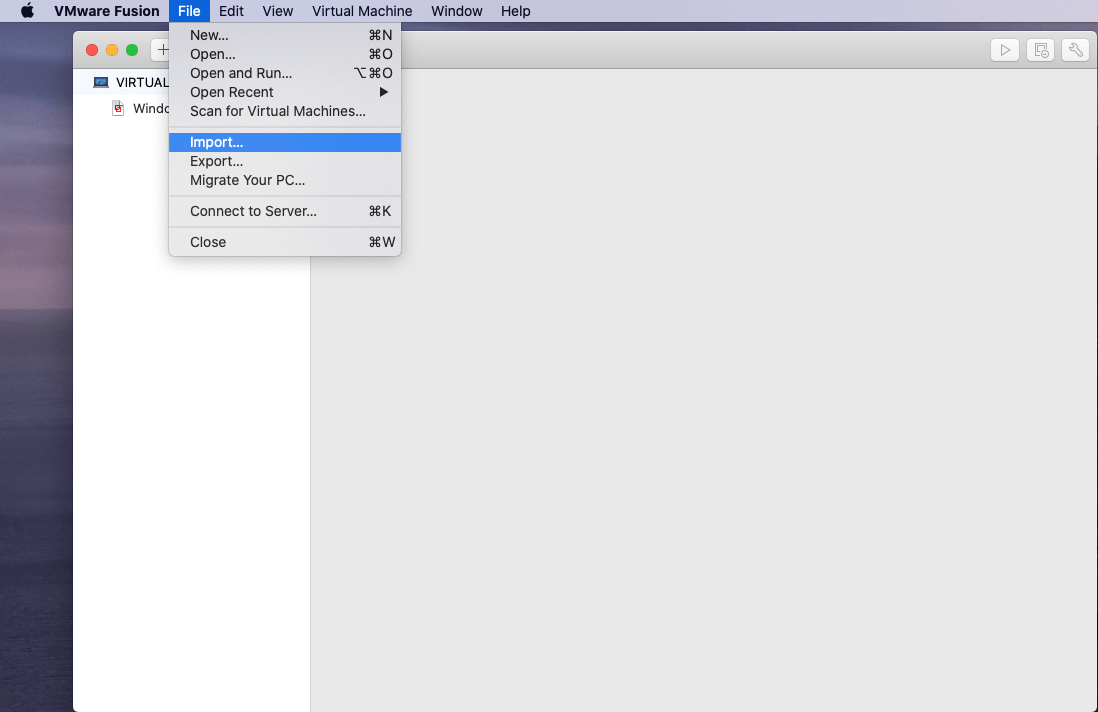
- In VMware Fusion, go to File, Import
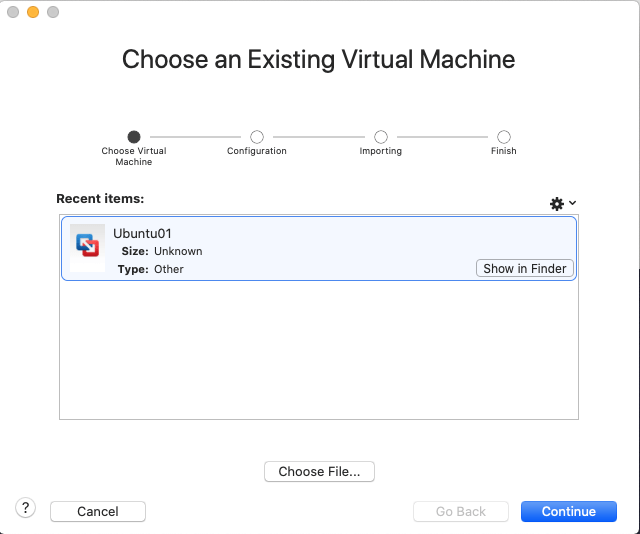
- Select Choose File and select the exported OVA
- Click Continue
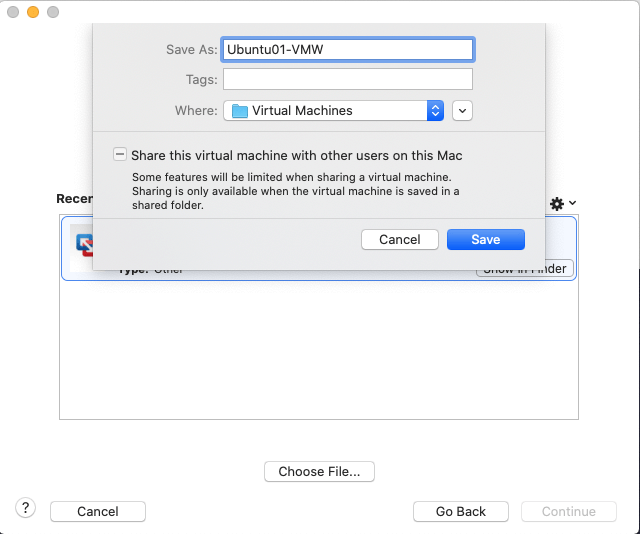
- Provide a name for the imported VM and click Save
- If you get an error on the OVF specification conformance or virtual hardware compliance, click Retry
- After the import completes, click Customize Settings to verify the VM specifications.
- If everything checks out, click Finish
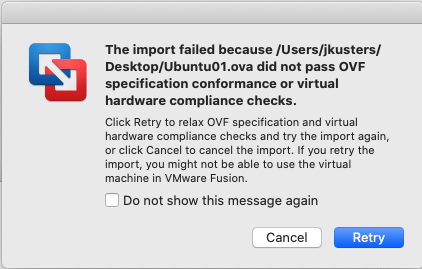
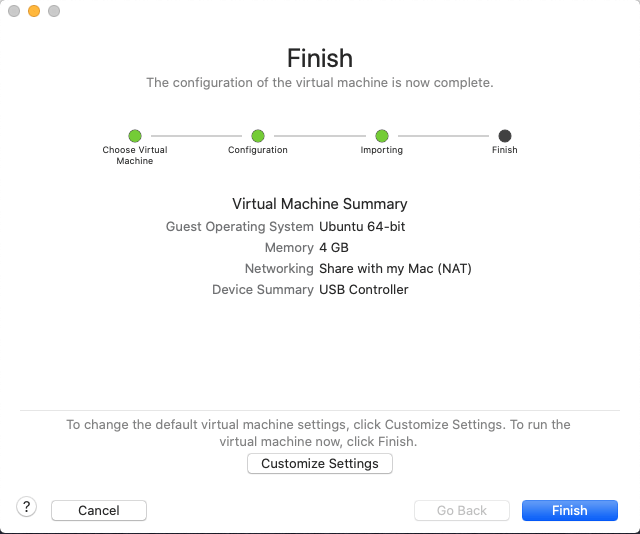
Depending on the version of VMware Fusion, there might pop up a question about upgrading the virtual machine hardware version. Verify your interoperability requirements and choose accordingly. The VirtualBox VM is now successfully migrated to VMware Fusion.
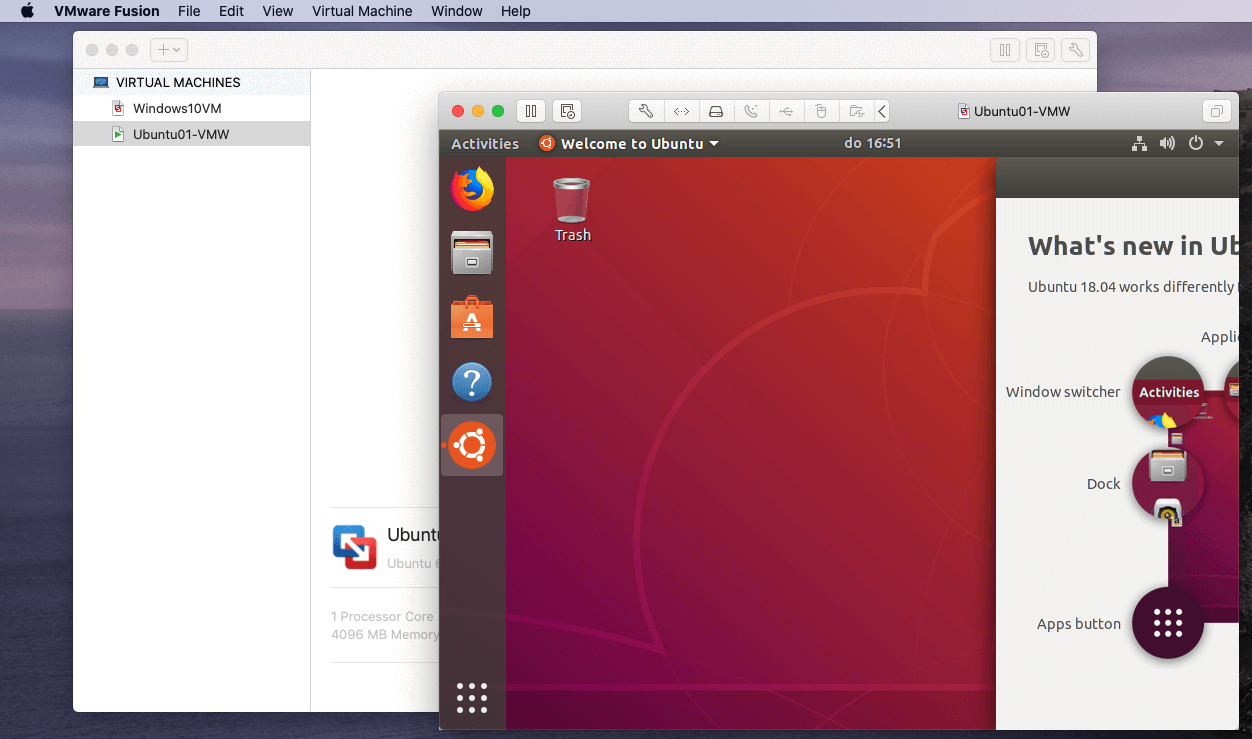
Importing the OVA in VMware ESXi
Using the same exported OVA from the previous process, we will now be importing it into VMware ESXi, which is a bare metal Type 1 hypervisor.
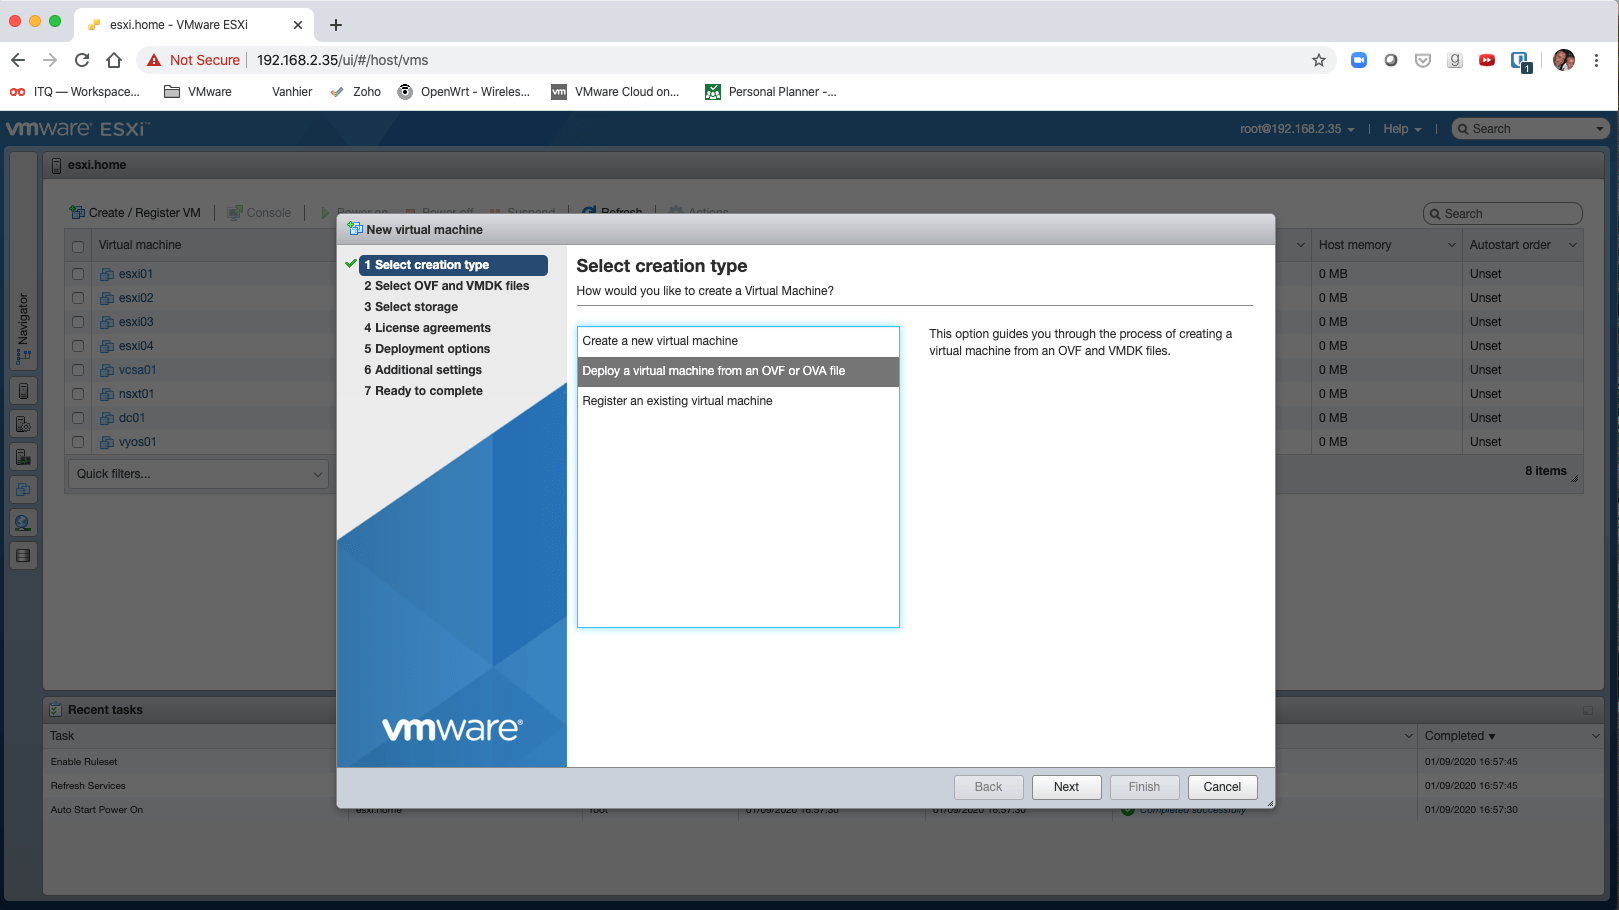
- In the ESXi UI, click Create / Register VM
- Select Deploy a virtual machine from an OVF or OVA and click Next
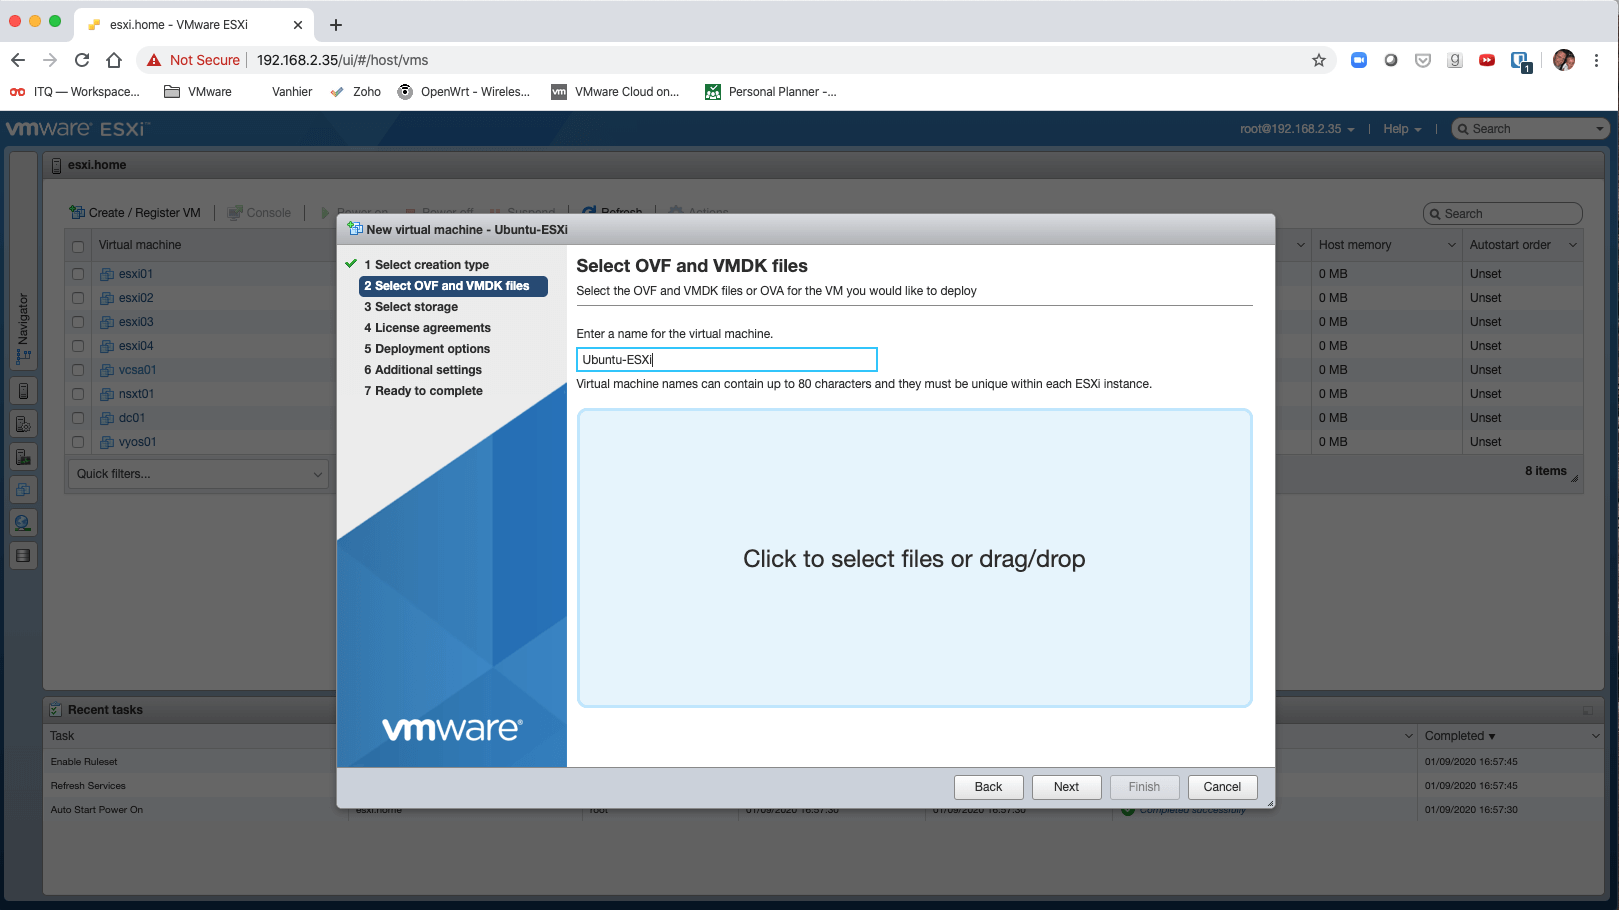
- Provide a name for the VM and “Click to select files or drag/drop”
- Select the OVA and click Next
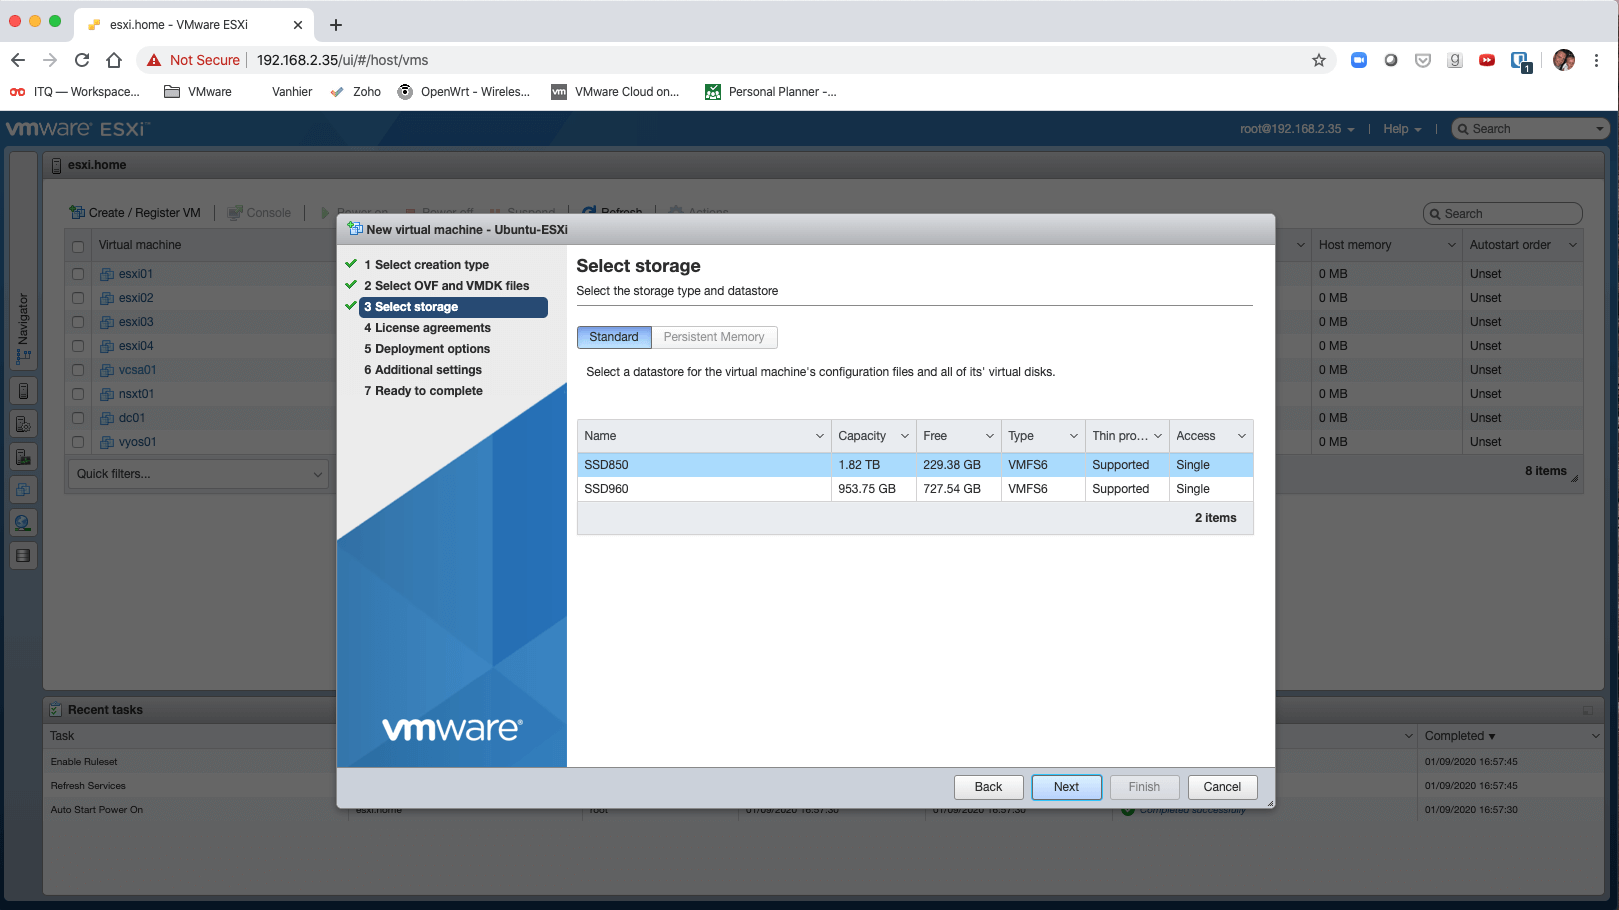
- Select a datastore and click Next
- Select a suitable network, disk provisioning method and click Next
- Click Finish and wait for the import to finish.
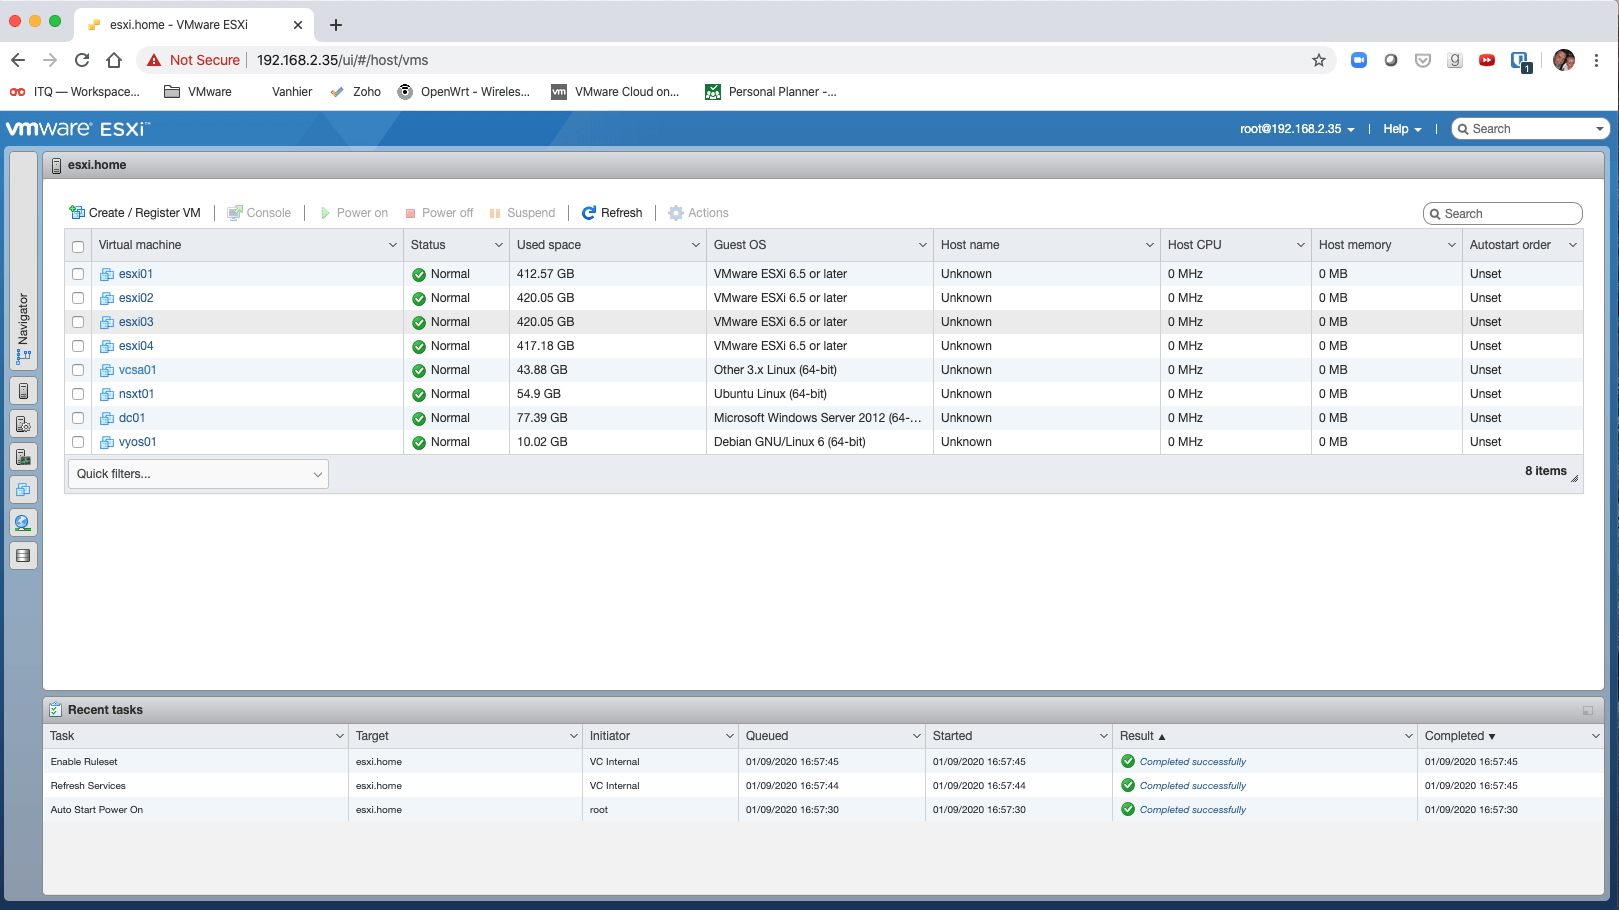
Conclusion
We have successfully migrated an Ubuntu VM to both VMware Fusion and to VMware ESXi. Typically, you would migrate more often from VirtualBox to Fusion because both are type 2 hypervisors that run on a workstation or laptop. ESXi is a datacenter product that mostly runs backend servers.

Tidak ada komentar:
Posting Komentar