Steps to Setup On-Premise IDP
The miniOrange identity provider (IdP) is a service that stores and verifies user identity. IdPs are typically cloud-hosted services, and they often work with single sign-on (SSO) providers to authenticate users.The purpose of this guide is to get you up and run as quickly as possible so that you can play with and test-drive various features that miniOrange has. It is a standalone application with default database and packaged tomcat and does not cover any complex deployment options. We support both windows and linux os for installation.
This short tutorial walks you through starting up the server in standalone mode, setting up the initial admin account, and logging into the miniOrange admin dashboard.
System Requirements
miniOrange On-Premise server has the following system requirements. This section lists recommended versions and requirements.
- Operating System: Any operating system that runs minimum Java 8
- CPU Core: 4 Core
- RAM: 4GB or above
- HDD: 20GB or above
- JAVA Environment: jdk1.8.0_381 and above
- Server Access Policies: Port 80 (HTTP Port) Port 1812, 1813 (Radius UDP Port), RDP Port(Windows Server)- For login, SSH Port(Linux Server)- For login
- Database: Find the list of all supported versions here.
Install On-Premise Server
You can download miniOrange On-Premise server from here
Follow the steps to deploy miniOrange On-Premise server on your operating system:
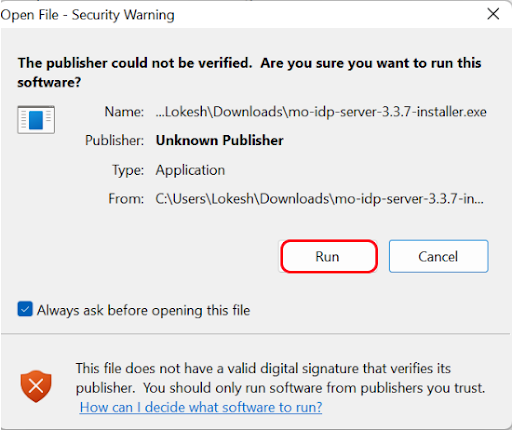
- Run the downloaded installer (exe) file.
- Run the below command from command prompt in the directory where the exe file is.
CertUtil -hashfile mo-idp-server-4.1.0-installer.exe SHA256 - Compare the hash generated to the checksum below.
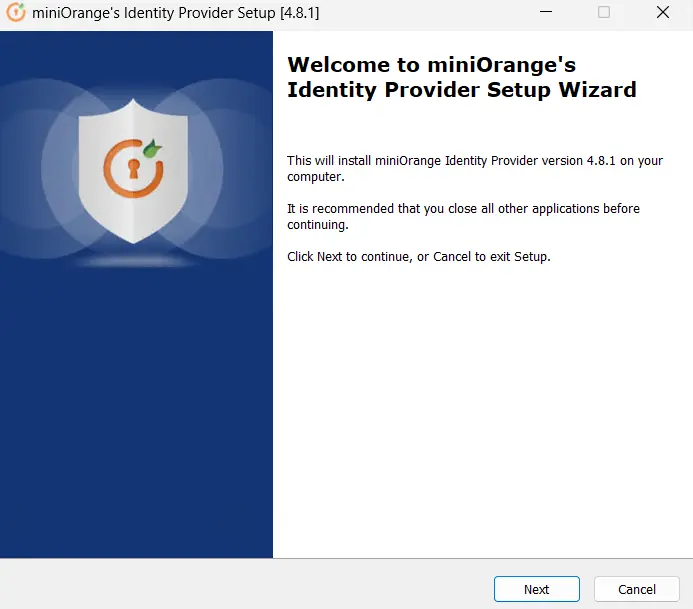
64FCB390BB85A8583FA9373225C85F558324383B4CB704F13F83657667946488 - You will be presented with a Welcome Screen simply click the Next button to proceed with the installation.
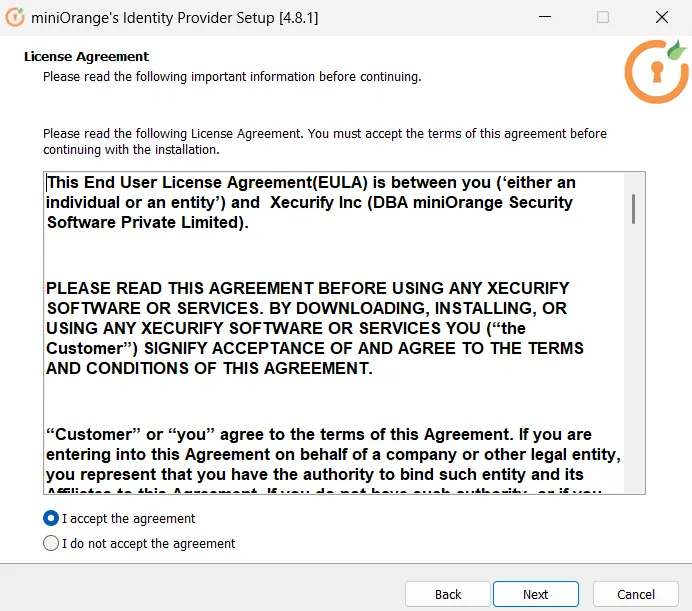
- Select the checkbox I accept the agreement after reading the License Agreement carefully and then click the Next button.
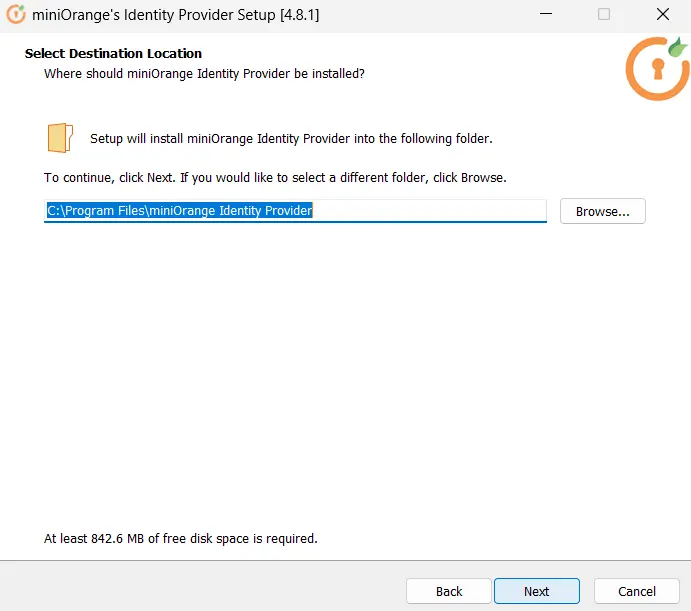
- Now Choose the Destination Location for the miniorange identity provider installation. If you prefer to continue with the Default Location, simply click the Next Button.
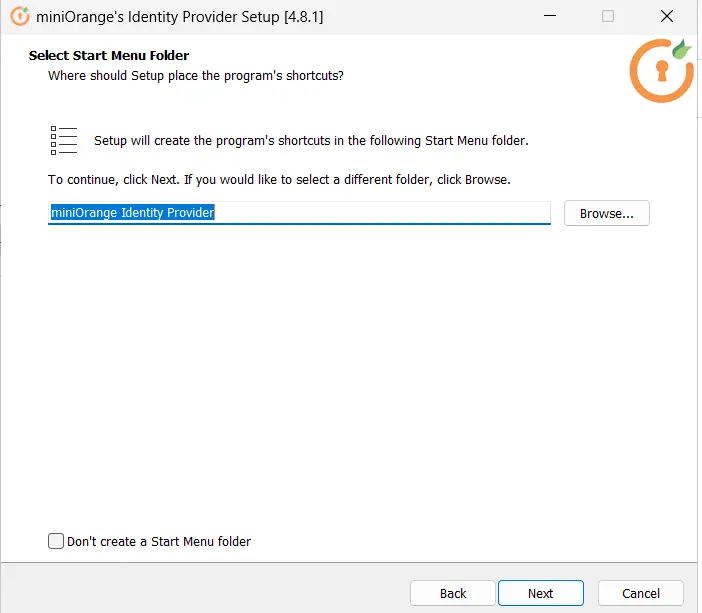
- Choose the location of your Start Menu Folder. If you wish to return to the default location, simply click the next button.
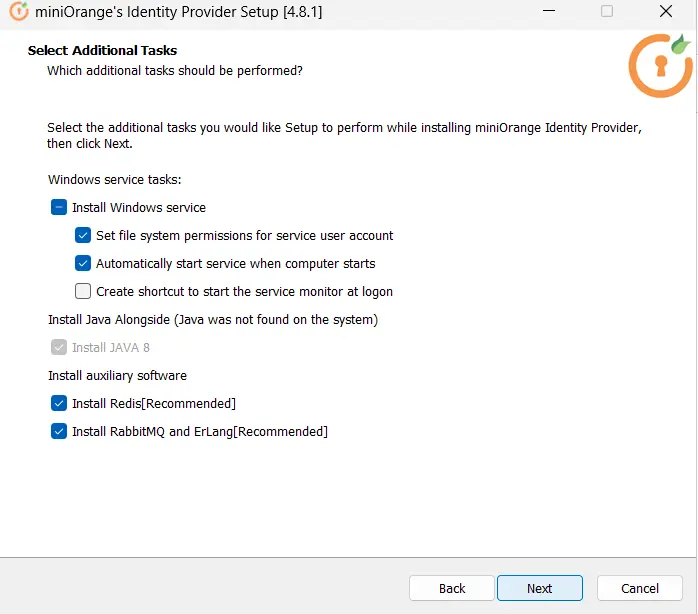
- You will then be greeted with the Select Additional Tasks screen, where you may choose to install the Windows service. For windows service Java must be installed on your computer. If it isn't already installed, it will be installed with the Windows service.
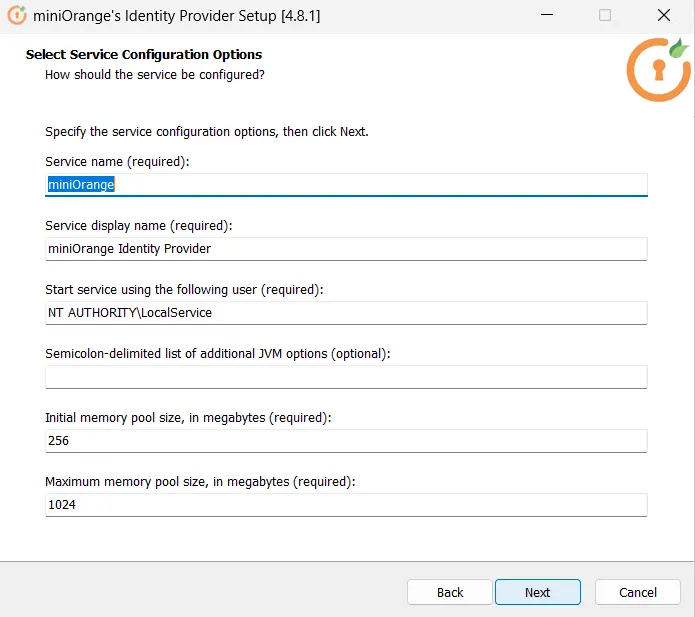
- Select the configuration choices on the Select Service Configuration Options Page, then click next
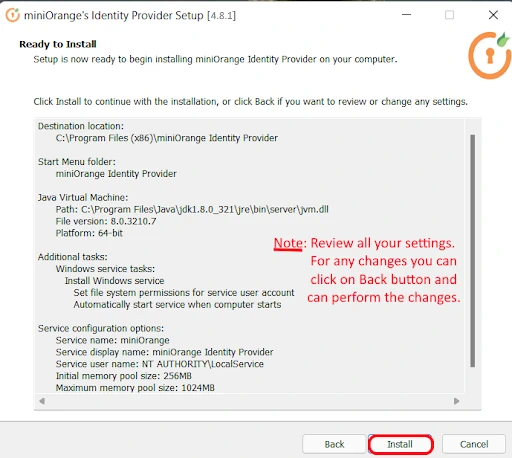
- You are now ready to begin installing the setup. You may review the details here and then click Install button to complete the installation, or click Back button to make any changes in the settings.
- When you click the Install button, it will automatically download and extract all of the required additional files that you have selected in the previous steps.
Note:
In case of no internet connectivity. You can choose and download the offline installer from here.
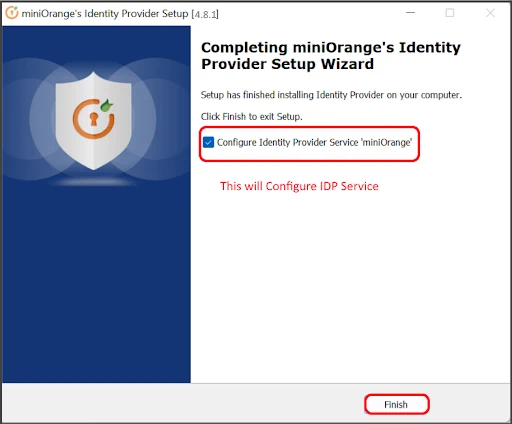
- Finally, Identity Provider has been installed on your computer by Setup. Make sure the Configure Identity Provider Service'miniorange' option is selected before clicking the Finish Button.
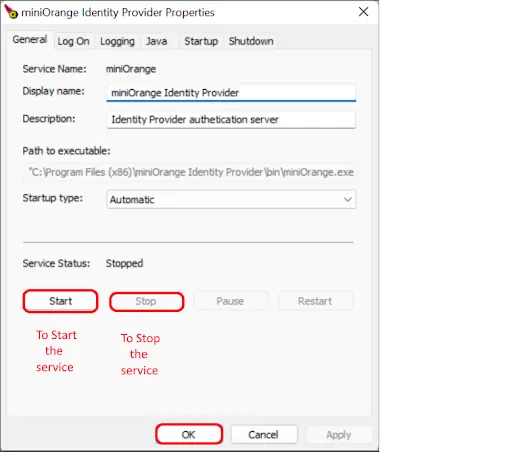
- Now is the time to begin the service. Click the Start Button. A progress bar will appear once you click the Start Button. Simply wait 30 seconds, and your service will be started. You can see it by visiting to http://localhost:8080 in your browser and after that you will be landing on the Initialize page.
Note:
You can verify the integrity of the installer using the SHA256 checksum. To verify the checksum, please follow the below steps:
Tidak ada komentar:
Posting Komentar