How to Install Kubernetes Cluster (kubeadm Setup) on Ubuntu 24.04 LTS (Step-by-Step Guide)
This document provides a step-by-step guide to setting up a Kubernetes cluster using kubeadm on multiple nodes. Kubernetes is an open-source container orchestration platform that automates the deployment, scaling, and management of containerized applications.
Kubernetes Nodes
In a Kubernetes cluster, you will encounter two distinct categories of nodes:
Master Nodes: These nodes play a crucial role in managing the control API calls for various components within the Kubernetes cluster. This includes overseeing pods, replication controllers, services, nodes, and more.
Worker Nodes: Worker nodes are responsible for providing runtime environments for containers. It’s worth noting that a group of container pods can extend across multiple worker nodes, ensuring optimal resource allocation and management.
Prerequisites
Before diving into the installation, ensure that your environment meets the following prerequisites:
- An Ubuntu 24.04 LTS system.
- Minimum 2GB RAM or more.
- Minimum 2 CPU cores (or 2 vCPUs).
- 20 GB of free disk space on /var (or more).
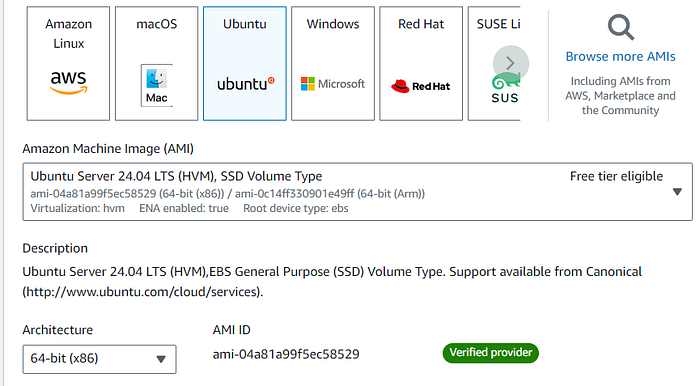
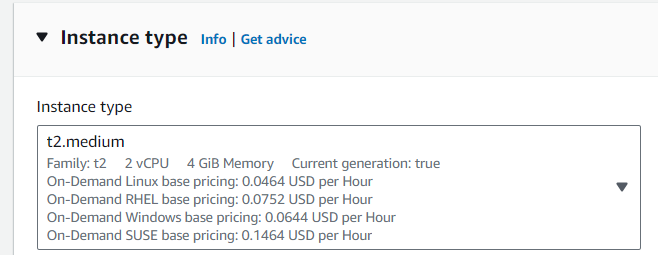

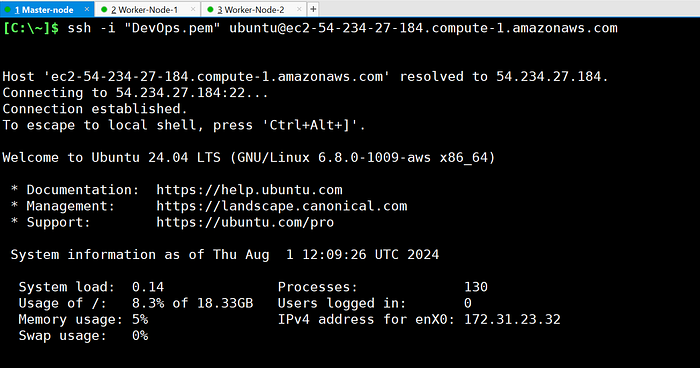
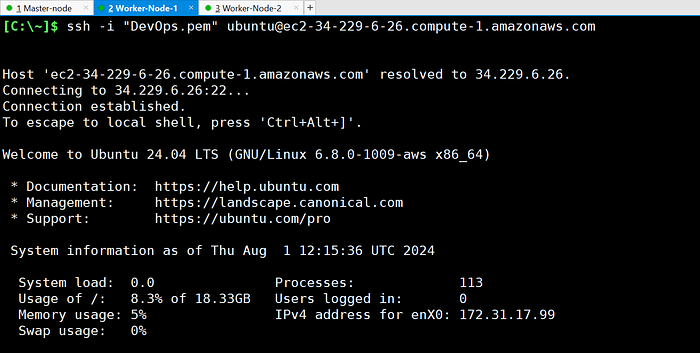
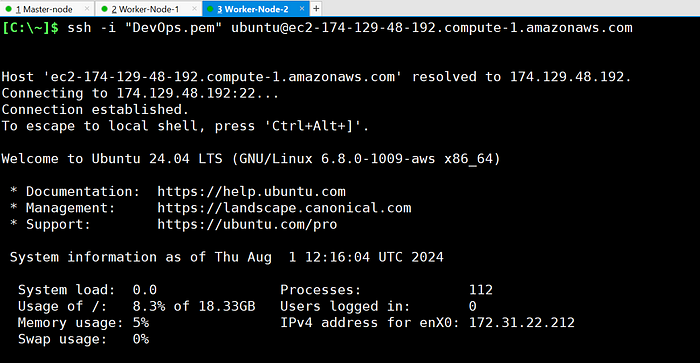
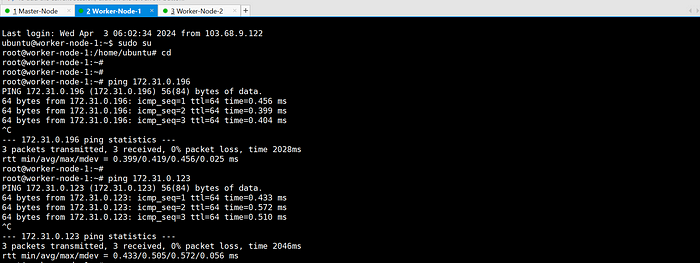
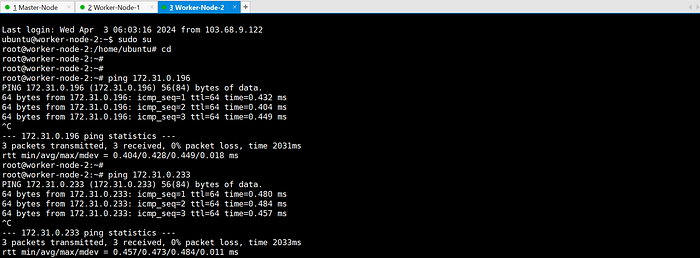
- Ensure machines in the cluster can ping each other via IP and hostname.

hostnamectl set-hostname master-node
bash
hostname
hostnamectl set-hostname worker-node-1
bash
hostname
hostnamectl set-hostname worker-node-2
bash
hostname
- Edit the
/etc/hostsfile to include mappings of IP addresses to hostnames.
$ vi /etc/hosts
172.31.0.196 master-node
172.31.0.233 worker-node-1
172.31.0.123 worker-node-2
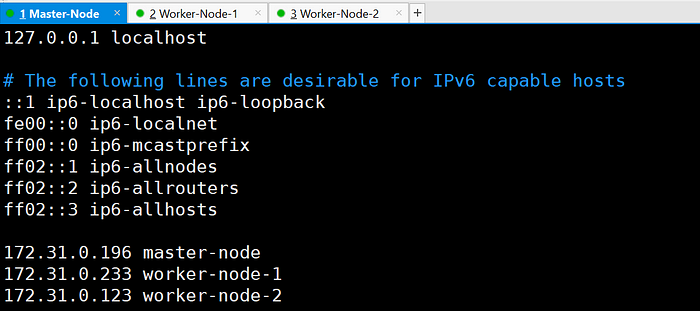
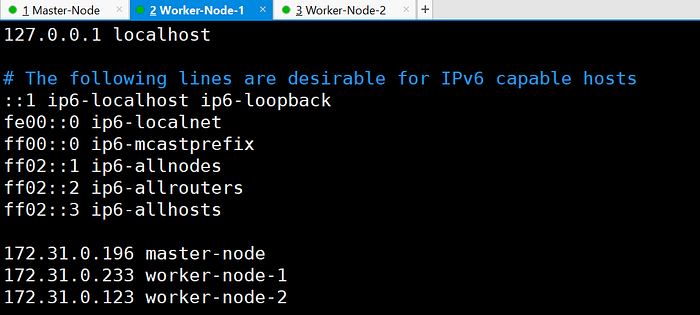
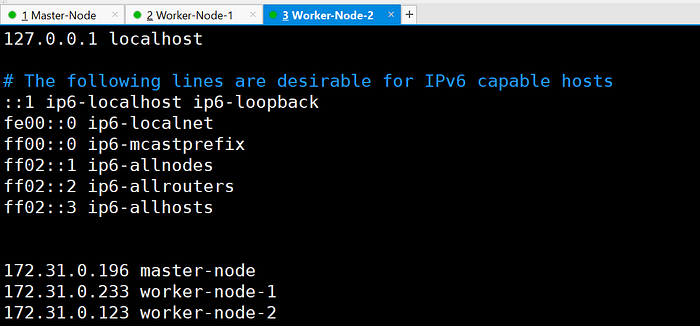
ping each other via hostname:


2. Disable swap on all nodes.
- Check swap status using
free -hand disable if necessary.
3. Open required ports in the firewall.
- Check firewall status using
systemctl status firewalld.


4. Verify minimum hardware configuration based on official documentation.
Installing kubeadm
Follow the below steps to install kubeadm and related dependencies on all nodes.
Master Node and Worker Nodes:
- SSH into the master node.
- Ensure sudo access is available.
sudo -l


Update packages and their versions.
sudo apt-get update && sudo apt-get upgrade -y


Install necessary packages: apt-transport-https, curl.
sudo apt-get update && sudo apt-get install -y apt-transport-https curl


Install Docker.
sudo apt-get install docker.io -y


Add Google’s apt key to verify releases.
curl -s https://packages.cloud.google.com/apt/doc/apt-key.gpg | sudo apt-key add -


sudo apt-get install -y apt-transport-https ca-certificates curl gpg

curl -fsSL https://pkgs.k8s.io/core:/stable:/v1.30/deb/Release.key | sudo gpg - dearmor -o /etc/apt/keyrings/kubernetes-apt-keyring.gpg


apt-get install gpg


sudo mkdir -p -m 755 /etc/apt/keyringscurl -fsSL https://pkgs.k8s.io/core:/stable:/v1.30/deb/Release.key | sudo gpg --dearmor -o /etc/apt/keyrings/kubernetes-apt-keyring.gpgAdd Kubernetes apt repository.
# This overwrites any existing configuration in /etc/apt/sources.list.d/kubernetes.list

echo 'deb [signed-by=/etc/apt/keyrings/kubernetes-apt-keyring.gpg] https://pkgs.k8s.io/core:/stable:/v1.30/deb/ /' | sudo tee /etc/apt/sources.list.d/kubernetes.list
# add kubernetes apt repo:
cat <<EOF | sudo tee /etc/apt/sources.list.d/kubernetes.list
deb https://apt.kubernetes.io/ kubernetes-xenial main
EOF


Update apt package index and install kubelet, kubeadm, and kubectl.
sudo apt-get update
sudo apt-get install -y kubelet kubeadm kubectl


Prevent automatic updates/removals of Kubernetes packages.
sudo apt-mark hold kubelet kubeadm kubectl


Initializing the Kubernetes Cluster
After installing kubeadm, initialize the Kubernetes cluster on the master node using the following steps:
- SSH into the master node.
- Run kubeadm init command with desired pod network CIDR.
kubeadm init --pod-network-cidr=172.31.0.196/16 -v=9
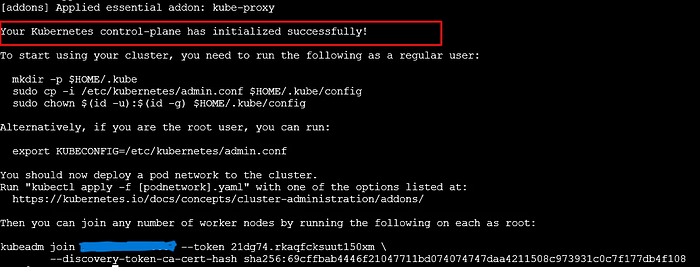
Follow the instructions provided after kubeadm init completes, including setting up kubeconfig.
mkdir -p $HOME/.kube
cp -i /etc/kubernetes/admin.conf $HOME/.kube/config
chown $(id -u):$(id -g) $HOME/.kube/config

export KUBECONFIG=/etc/kubernetes/admin.conf
Adding Worker Nodes
Join worker nodes to the master node using the provided join command:


Verifying Cluster Setup
After joining all nodes to the cluster, verify the cluster status using the following command:
kubectl get nodes

# NotReady state to Ready state:
kubectl get pods -n kube-system
Ensure all nodes are in the “Ready” state.

Check the joined nodes:
kubectl get nodes -o wide
Installing CNI Plugin (e.g., Flannel)
If necessary, install a Container Network Interface (CNI) plugin to enable networking between pods. For example, to install Flannel:
kubectl apply -f https://raw.githubusercontent.com/coreos/flannel/master/Documentation/kube-flannel.ymlConclusion
Congratulations! You have successfully set up a Kubernetes cluster using kubeadm on multiple nodes. You can now deploy and manage containerized applications on your Kubernetes cluster.
=========================
kubernet error install
==========================================================
https://hostnextra.com/learn/tutorials/how-to-install-kubernetes-k8s-on-ubuntuStep 3: Install Kubernetes Components
Install the Kubernetes components:
kubeadm, kubelet, and kubectlon all nodes.Add the Kubernetes apt repository:
echo "deb [signed-by=/etc/apt/keyrings/kubernetes-apt-keyring.gpg] https://pkgs.k8s.io/core:/stable:/v1.30/deb/ /" | sudo tee /etc/apt/sources.list.d/kubernetes.list
curl -fsSL https://pkgs.k8s.io/core:/stable:/v1.30/deb/Release.key | sudo gpg --dearmor -o /etc/apt/keyrings/kubernetes-apt-keyring.gpgNote: Replace v1.30 with latest version. Check the official release page.
Install the Kubernetes components:
sudo apt update
sudo apt install -y kubelet kubeadm kubectlHold the packages at their current version to prevent automatic upgrades:
sudo apt-mark hold kubelet kubeadm kubectl
Tidak ada komentar:
Posting Komentar