Managing XCP-ng Hypervisor with XenCenter | XCP-ng Cente
XenCenter / XCP-ng Center is a Windows-based management tool for XCP-ng and Citrix® XenServer® Hypervisor environments. This tool enables you to manage/monitor virtualization servers and resource pools in your Infrastructure. it also allows you to deploy, manage, monitor, and migrate virtual machines. XCP-ng Center is forked from XenCenter source code.
The official graphical client for XCP-ng is Xen Orchestra, which gets support from a team of several developers. On the other hand, XCP-ng Center is maintained by community members on their free time and hosted by the XCP-ng project.
XenCenter/XCP-ng Center must be installed on a Windows machine that can connect to the XCP-ng / Citrix Hypervisor server through your network. Ensure that .NET framework version 4.8 or above is installed on this system.
Step 1: Download and install XenCenter /XCP-ng Center
For XenCenter, visit the Citrix Hypervisor Download page to get the latest release of XenCenter. A working Citrix account will be required to download XenCenter installation file.

If you’ll opt for XCP-ng Center, visit the github releases page to download the .exe file:

Once the file is downloaded double-click to start installation.


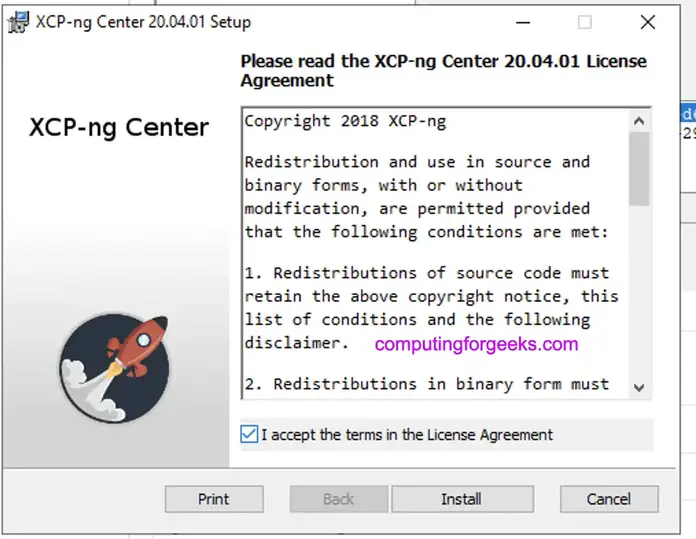
Read and accept License Agreement to proceed.

Click finish button to complete installation and exit setup wizard.

Launch the application after installation by going to the Start menu, and type XCP-ng Center in the search box.


Disable or enable automatic updates for the XCP-ng Center application.

Step 2: Connect your Xen / XCP Hypervisor server
Connect your Xen / XCP-ng Hypervisor to be managed by clicking the “Add a Server” icon

Enter hypervisor host name or IP address and user login credentials for connection. Username is root and password is what you set during XCP-ng Hypervisor installation:

The first time you add a host, the Save and Restore Connection State dialog box appears. You can choose to save server connection state including login credentials at startup.


If you choose to save server connection details consider setting master password for better security.

You’ll be asked to enter and confirm master password.


Upon successful connection hypervisor should be visible for management from the XCP-ng Center console.


You’re now ready to perform full cycle management of virtual machines and compute, network and storage infrastructure in your Virtualization environment using XCP-ng Center / XenCenter.

Step 3: Add ISO Storage repository
Next is to add storage repository for OS installation ISO files. We have a guide dedicated to this:

We’ll be creating more guides on Xen hypervisor and XCP-ng virtualization platform administration. Keep checking our website for latest content.
More on Virtualization:

Tidak ada komentar:
Posting Komentar