Installing Nutanix Community Edition (CE) on VMware ESXi/vSphere
In this blog post I will explain how to install a three node (there are pointers for the 1 node cluster ;)) Nutanix cluster nested in VMWare ESXi/vSphere. If you are running VMware Workstation you need to follow this blogpost: Link. On the Nutanix community forums Mikail (again thanks for finding this) found out that SATA disks are using the same serials on different nodes (Link to that specific thread). There are additional settings which are different then VMware workstation that I decided to create a separate post for this type of installations.
Before we continue there are some requirements:
- Make sure you have a list of IP-Addresses available on your own LAN which are not in use;
- For each node 2 ips (AHV and CVM);
- These addresses should be accessible from your management machine;
- 1 ip for the cluster virtual ip;
- 1 ip for each Prism Central virtual machine;
- 1 ip for Prism Central virtual ip;
- Have enough memory available on the VMware environment.
The requirements for Nutanix CE are: (Link)
- 20GB memory minimum (32GB if dedupe and compression are used);
- I recommend at least 32GB as 20GB will give you no space to run virtual machines;
- 4 CPU Cores minimum;
- 64GB Boot Disk minimum;
- 200GB Hot Tier Disk minimum;
- 500GB Cold Tier Disk minimum.
So if we want a 3 node Nutanix CE cluster we need 96GB ram for the virtual machines (the nodes). In this blog I will create a 3 node “cluster” and give pointers to create a 1 node cluster.
First make sure you have the latest Nutanix CE installer (ISO) downloaded. It can be found in this blog post van Angelo: (Link)
Make a sheet with the IP-Addresses you are going to use:
- Node 1:
- AHV 10.0.0.81
- CVM 10.0.0.82
- Node 2:
- AHV 10.0.0.83
- CVM 10.0.0.84
- Node 3:
- AHV 10.0.0.85
- CVM 10.0.0.86
- Cluster Virtual IP: 10.0.0.80
- Netmask 255.0.0.0
- Gateway: 10.0.0.254
Note: these are ip-addresses for my LAN. Again, use ip-addresses for your own LAN.
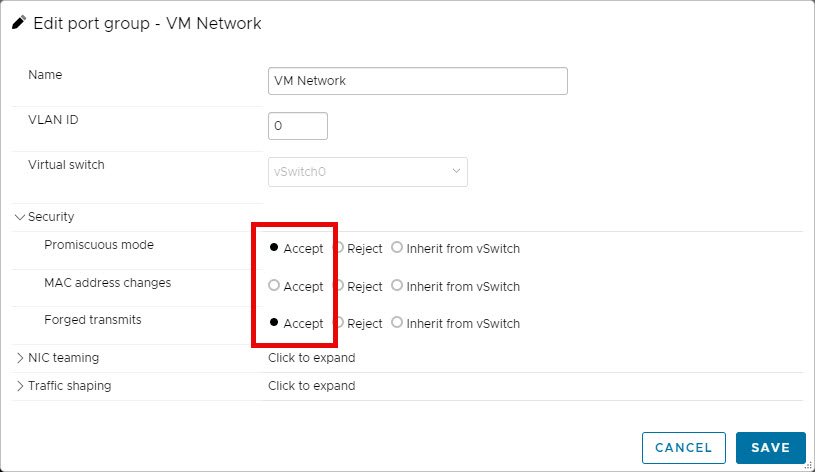
In ESXi or vCenter enable promiscuous mode and Forged transmits on the port group or virtual switch:
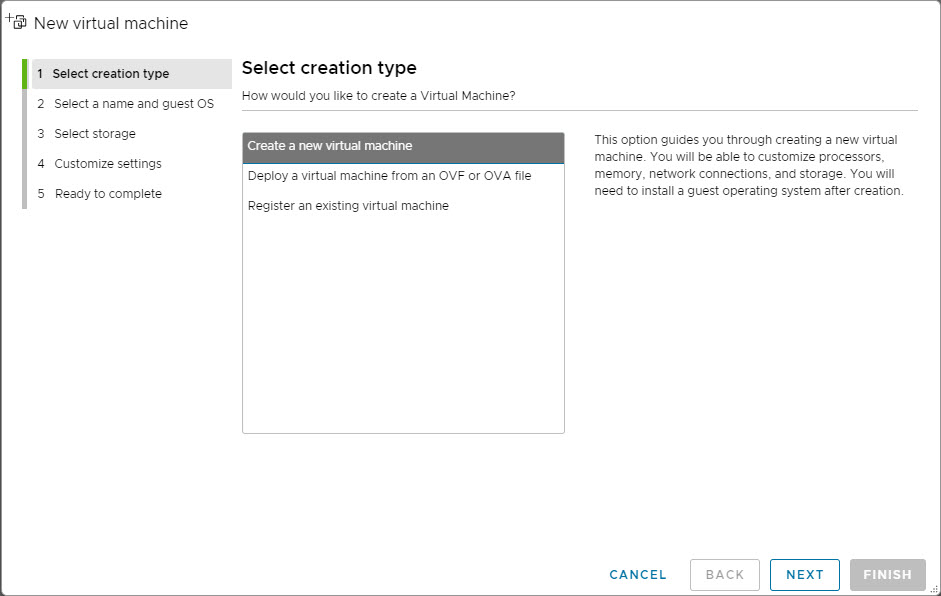
Create a virtual machine:
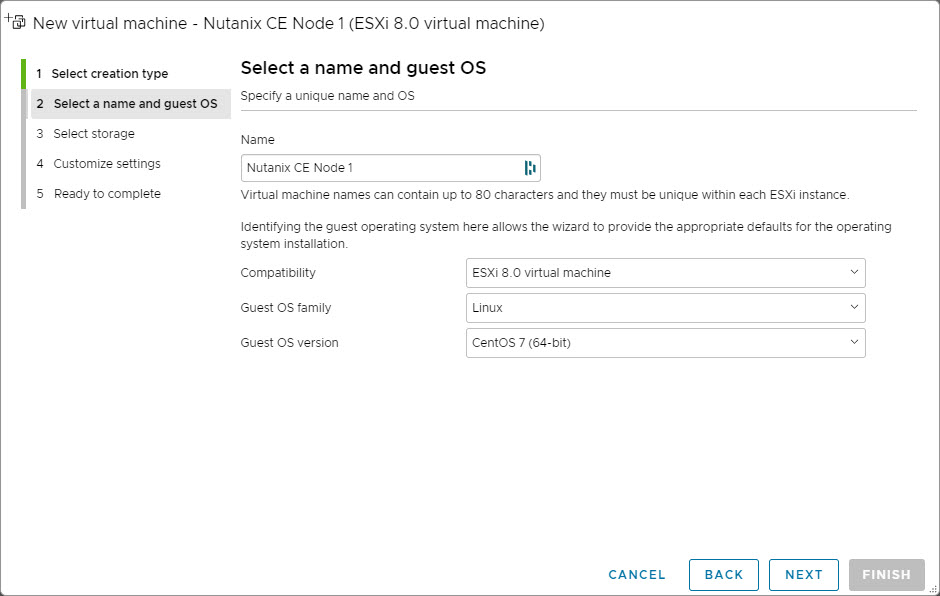
Give your virtual machine a name and select the guest os (Linux –> CentOS 7):
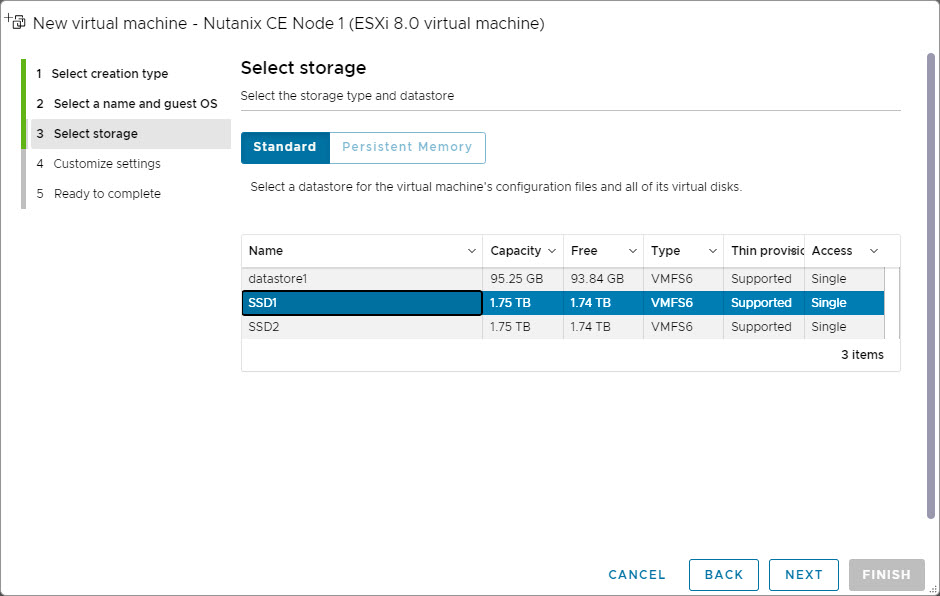
Select the datastore to store the virtual machine. Make sure it is fast storage 😉
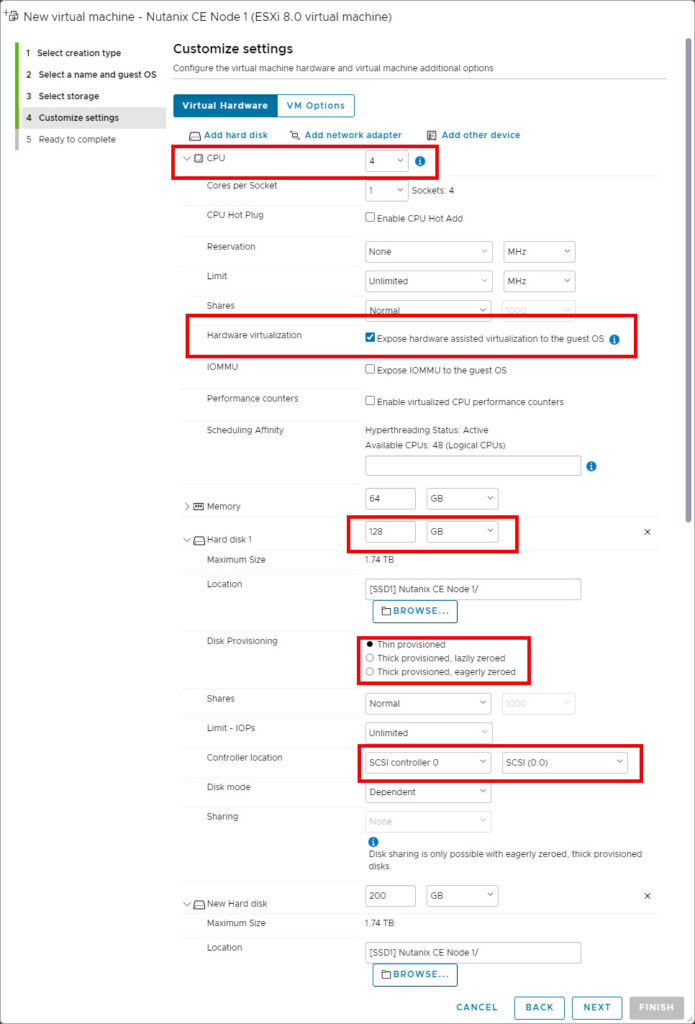
Change/Add the following things:
- CPU: 4;
- Enable: Hardware virtualization;
- Memory: 64GB;
- Hard Disk 1 (This is the AHV Boot Disk);
- 128GB;
- Thin Provisioned (This is my own preference);
- Controller location: SCSI (0:0), Again don’t use SATA;
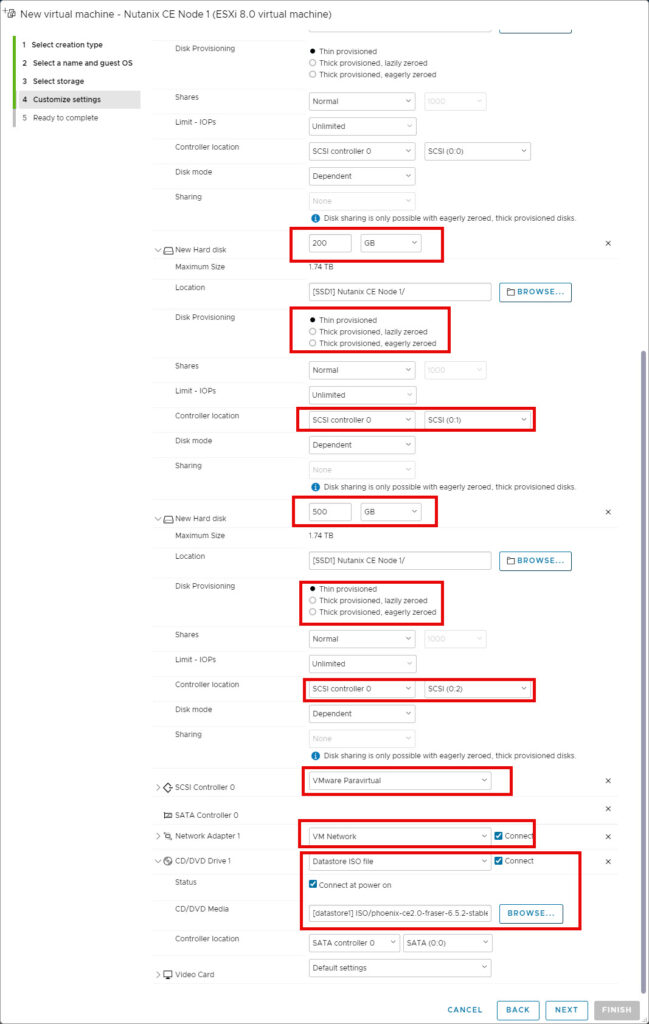
- Hard Disk 2 (This is the CVM Disk);
- 200GB;
- Thin Provisioned (This is my own preference);
- Controller location: SCSI (0:1), Again don’t use SATA;
- Hard Disk 3 (This is the Data Disk);
- 500GB;
- Thin Provisioned (This is my own preference);
- Controller location: SCSI (0:3), Again don’t use SATA;
- SCSI Controller: VMware Paravirtual;
- Network Adapter 1: Select the network (vlan/subnet) where the Cluster should be running;
- CD/DVD Drive 1: Select the CE installer iso file;
- Remove the usb controller.
Create the VM. Edit the virtual machine and navigate to: VM options –> Advanced –> Edit Configuration:
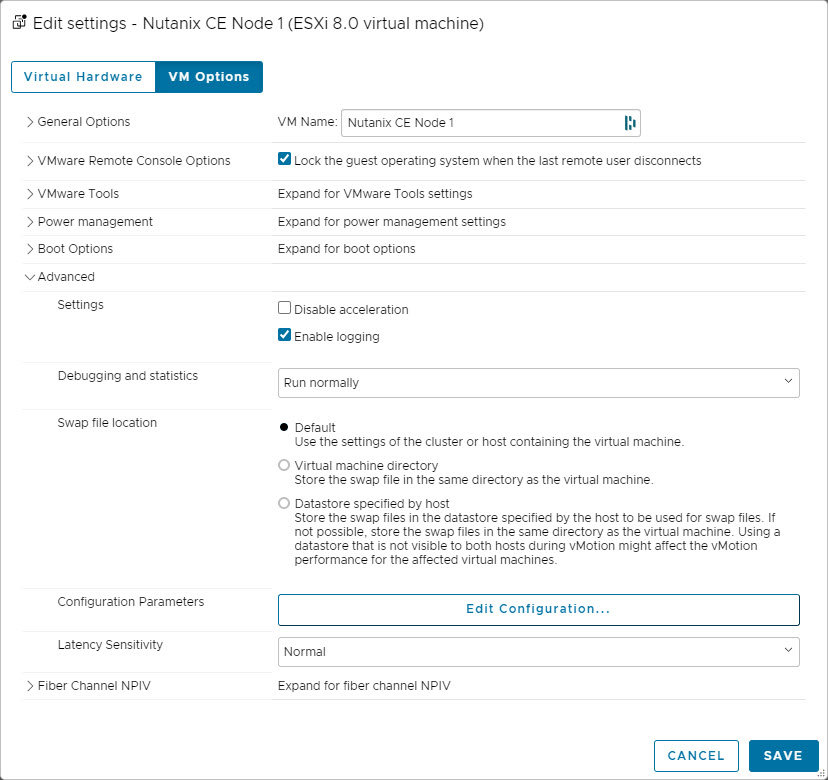
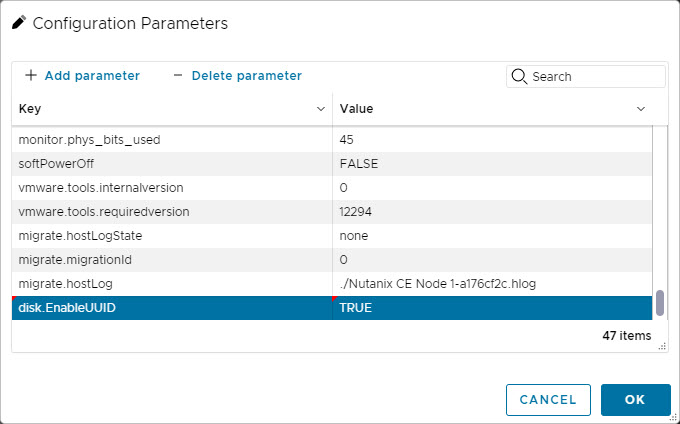
Add parameter: disk.EnableUUID with value: TRUE.
Save the configuration and startup the virtual machine. Wait until the CE installer wizard is shown. Make sure the disk serials are populated. Select the correct disks with their purpose and provide the correct ip-addresses. Don’t select: Create single-node cluster.
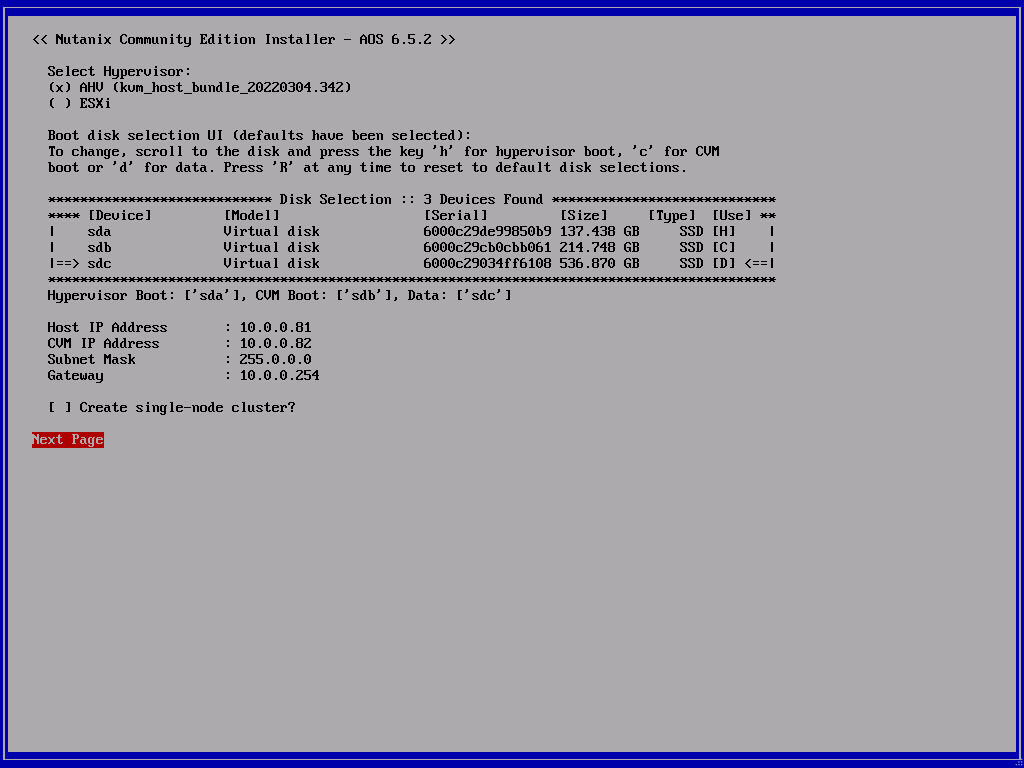
Follow the next steps and let the installer run. When the installer is ready reboot the virtual machine (dont forget to unmount the CE installer ISO).
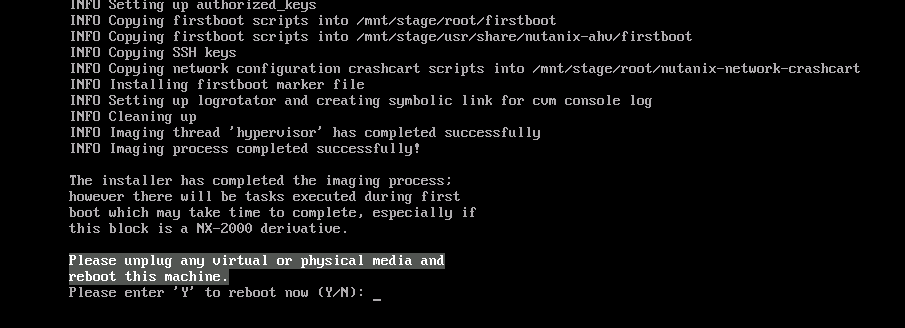
Repeat the above steps 2 more times for the 2 others nodes (with their own ip-addresses). And then continue below.
You should have now 3 nodes running:

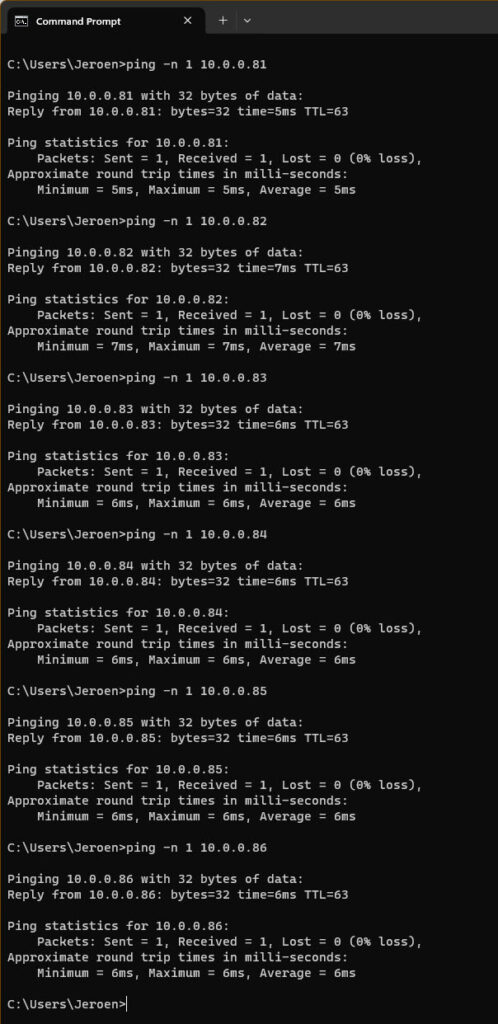
When all nodes are booted make sure you can ping all ip-addresses from your workstation and from each cvm to each other. If this is not working then make sure the port group/virtual switch is configured correctly.
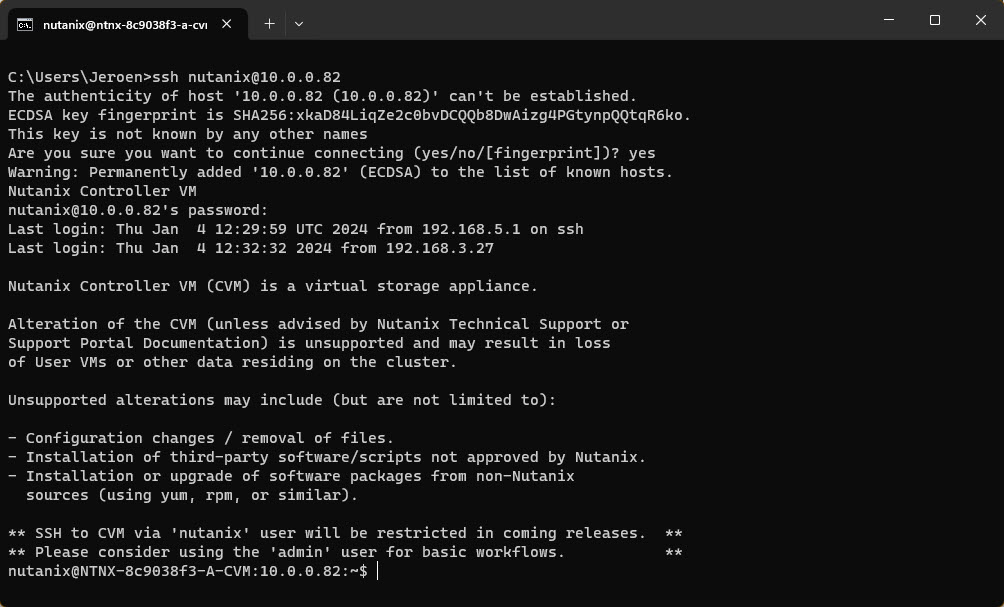
Login, via ssh, to one of the CVM with the default credentials nutanix (username) nutanix/4u (password).
When you are in the cvm run: watch -d genesis status

If genesis is running (there are pids behind the service name) you can continue to create the cluster. (Press CTRL+C to quit watch)
For a three node cluster the command is (when genesis is running on all three nodes): cluster -s <cvm_ip_1>,<cvm_ip_2>,<cvm_ip_3> create

For a single node cluster the command is: cluster -s <cvm_ip> –-redundancy_factor=1 create
As we didn’t specify dns servers during cluster creation, Community Edition will configure 2 google dns servers.
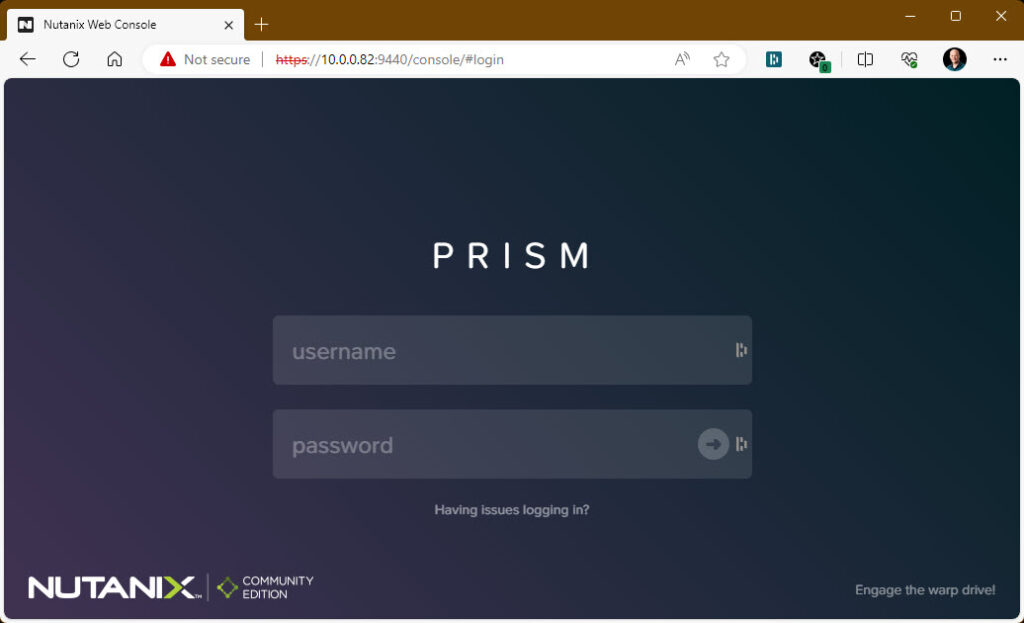
The cluster is accessible via https://<cvm_ip>:9440. Login with admin nutanix/4u (If you got a security thingy, read my other post. ;))
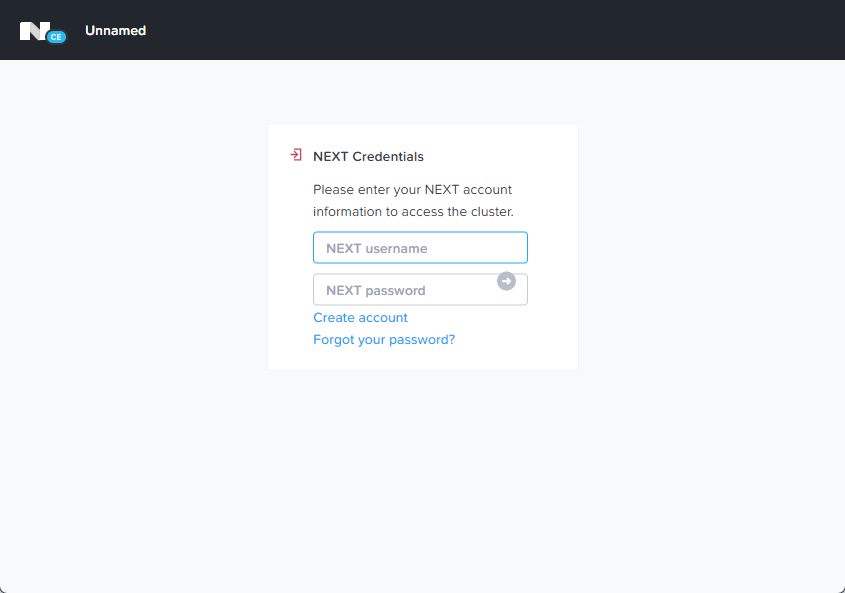
After login you need to login with your Nutanix Community account. Make sure you are registered. (Link to register your account)
And there you have it, a 3 node cluster nested running on VMware.
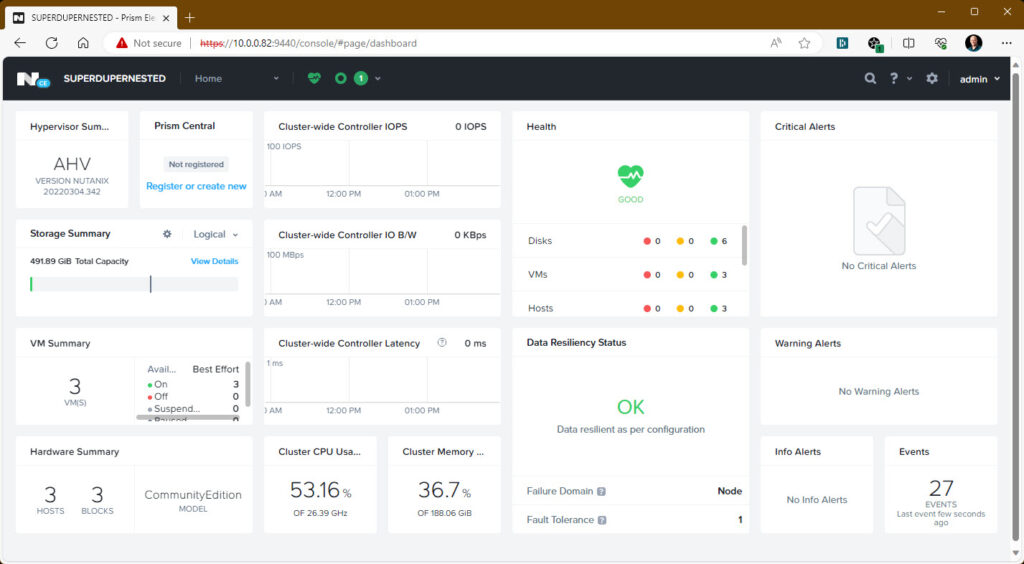
Now you are ready to configure the cluster to your needs (ntp, dns, containers, prism central, password, files, etc etc etc)
Tidak ada komentar:
Posting Komentar