https://www.dbi-services.com/blog/using-pgbackrest-to-backup-your-postgresql-instances-to-a-s3-compatible-storage/
Using pgBackRest to backup your PostgreSQL instances to a s3 compatible storage
When it comes to backup and restore of PostgreSQL we usually recommend pgBackRest to our customers. This tool comes with many options and features and should bring everything you need. Most of the times we install a dedicated backup host for pgBackRest, which centralizes all backups of the PostgreSQL instances. Sometimes we have several of those, e.g. one for production instances, another for test and development or even a dedicated one for development. How you organize this is mostly driven by business requirements. Most of the times, these dedicated backups hosts get backed up by an enterprise backup solution for long term archiving. Another option you have is, to write the backups directly to a S3 compatible storage solution and this is the topic of this post.
We could just use an AWS S3 bucket for the scope of this post, but for this you’ll need access to AWS. Being able to re-play the demos of this blog without access to external sources has always been a priority for me, so we will be using a solution that is freely available for testing. While searching for a free AWS S3 compatible storage solution I came across a MinIO. MinIO is quite easy to setup on a single node for testing. All you need to do is this:
1 2 3 4 | postgres@patronipgbackrest:/home/postgres/ [pg140] mkdir /u02/minio/postgres@patronipgbackrest:/home/postgres/ [pg140] wget https://dl.min.io/server/minio/release/linux-amd64/miniopostgres@patronipgbackrest:/home/postgres/ [pg140] chmod +x minipostgres@patronipgbackrest:/home/postgres/ [pg140] ./minio server /u02/minio/ |
If you want to start it automatically when the machine is starting up, you can use this systemd service file as a template:
1 2 3 4 5 6 7 8 9 10 11 12 13 14 15 16 17 18 19 20 21 22 23 24 25 26 27 28 29 30 31 32 33 | postgres@patronipgbackrest:/home/postgres/ [pg140] cat /etc/systemd/system/minio.service [Unit]Description=MinIODocumentation=https://docs.min.ioWants=network-online.targetAfter=network-online.target[Service]WorkingDirectory=/usr/localUser=postgresGroup=postgresProtectProc=invisibleExecStart=/home/postgres/minio server /u02/minio/ --console-address :8888# User: minioadmin# Pwd: minioadmin# Let systemd restart this service alwaysRestart=always# Specifies the maximum file descriptor number that can be opened by this processLimitNOFILE=65536# Specifies the maximum number of threads this process can createTasksMax=infinity# Disable timeout logic and wait until process is stoppedTimeoutStopSec=infinitySendSIGKILL=no[Install]WantedBy=multi-user.target |
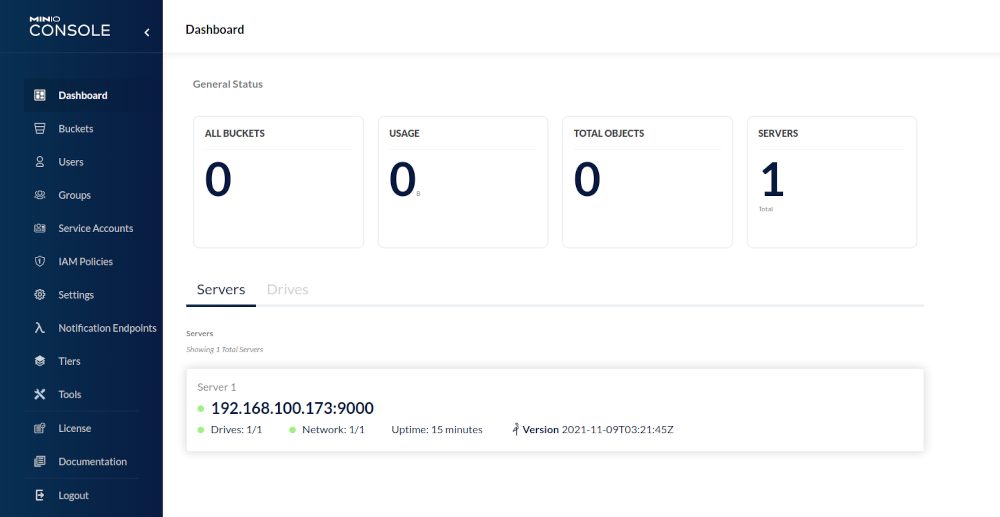
Once MinIO is running, you can point your browser to http://[HOST]:8888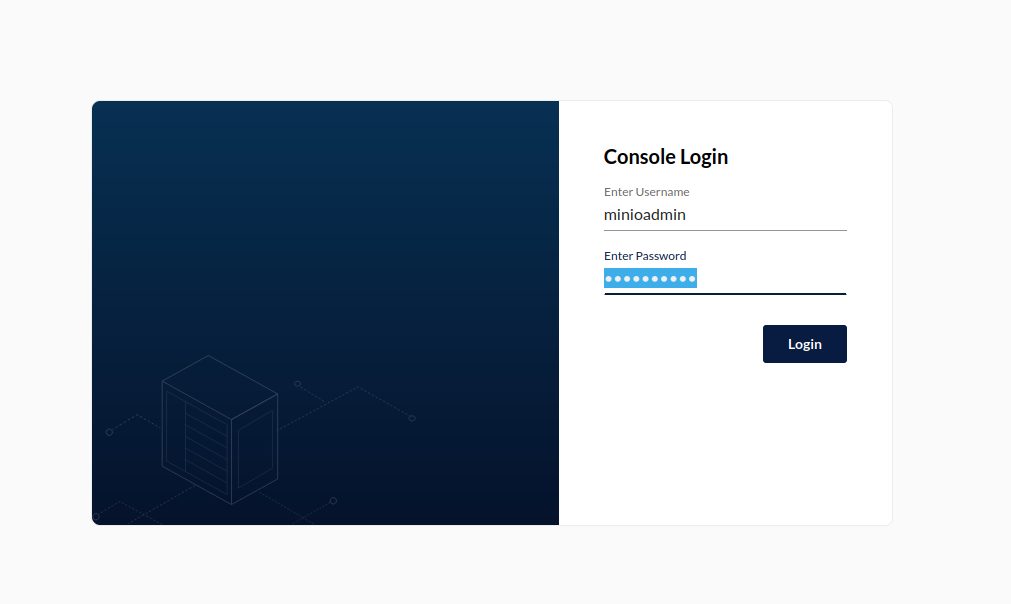
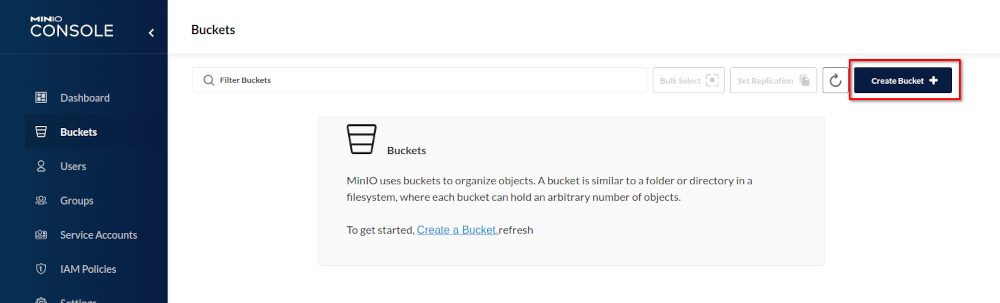
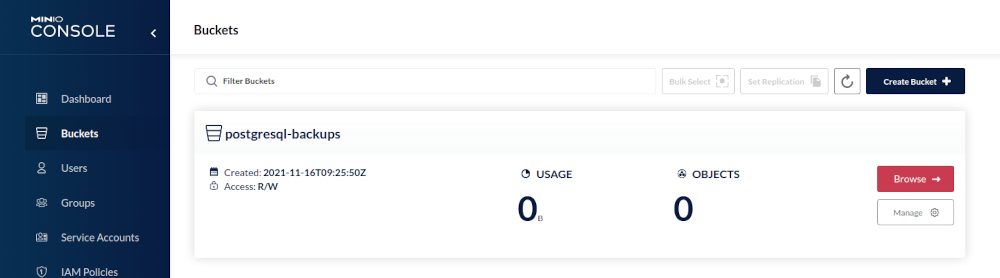
Obviously we’ll need a new bucket we can write our backups to, so let’s create a new bucket: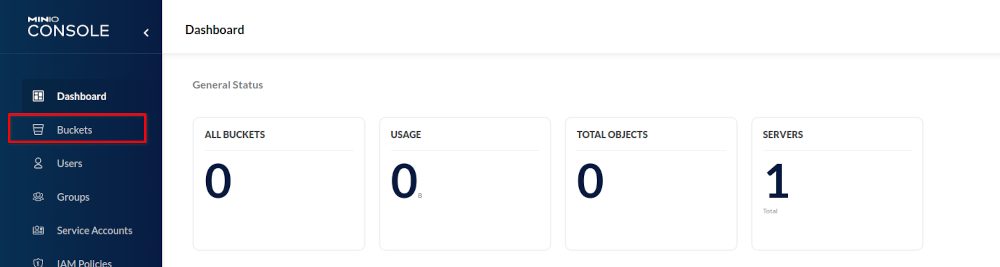
Here you will see the limitations of the single node test setup: Some features are not available and you of course should not use this kind of setup in production: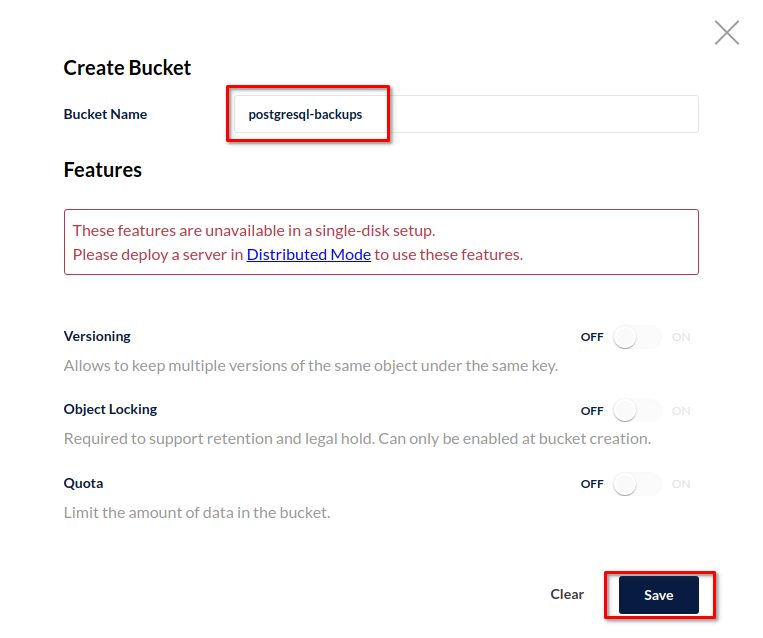
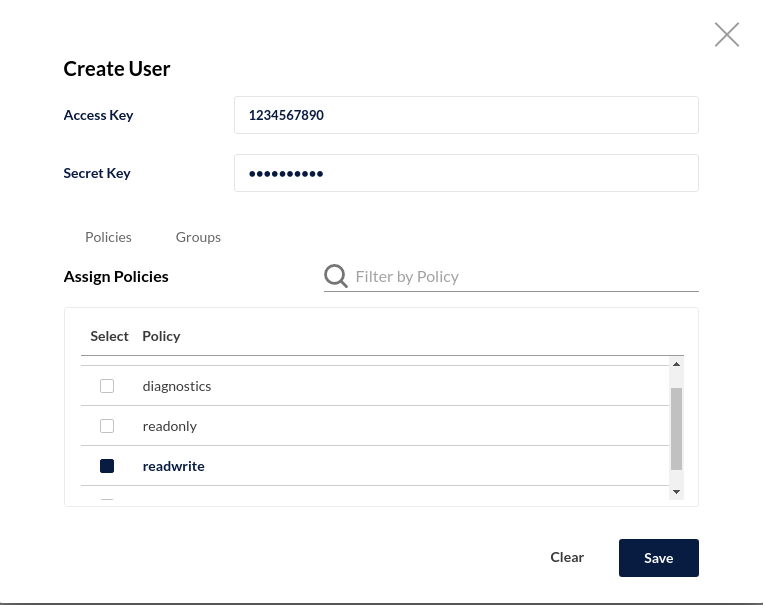
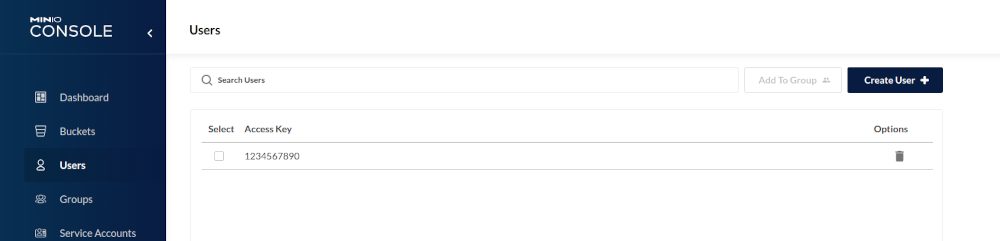
For accessing a bucket you need an access key and a secret, so we need to create those too: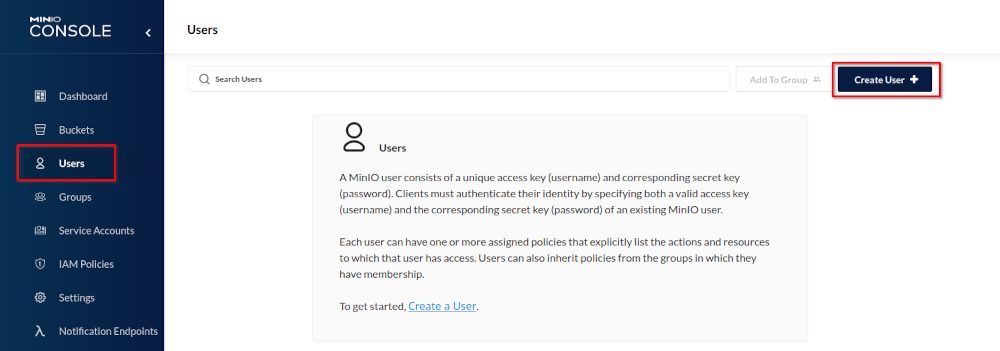
Before you continue with configuring pgBackRest it is a good idea to test access to the bucket with a command line utility. The AWS Cli is freely available, easy to install and can be used for that:
1 2 3 4 5 6 | postgres@patronipgbackrest:/home/postgres/ [pg140] curl "https://awscli.amazonaws.com/awscli-exe-linux-x86_64.zip" -o "awscliv2.zip"postgres@patronipgbackrest:/home/postgres/ [pg140] unzip awscliv2.zip postgres@patronipgbackrest:/home/postgres/ [pg140] sudo ./aws/installpostgres@patronipgbackrest:/home/postgres/ [pg140] rm -rf awscliv2.zip aws/postgres@patronipgbackrest:/home/postgres/ [pg140] /usr/local/bin/aws --versionaws-cli/2.3.6 Python/3.8.8 Linux/5.10.0-9-amd64 exe/x86_64.debian.11 prompt/off |
The AWS command line utilities by default read the credentials form “~/.aws/credentials”, this is where we need to add the access key and the secret we’ve created above:
1 2 3 4 5 | postgres@patronipgbackrest:/home/postgres/ [pg140] aws configureAWS Access Key ID [****************7890]: 1234567890AWS Secret Access Key [****************4321]: 0987654321Default region name [eu-central-1]: eu-central-1Default output format : text |
Having that in place let’s test if we can see the bucket:
1 2 3 | postgres@patronipgbackrest:/home/postgres/ [pg140] aws configure set default.s3.signature_version s3v4postgres@patronipgbackrest:/home/postgres/ [pg140] aws --endpoint-url http://localhost:9000 s3 ls2021-11-16 10:25:50 postgresql-backups |
Looks good. Now we need to tell pgBackRest about the repository. My current configuration on the backup host looks like this:
1 2 3 4 5 6 7 8 9 10 11 12 13 14 15 16 17 18 19 20 21 22 23 24 25 26 27 | postgres@patronipgbackrest:/home/postgres/ [pg140] cat /u01/app/postgres/local/dmk/etc/pgbackrest.conf [global]repo1-path=/u02/backupsrepo1-retention-full=2repo1-retention-diff=1log-path=/u01/app/postgres/local/dmk/loglog-level-file=detailspool-path=/tmpstart-fast=yarchive-async=yexpire-auto=ycompress-type=bz2process-max=4[PG14]pg1-path=/u02/pgdata/14/PG1/pg1-host=192.168.100.170pg1-user=postgrespg1-port=5432pg2-path=/u02/pgdata/14/PG1/pg2-host=192.168.100.171pg2-user=postgrespg2-port=5432pg3-path=/u02/pgdata/14/PG1/pg3-host=192.168.100.172pg3-user=postgrespg3-port=5432 |
This means I have one repository pointing to a local directory. The stanza below the global configuration is a three node Patroni cluster. As pgBackRest supports multiple repositories we can just add our new repository like this:
1 2 3 4 5 6 7 8 9 10 11 12 13 14 15 16 17 18 19 20 21 22 23 | postgres@patronipgbackrest:/home/postgres/ [pg140] cat /u01/app/postgres/local/dmk/etc/pgbackrest.conf[global]repo1-path=/u02/backupsrepo1-retention-full=2repo1-retention-diff=1repo2-s3-bucket=postgresql-backupsrepo2-s3-endpoint=192.168.100.173repo2-s3-key=1234567890repo2-s3-key-secret=0987654321repo2-s3-region=us-west-rack1repo2-storage-port=9000repo2-storage-verify-tls=nrepo2-s3-uri-style=pathrepo2-type=s3log-path=/u01/app/postgres/local/dmk/loglog-level-file=detailspool-path=/tmpstart-fast=yarchive-async=yexpire-auto=ycompress-type=bz2process-max=4... |
Let’s try to create the stanza:
1 2 3 4 5 6 7 | postgres@patronipgbackrest:/home/postgres/ [pg140] pgbackrest --stanza=PG14 stanza-create --log-level-console=info 2021-11-16 12:09:07.682 P00 INFO: stanza-create command begin 2.36: --exec-id=2255-0ef6d4c5 --log-level-console=info --log-level-file=detail --log-path=/u01/app/postgres/local/dmk/log --pg1-host=192.168.100.170 --pg2-host=192.168.100.171 --pg3-host=192.168.100.172 --pg1-path=/u02/pgdata/14/PG1/ --pg2-path=/u02/pgdata/14/PG1/ --pg3-path=/u02/pgdata/14/PG1/ --pg1-port=5432 --pg2-port=5432 --pg3-port=5432 --pg1-user=postgres --pg2-user=postgres --pg3-user=postgres --repo1-path=/u02/backups --repo2-s3-bucket=postgresql-backups --repo2-s3-endpoint=127.0.0.1 --repo2-s3-key= --repo2-s3-key-secret= --repo2-s3-region=eu-central-1 --repo2-s3-uri-style=path --repo2-storage-port=9000 --no-repo2-storage-verify-tls --repo2-type=s3 --stanza=PG142021-11-16 12:09:09.972 P00 INFO: stanza-create for stanza 'PG14' on repo12021-11-16 12:09:09.977 P00 INFO: stanza 'PG14' already exists on repo1 and is valid2021-11-16 12:09:09.977 P00 INFO: stanza-create for stanza 'PG14' on repo2ERROR: [101]: TLS error [1:336130315] wrong version number2021-11-16 12:11:10.430 P00 INFO: stanza-create command end: aborted with exception [101] |
This means we need an encrypted connection, otherwise it will not work. MinIO provides a handy utility to create a self signed certificate:
1 2 3 4 5 6 7 | postgres@patronipgbackrest:/home/postgres/ [pg140] wget https://github.com/minio/certgen/releases/download/v0.0.2/certgen-linux-amd64postgres@patronipgbackrest:/home/postgres/ [pg140] chmod +x certgen-linux-amd64 postgres@patronipgbackrest:/home/postgres/ [pg140] ./certgen-linux-amd64 -ca -host "192.168.100.173" # replace with your IP2021/11/16 14:25:33 wrote public.crt2021/11/16 14:25:33 wrote private.keypostgres@patronipgbackrest:/home/postgres/ [pg140] mv private.key public.crt .minio/certs/postgres@patronipgbackrest:/home/postgres/ [pg140] sudo systemctl restart minio |
Once MinIO is restarted we can use https to access MinIO and creating the stanza works smoothly:
1 2 3 4 5 6 | postgres@patronipgbackrest:/home/postgres/ [pg140] pgbackrest --stanza=PG14 stanza-create --log-level-console=info 2021-11-16 14:40:17.086 P00 INFO: stanza-create command begin 2.36: --exec-id=2491-22a7ebd4 --log-level-console=info --log-level-file=detail --log-path=/u01/app/postgres/local/dmk/log --pg1-host=192.168.100.170 --pg2-host=192.168.100.171 --pg3-host=192.168.100.172 --pg1-path=/u02/pgdata/14/PG1/ --pg2-path=/u02/pgdata/14/PG1/ --pg3-path=/u02/pgdata/14/PG1/ --pg1-port=5432 --pg2-port=5432 --pg3-port=5432 --pg1-user=postgres --pg2-user=postgres --pg3-user=postgres --repo1-path=/u02/backups --repo2-s3-bucket=postgresql-backups --repo2-s3-endpoint=192.168.100.173 --repo2-s3-key= --repo2-s3-key-secret= --repo2-s3-region=us-west-rack1 --repo2-s3-uri-style=path --repo2-storage-port=9000 --no-repo2-storage-verify-tls --repo2-type=s3 --stanza=PG142021-11-16 14:40:19.613 P00 INFO: stanza-create for stanza 'PG14' on repo12021-11-16 14:40:19.618 P00 INFO: stanza 'PG14' already exists on repo1 and is valid2021-11-16 14:40:19.618 P00 INFO: stanza-create for stanza 'PG14' on repo22021-11-16 14:40:19.982 P00 INFO: stanza-create command end: completed successfully (2901ms) |
If you take a look into the bucket you’ll see that the usual directories for pgBackRest have been created: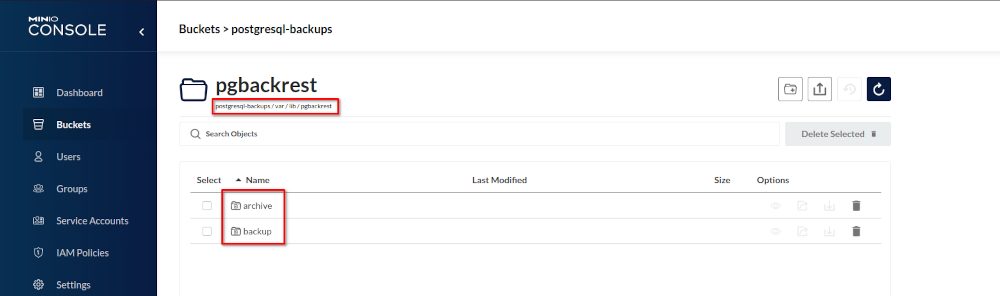
Before doing any backups lets perform a pgBackRest check to confirm everything is fine:
1 2 3 4 5 6 7 8 9 10 11 12 | postgres@patronipgbackrest:/u01/app/postgres/local/dmk/ [pg140] pgbackrest --stanza=PG14 check --log-level-console=info 2021-11-16 16:59:34.501 P00 INFO: check command begin 2.36: --exec-id=2917-47e567f2 --log-level-console=info --log-level-file=detail --log-path=/u01/app/postgres/local/dmk/log --pg1-host=192.168.100.170 --pg2-host=192.168.100.171 --pg3-host=192.168.100.172 --pg1-path=/u02/pgdata/14/PG1/ --pg2-path=/u02/pgdata/14/PG1/ --pg3-path=/u02/pgdata/14/PG1/ --pg1-port=5432 --pg2-port=5432 --pg3-port=5432 --pg1-user=postgres --pg2-user=postgres --pg3-user=postgres --repo1-path=/u02/backups --repo2-s3-bucket=postgresql-backups --repo2-s3-endpoint=192.168.100.173 --repo2-s3-key= --repo2-s3-key-secret= --repo2-s3-region=us-west-rack1 --repo2-s3-uri-style=path --repo2-storage-port=9000 --no-repo2-storage-verify-tls --repo2-type=s3 --stanza=PG142021-11-16 16:59:36.842 P00 INFO: check repo1 (standby)2021-11-16 16:59:36.848 P00 INFO: check repo2 (standby)2021-11-16 16:59:36.866 P00 INFO: switch wal not performed because this is a standby2021-11-16 16:59:36.870 P00 INFO: check repo1 configuration (primary)2021-11-16 16:59:36.870 P00 INFO: check repo2 configuration (primary)2021-11-16 16:59:37.089 P00 INFO: check repo1 archive for WAL (primary)2021-11-16 16:59:38.292 P00 INFO: WAL segment 00000002000000000000000F successfully archived to '/u02/backups/archive/PG14/14-1/0000000200000000/00000002000000000000000F-a63ad380ed332ebebf528c0726694cca5c2214ab.gz' on repo12021-11-16 16:59:38.292 P00 INFO: check repo2 archive for WAL (primary)2021-11-16 16:59:38.295 P00 INFO: WAL segment 00000002000000000000000F successfully archived to '/var/lib/pgbackrest/archive/PG14/14-1/0000000200000000/00000002000000000000000F-a63ad380ed332ebebf528c0726694cca5c2214ab.gz' on repo22021-11-16 16:59:38.599 P00 INFO: check command end: completed successfully (4099ms) |
Looks good, now we can do a backup:
1 2 3 4 5 6 7 8 9 10 11 12 13 14 | ostgres@patronipgbackrest:/u01/app/postgres/local/dmk/ [pg140] pgbackrest --stanza=PG14 backup --log-level-console=info --repo=22021-11-16 20:45:57.845 P00 INFO: backup command begin 2.36: --compress-type=bz2 --exec-id=3004-6b8fb3c3 --expire-auto --log-level-console=info --log-level-file=detail --log-path=/u01/app/postgres/local/dmk/log --pg1-host=192.168.100.170 --pg2-host=192.168.100.171 --pg3-host=192.168.100.172 --pg1-path=/u02/pgdata/14/PG1/ --pg2-path=/u02/pgdata/14/PG1/ --pg3-path=/u02/pgdata/14/PG1/ --pg1-port=5432 --pg2-port=5432 --pg3-port=5432 --pg1-user=postgres --pg2-user=postgres --pg3-user=postgres --process-max=4 --repo=2 --repo1-path=/u02/backups --repo1-retention-diff=1 --repo2-retention-diff=1 --repo1-retention-full=2 --repo2-retention-full=2 --repo2-s3-bucket=postgresql-backups --repo2-s3-endpoint=192.168.100.173 --repo2-s3-key= --repo2-s3-key-secret= --repo2-s3-region=us-west-rack1 --repo2-s3-uri-style=path --repo2-storage-port=9000 --no-repo2-storage-verify-tls --repo2-type=s3 --stanza=PG14 --start-fastWARN: no prior backup exists, incr backup has been changed to full2021-11-16 20:46:00.941 P00 INFO: execute non-exclusive pg_start_backup(): backup begins after the requested immediate checkpoint completes2021-11-16 20:46:01.990 P00 INFO: backup start archive = 000000020000000000000011, lsn = 0/11000028WARN: resumable backup 20211116-144452F of same type exists -- remove invalid files and resume2021-11-16 20:46:08.369 P00 INFO: execute non-exclusive pg_stop_backup() and wait for all WAL segments to archive2021-11-16 20:46:08.913 P00 INFO: backup stop archive = 000000020000000000000011, lsn = 0/110001382021-11-16 20:46:08.943 P00 INFO: check archive for segment(s) 000000020000000000000011:0000000200000000000000112021-11-16 20:46:09.873 P00 INFO: new backup label = 20211116-144452F2021-11-16 20:46:10.090 P00 INFO: full backup size = 25.3MB, file total = 9572021-11-16 20:46:10.090 P00 INFO: backup command end: completed successfully (12252ms)2021-11-16 20:46:10.091 P00 INFO: expire command begin 2.36: --exec-id=3004-6b8fb3c3 --log-level-console=info --log-level-file=detail --log-path=/u01/app/postgres/local/dmk/log --repo=2 --repo1-path=/u02/backups --repo1-retention-diff=1 --repo2-retention-diff=1 --repo1-retention-full=2 --repo2-retention-full=2 --repo2-s3-bucket=postgresql-backups --repo2-s3-endpoint=192.168.100.173 --repo2-s3-key= --repo2-s3-key-secret= --repo2-s3-region=us-west-rack1 --repo2-s3-uri-style=path --repo2-storage-port=9000 --no-repo2-storage-verify-tls --repo2-type=s3 --stanza=PG142021-11-16 20:46:10.371 P00 INFO: expire command end: completed successfully (280ms) |
All done and we have our backups in a S3 compatible storage.
Tidak ada komentar:
Posting Komentar