How to Automate PostgreSQL Database Backups in Linux
The solutions that are mentioned in this article work for any Linux distribution: Ubuntu, Red Hat, Open SUSE, CentOS, Debian, Oracle Linux etc. Note, the package installation commands may differ slightly.
A question of regular backup sooner or later comes up for any DBMS. PostgreSQL is no exception. As a rule, the pg_dump utility, which is part of the PostgreSQL client, is used to create a hot backup.
In all the examples below, the postgres user will be utilized for working with pg_dump. You can specify a different user by using pg_dump -U <username>, and the password can be transferred with the environment variable PGPASSWORD=<password>. If you plan to connect to a non-local server, use the -h parameter to specify the host name.
Minimal solution
To perform a backup with this utility, just call it and specify the destination file:
You can add a cron job to run backups regularly. To this end, follow the steps below:
- Set the postgresql user
- Create a backup storage folder
- Open crontab by running the command
- Add this line at the end
This way, a backup will be performed on your server at midnight on Saturday. This is the minimum solution to the backup task.
Extended solution
A good solution should at least encompass the following aspects:
- Creating a backup with a unique name
- File compression
- Encrypt the compressed file
- Receive email notifications concerning backup results
- Delete old backups
The official postgresql wiki offers a good script for solving these tasks. However, the disadvantage of this script is the lack of email notifications.
To create backups with email notifications, you can use the script provided below. But before that, you need to install postfix mailutils. These are the steps to do this in Ubuntu:
Also, please note that this script must be run by postgres user. To log in under this user, run the command:
The most basic method for running the bash script for regular backups is shown below. In the beginning of the script, specify the backup storage directory, email notification address, and backup storage period.
You can schedule this script to run regularly as shown here, but instead of calling pg_dump, specify the path to the script.
SqlBak
Creating a script is not the only way to automate backups. You can use a cloud backup service – such as SqlBak.
SqlBak provides a wide range of features for automated PostgreSQL database backup. The process of creating a backup in SqlBak can include the following steps: creating, compressing, encrypting, sending to cloud storage, sending notifications, and restoring on another server.
This service allows you to create backups of not only PostgreSQL, but also MySQL and MS SQL Server databases.
Installation and Registration
The application is installed by standard packet managers of the operating system. Instructions for installing and registering the packet for your OS can be found here.
The installation of the SqlBak app on Linux is very simple, more details on how to do it can be found here.
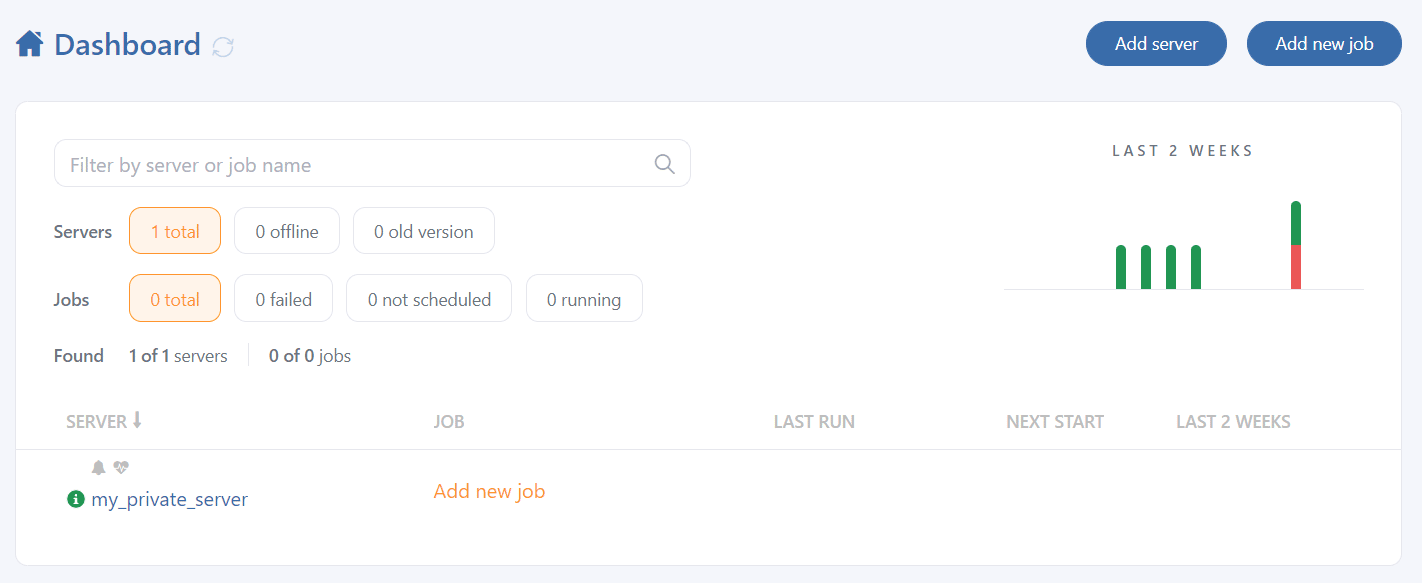
After registration, your server will appear on the dashboard page.
You will then need to add a connection to the PostgreSQL database:
This completes the SqlBak setup on the console.
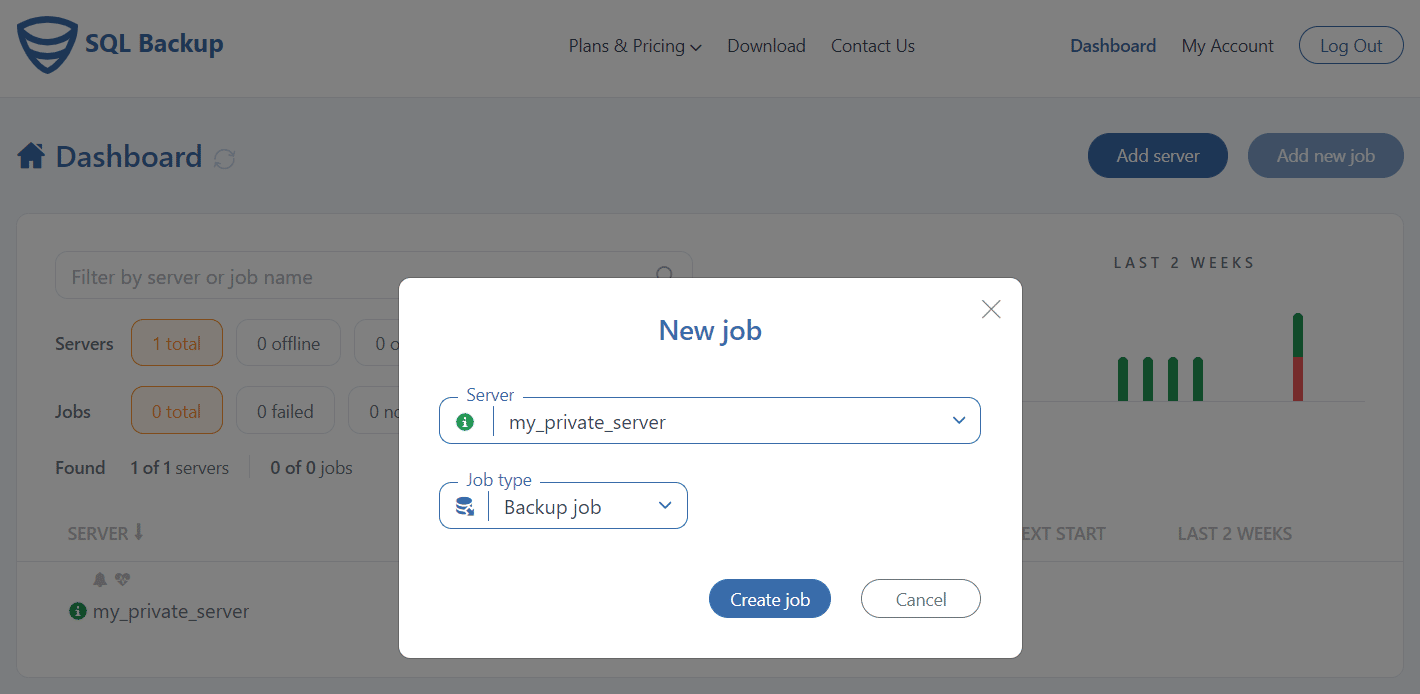
Now you can create a backup job on the dashboard page. Here you need to click the “Add New Job” button, and then “Create Job”.
After that, you will see the interface for creating backup jobs. The first two steps will be filled in by default.
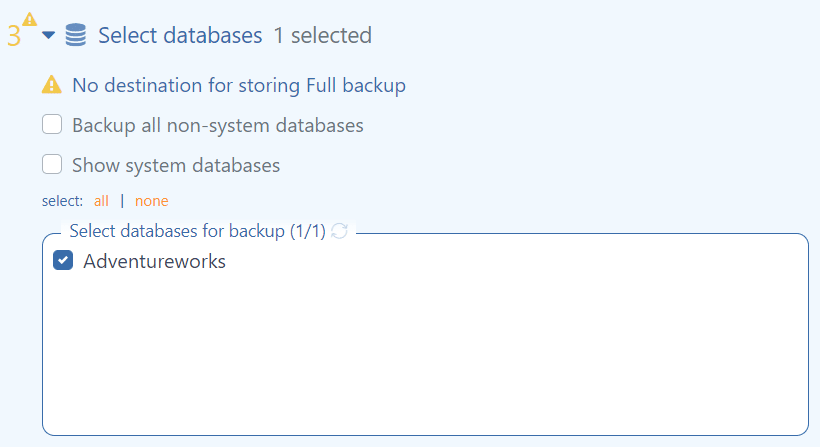
The first thing you must do here is specify in the “Select Database” section the databases you need to save. You can also select “backup all non-system database” to back up all non-system databases.
Then you need to specify the location where you want the backup to be saved. This can be specified in the “Store Backups in the Destination” section. You can choose Folder, FTP, Amazon S3, GoogleDrive, DropBox, Azure Blob Storage, OneDrive. Please note: you can select multiple save locations at once, such as local FTP and DropBox.
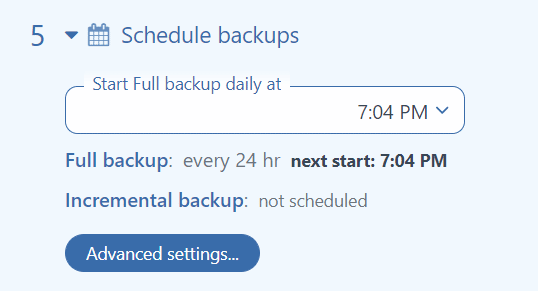
In the “Schedule Backups” section, you can specify the time when the backup must be run daily. If the 24-hour backup interval does not work for you, you can specify an advance run settings in the “Advanced Settings”, like in cron.
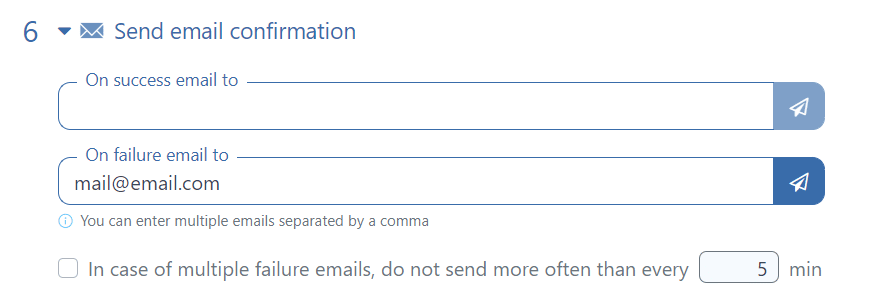
The “Send Email Confirmation” section allows you to configure email notifications. You can specify multiple addresses separated by commas. You can right away check if the notification was sent by clicking the “airplane” button.
On the backup settings page, you can find many more interesting and useful settings, such as: “Execute After & Before Scripts”, “Encryption”, “Backup Folder”.
SqlBak allows you to perform restore tasks on another server immediately after backup, this can be specified in the “Restore Tasks” section. This can be useful if you need to have an up-to-date database for testing.
To save your settings and start working on a schedule, click “Save & Exit”.
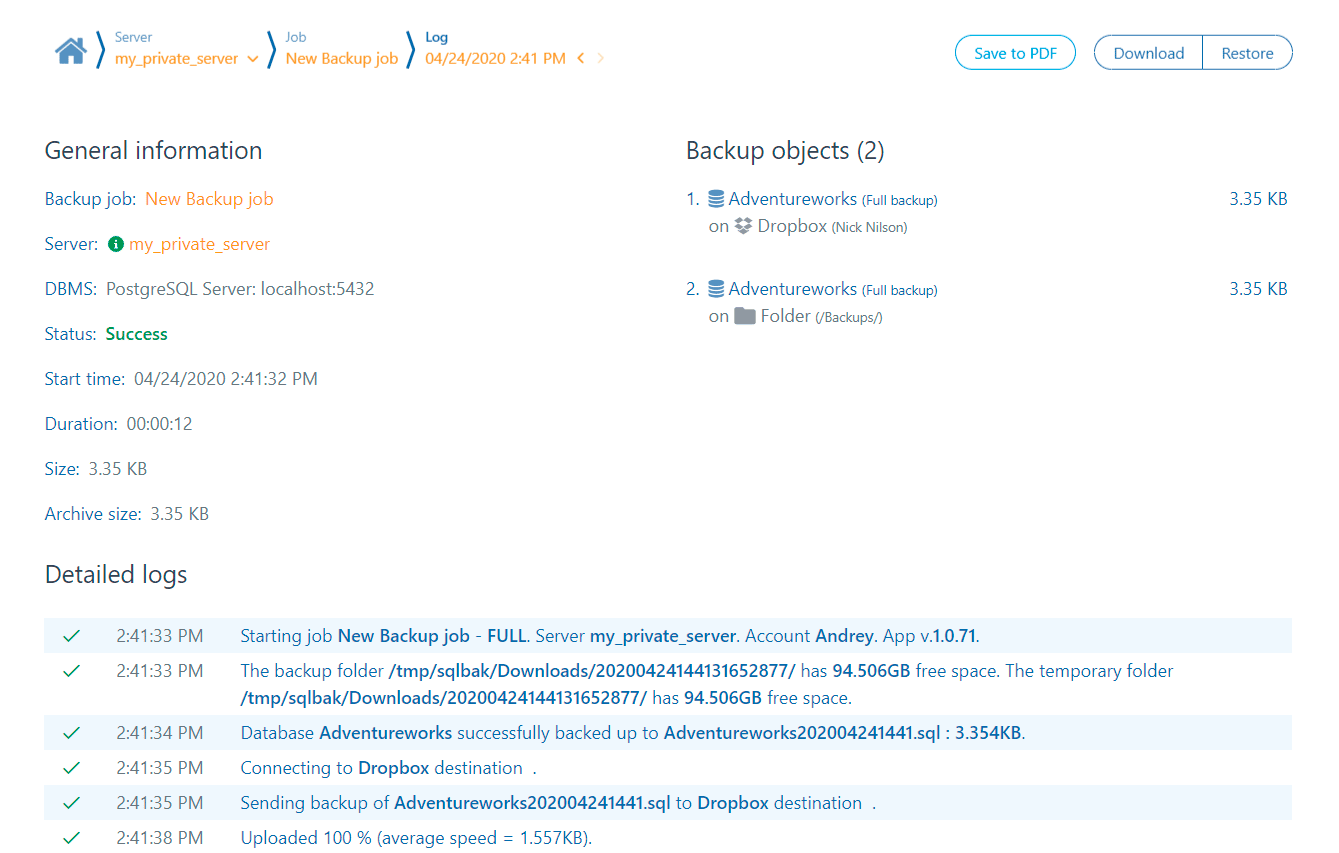
Clicking on the “Run Now” button will immediately start the job and show you the job progress log.


Tidak ada komentar:
Posting Komentar