How to Create a Raspberry Pi Virtual Machine (VM) in VirtualBox
I recently started flipping through The MagPi back-issues, and came across an article where someone talked about setting up a virtual Raspberry Pi environment. At the time he wrote his article, I don’t think the Pi was even really available to the public yet.
It got me thinking though. I’ve been playing around a lot on the Pi itself, but it’d be convenient to have an environment setup where I could experiment with code even when I don’t have access to the Pi.
Goal: Setup a virtual machine with Debian (from which Raspbian is derived). Install Python and other libraries and installers, so I can code solutions that can be migrated to the Pi.
Limitations: The RPi.GPIO library expects the GPIO pins to be available. If you’re not on the Pi, you can’t execute code that directly accesses them. It’ll complain loudly that you can only run your code on an actual Pi.

We’ll contemplate work-arounds later. Just wanted to state this upfront though – this solution is not a complete virtual Pi.
Also, this is an attempt to closely emulate Raspbian, not the ARM processor found on the Pi. If you’re interested in trying to emulate the processor, check out QEMU. It looked a little complicated to tackle, so I’m holding off for now, but I’d like to revisit it.
(Even better, reader kriss seems to have gotten QEMU to work, and left a helpful comment below.)
Install VirtualBox
I already use VirtualBox for emulating Windows and Ubuntu on a Mac, so I wanted to stick with that if possible.
Why not Raspbian?
Unfortunately, although Raspbian images are available for download, you can’t use them to create a VM in VirtualBox. From what I could find, it’s apparently because the Pi runs on an ARM processor, but VirtualBox is designed to emulate OS’s that support X86 processors.
Whatever the reason, all I could get was a black screen with the message “FATAL: No bootable medium found! System halted.”
Raspbian is based off of Debian though, so let’s use Debian.
Install Debian
Go to https://www.debian.org/distrib and download the 64-bit PC netinst iso.
Create a new VirtualBox instance. Type the name “Debian” and it should auto-select type Linux and version Debian (64-bit) – if not, select them.
Set the settings according to the minimum requirements, which should pretty closely mirror the Pi. The current release is jessie. Using the graphical desktop, the recommended RAM is 1GB and hard drive space is 10GB.
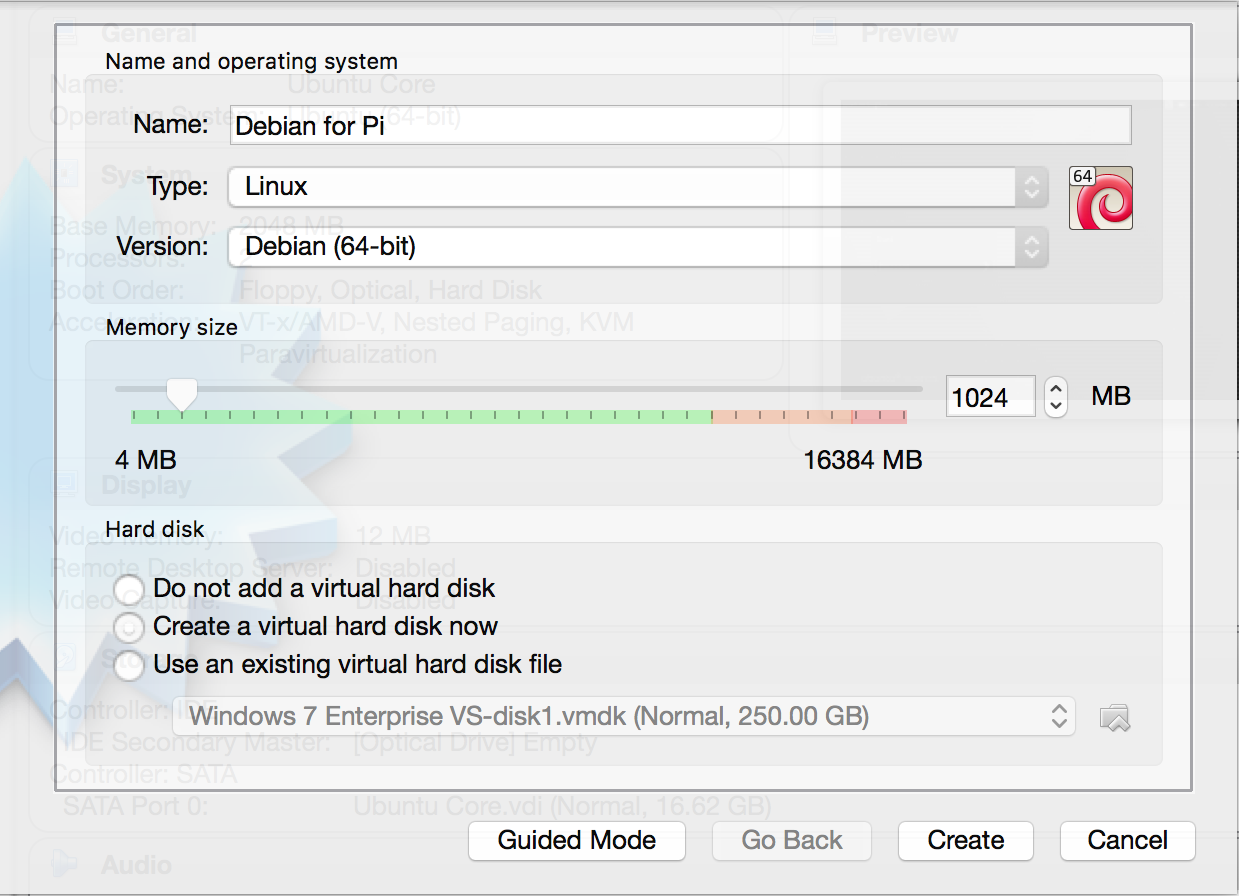
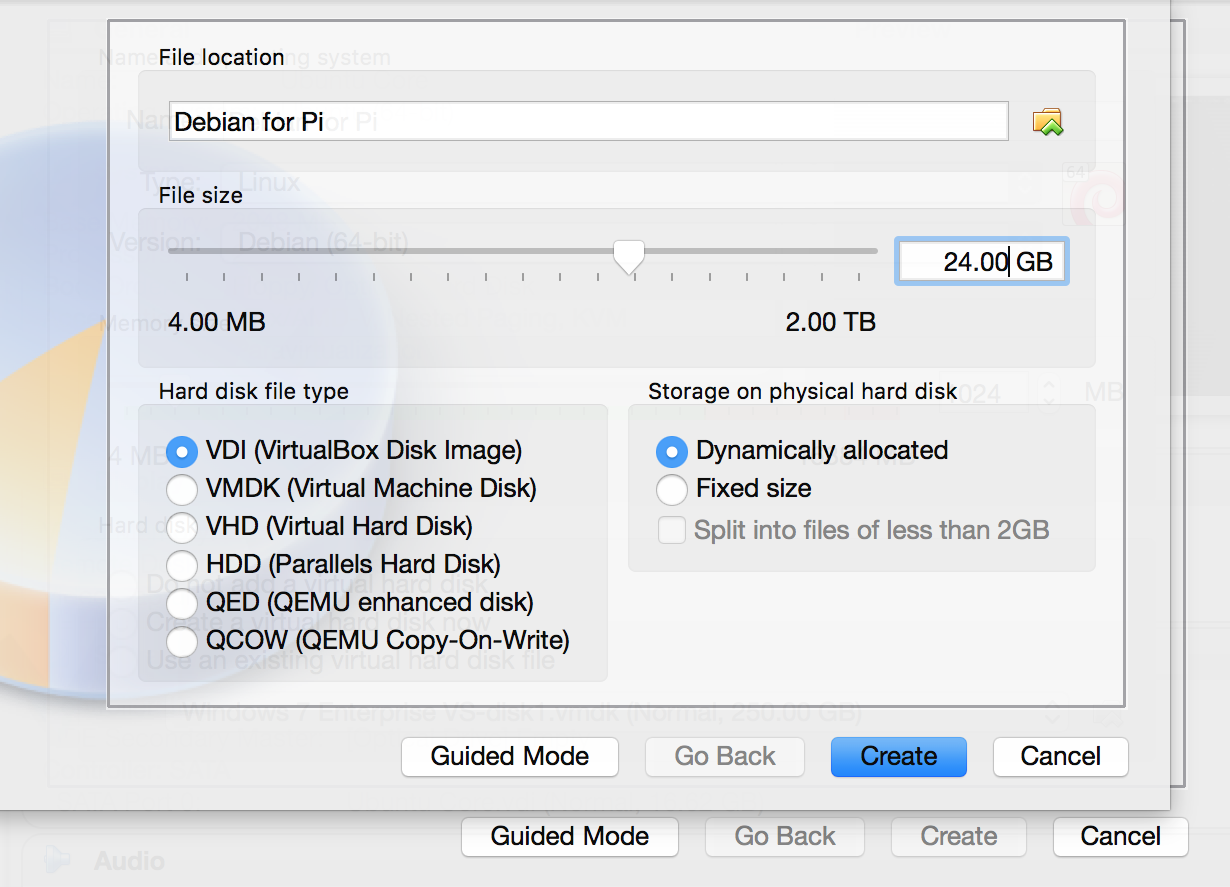
Choose the ISO file you downloaded earlier and install in VirtualBox, keeping all the defaults.
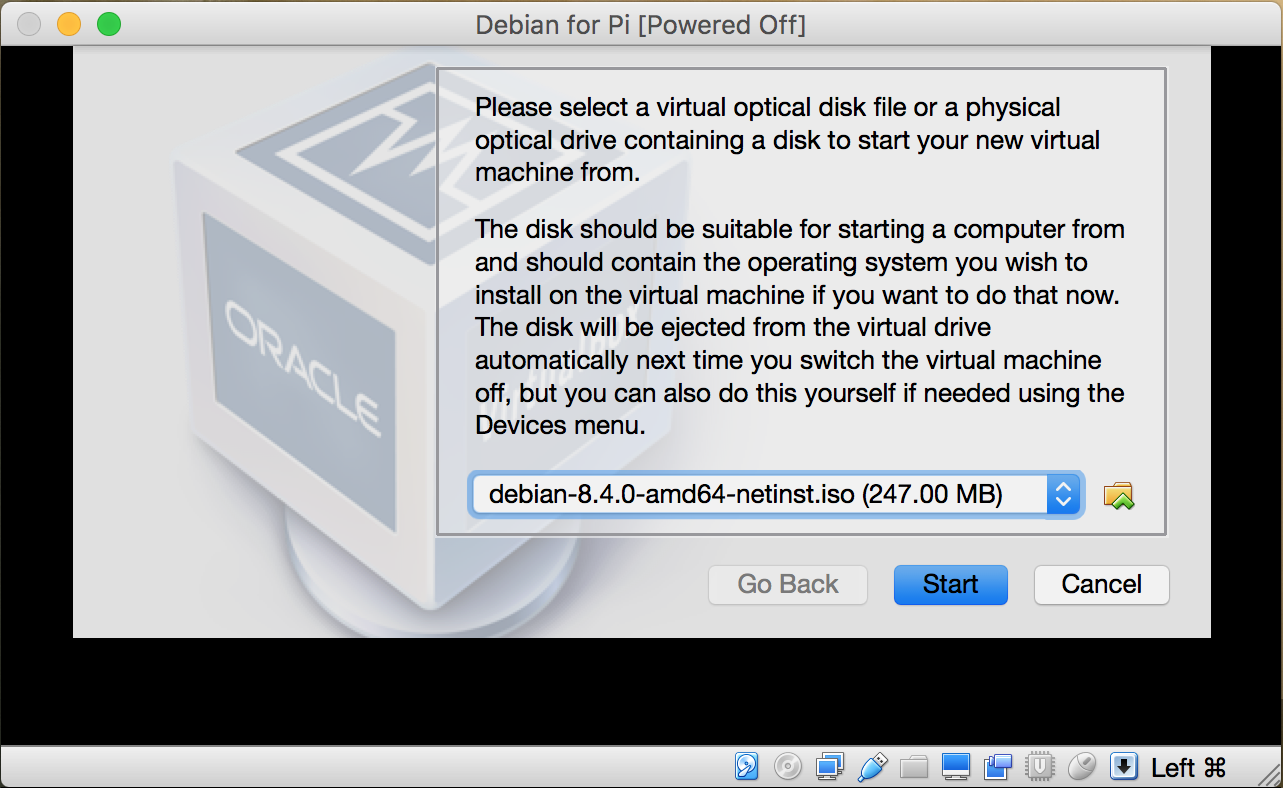
Leave the network stuff the same, keeping the default hostname as-is and the domain name empty. Create passwords when prompted, and choose ‘yes’ when it asks you “write the changes to disks?”. Go get a cup of coffee. And a sandwich. It’s going to unpackage and install a lot of files, which can take 10-15 minutes.
When you finally get to the “device for boot loader installation” prompt, select the “/dev/sda” option from the list and continue. It’ll reboot and finally let you login.
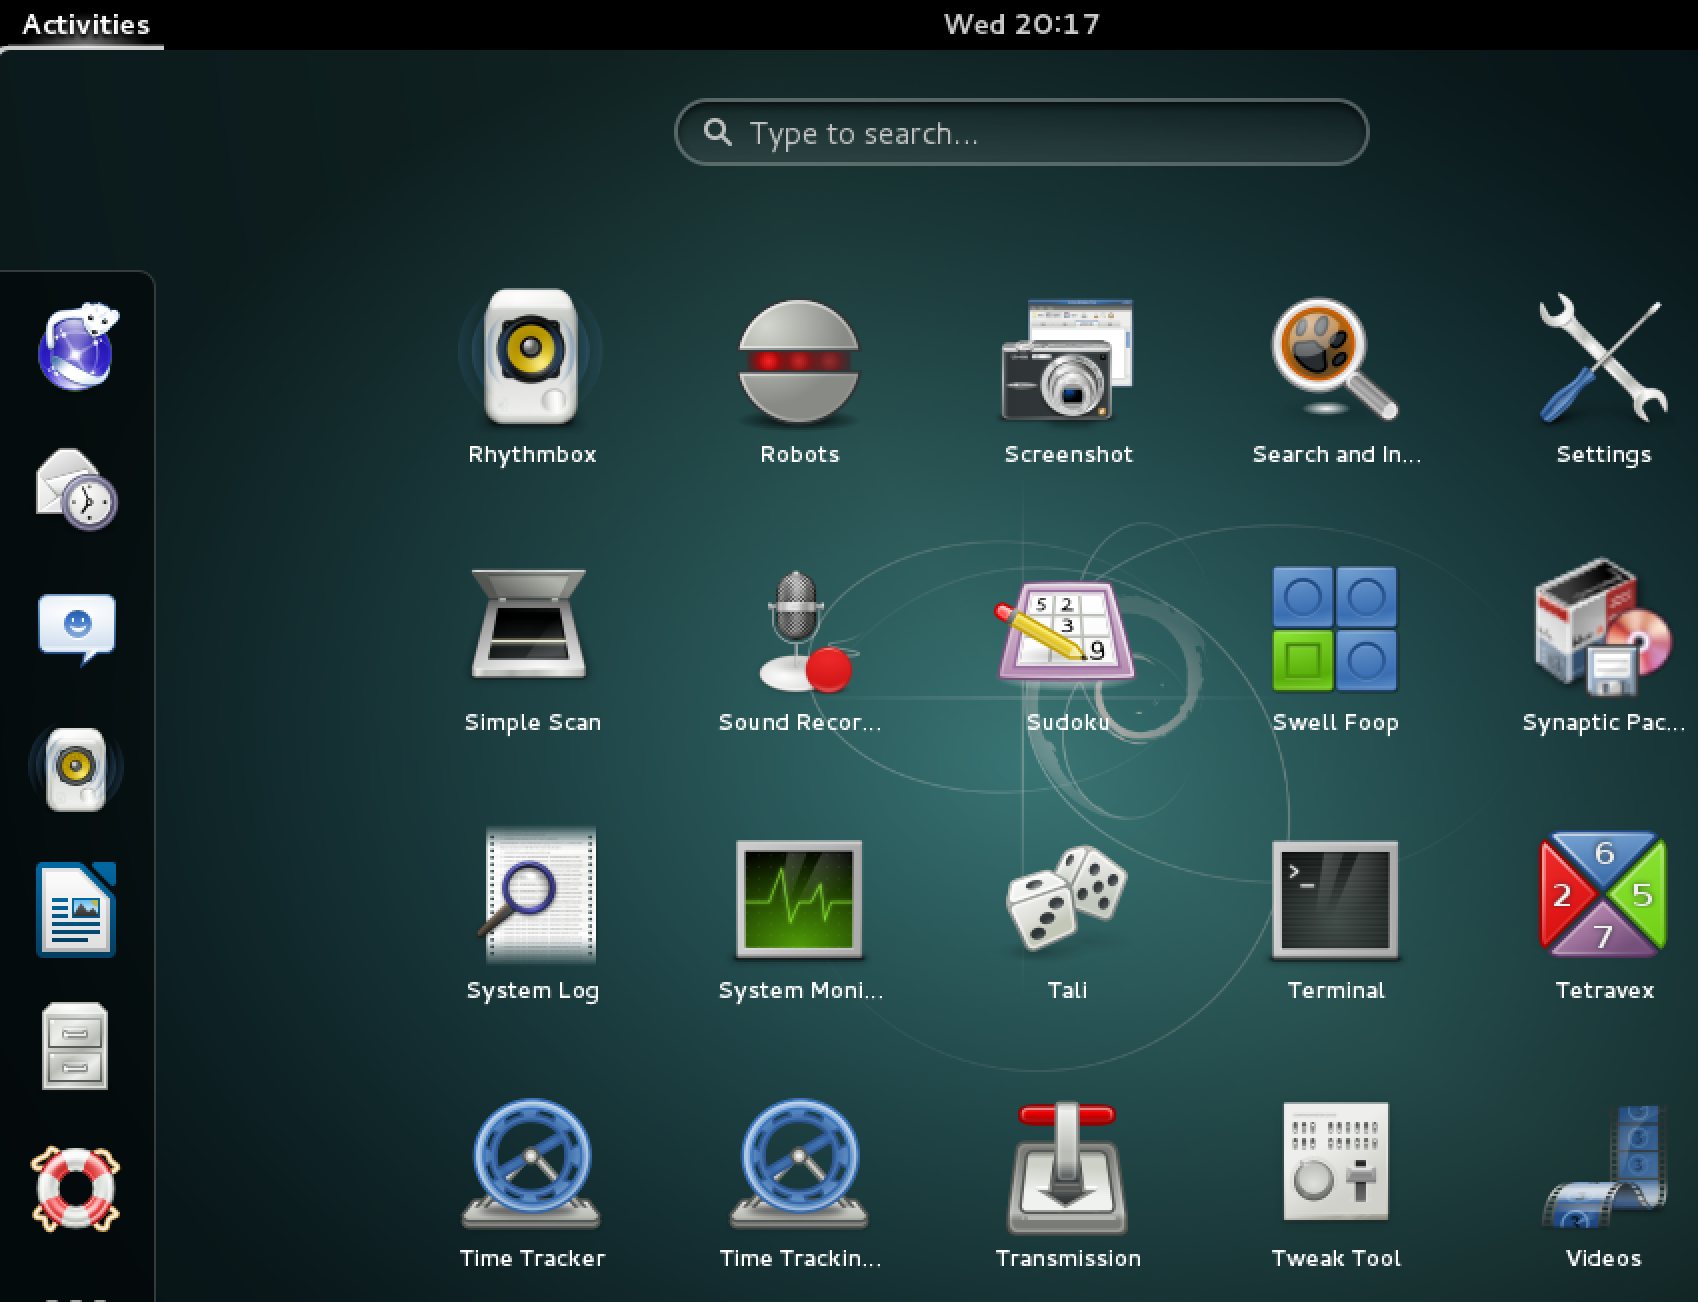
When you finally get into Debian, click “Activities” in the upper-left and type in “term” to find the Terminal application.

Verify Python is Installed
You can verify that python2 and python3 are already installed by starting each shell.

Upgrading Packages
From time to time, you may want to upgrade the packages installed on your new VM. To do that, you’ll need to be logged in as root, but “sudo” isn’t installed by default. You can follow this tutorial to install sudo, or just type “su” and enter your password. Personally, I’d recommend installing sudo. Every example you find is going to tell you to use it, not to type “su”.
To upgrade installed packages, run:
sudo apt-get update

sudo apt-get upgrade
Get Git
Once you start developing code, the easiest way to migrate it to the Pi will be to commit it to GitHub in your VM, and then pull it from GitHub on the Pi. For that, you’ll need to install git:
sudo apt-get install gitTry Out a Script
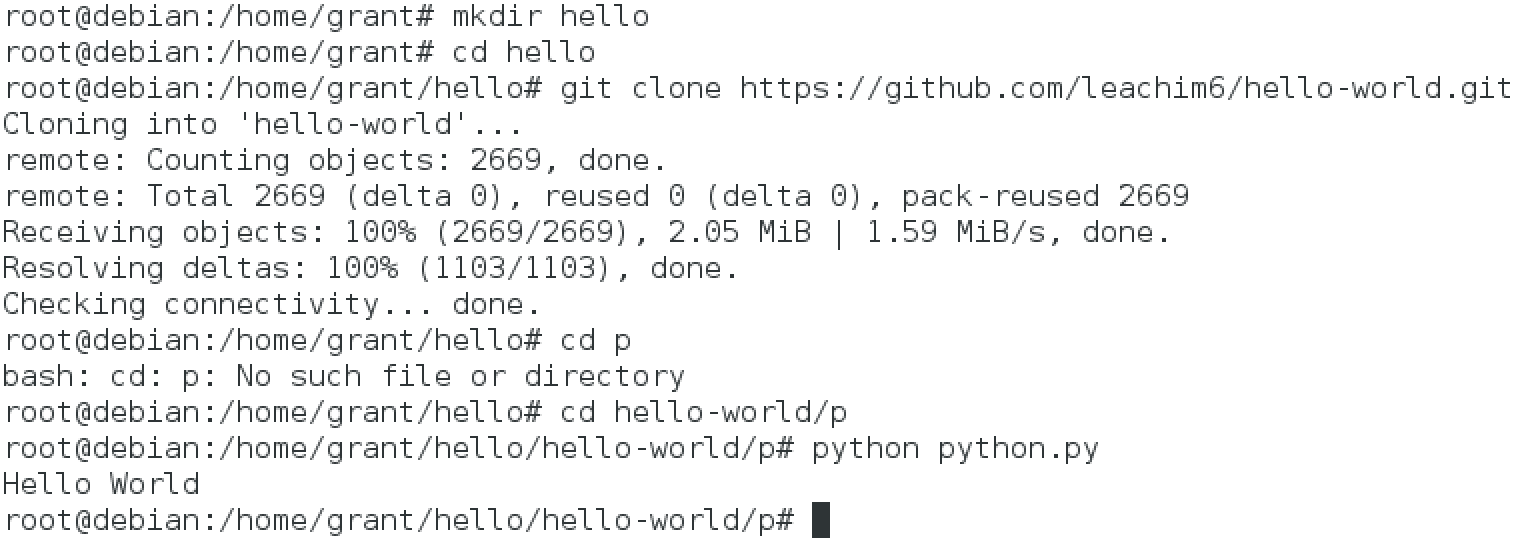
Let’s clone a project from GitHub and try out a script. There’s a repo on GitHub that’s full of “hello world” scripts in different languages. Let’s use that.
Create a new directory and clone “https://github.com/leachim6/hello-world.git”. Run the “p/python.py” file.
Installing Other Dependencies
You can install whatever else you’d normally install on Raspbian too.
Do you use Pibrella? Follow “Emulating a Raspberry Pi on Virtualbox”, starting half-way down under the header “Pibrella Module Installation” and “Python 3 Addition”.
If you typically use the pip package manager, you can easily install that too.
What about the GPIO pins and RPi.GPIO?
I use the RPi.GPIO library for easily communicating with the GPIO pins from my Python scripts.
You can install the RPi.GPIO library using
pip install RPi.GPIO.
If you get the following error message, it can’t find some file. Run
apt-get install python-dev to make it happy.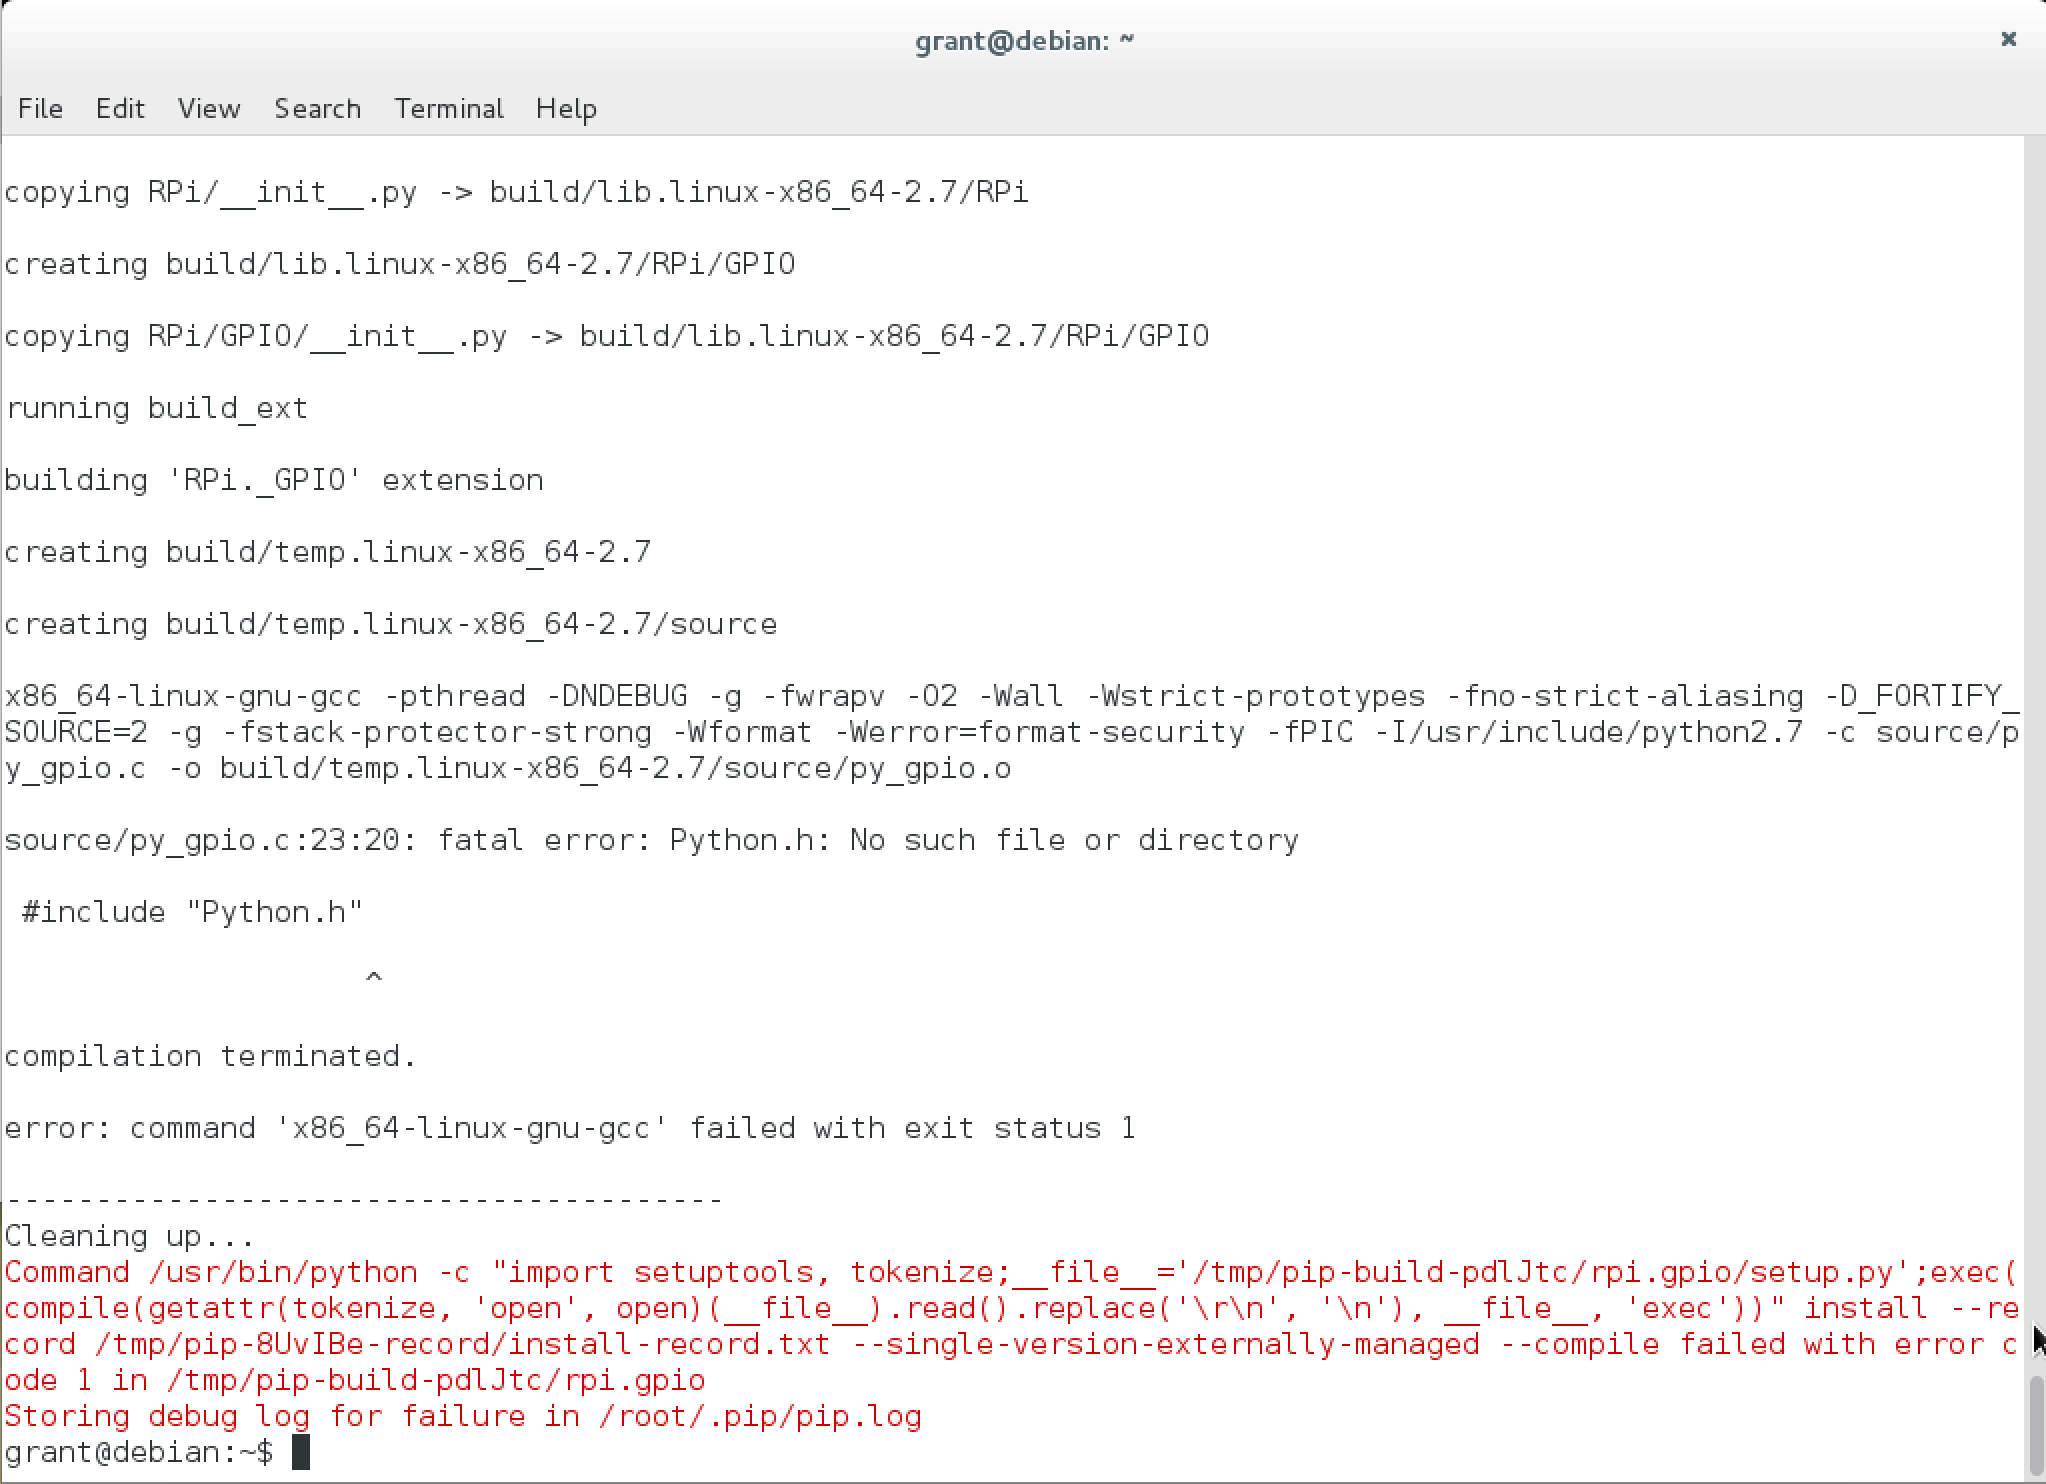
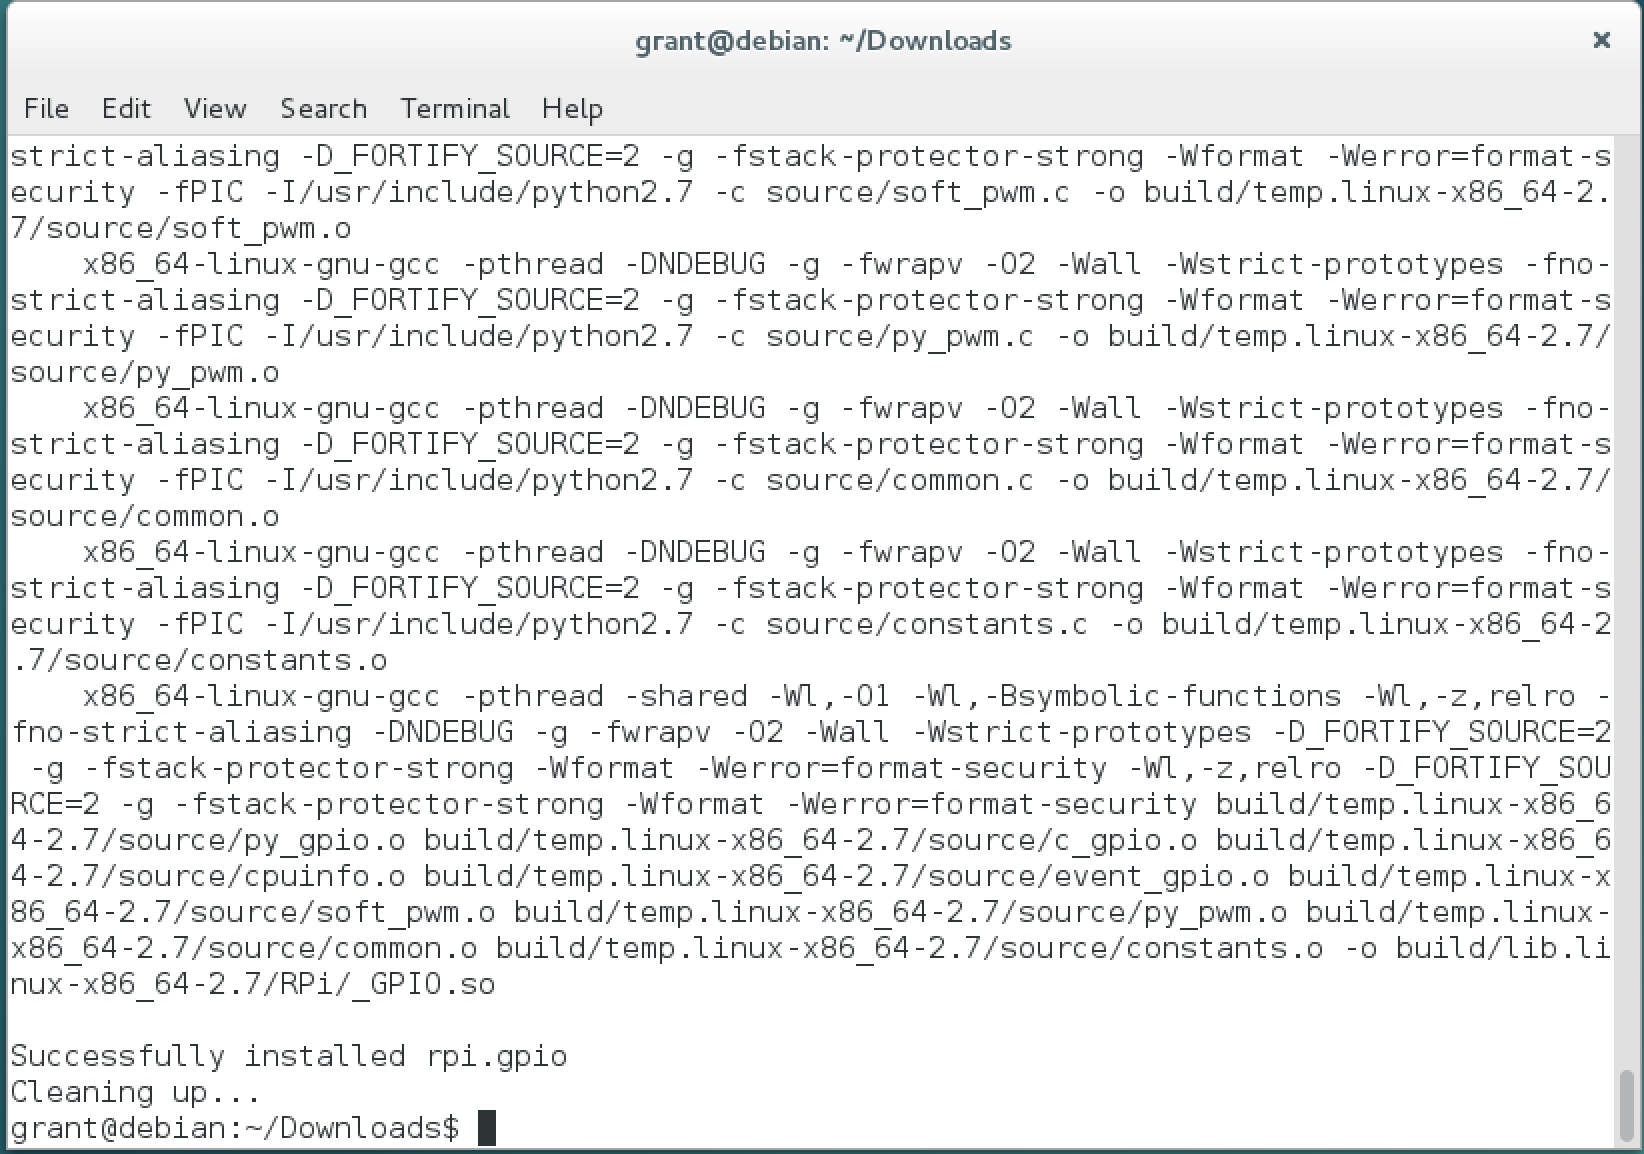
It should install okay, but if you try to run a script that takes advantage of it, you’ll get the loud error message I posted up at the top of this post. It wants the GPIO pins to be present.
I can think of an easy fix and a hard fix.
The hard fix would be to somehow trick Debian into thinking the hardware is present. I have no idea how to do that, but I’d love to find a way to trick it, and have an app that shows a Raspberry Pi. And every time RPi.GPIO tries to enable or disable a pin, the app intercepted it and indicated what was going on.
The easy(ier) fix is to write a GPIO script that mirrors all the functions in the official RPi.GPIO library, but just outputs a message to the console saying that a pin has been turned on, or off, or adjusted somehow. Tedious, but doable. I already made one with just a few functions for one of my scripts.
Make sure you include a line like this at the top of your scripts:
import RPi.GPIO as GPIO
Then create a mock script called MyMockedGpio or whatever you want. When you want to test things without the Pi, just replace the above line with:
import MyMockedGpio as GPIO
And the rest of your code should be none the wiser.
If you didn’t know where to start, hopefully this helps you out. And if you manage to take this to the next level, I’d love to hear from you! Feel free to leave a comment below...
Tidak ada komentar:
Posting Komentar