Grsync And GAdmin-Rsync: The Graphical Front-end Applications For Rsync Tool
In our previous article about rsync, we have shown you how to install and use rsync. Working in command line mode is better than GUI mode, however it will be bit difficult to newbies and novice users. Today, I will introduce some graphical front-end tools called Grsync and Gadmin-rsync which will help to ease the usage of rsync tool.
1. Grsync
Grsync is a graphical user interface front-end for the rsync tool. Its a cross platform tool, works on Linux, Windows OS and Mac OS. Grsync can be use to synchronize a music collection with removable devices, backup personal files to a networked drive, replication of a partition to another one, mirroring of files, etc. In this article, let me teach you how to synchronize files/folders from one system to another system using Grsync.
Install Grsync
On Ubuntu/Debian/Linux Mint:
Grsync is available in the default repositories. So, you install it using the following command:
sudo apt-get install grsync
On RHEL based systems:
yum install grsync
Now, start Grsync either from the Menu or Dash. The default Grsync interface will look like below.
There are three options in the Grsync interface called Basic, Advanced and Extra. Most of these options are self-explanatory. Just place the mouse cursor over the items, a popup help screen will open and you will know what it really does.
Usage
In this tutorial, I will be using two Ubuntu 14.04 systems. My source system(local system) IP address is 192.168.1.200/24, and my destination system(remote system) IP address is 192.168.1.250/24.
Now, I am going to backup the /home/sk/Downloads/ directory of the source system(192.168.1.200) to /home/sk/sync/directory of the destination system(192.168.1.250) using Grsync.
Enter the source and destination paths.
Make sure you have entered the correct path in the destination path as shown in the above figure.
Now, click on the Simulation button from the File menu. It will show you if you’re selected the correct options. Also, it will ask you to enter the remote system user password.
You’ll be asked to enter the password of the remote user.
If everything OK, a “Completed successfully” message will appear.
Now, click Execute to save the changes from the File menu to start transferring the files.
It will take a while depending upon the contents of your folder. After successful transfer, a “Completed successfully” message will appear.
Verify the output
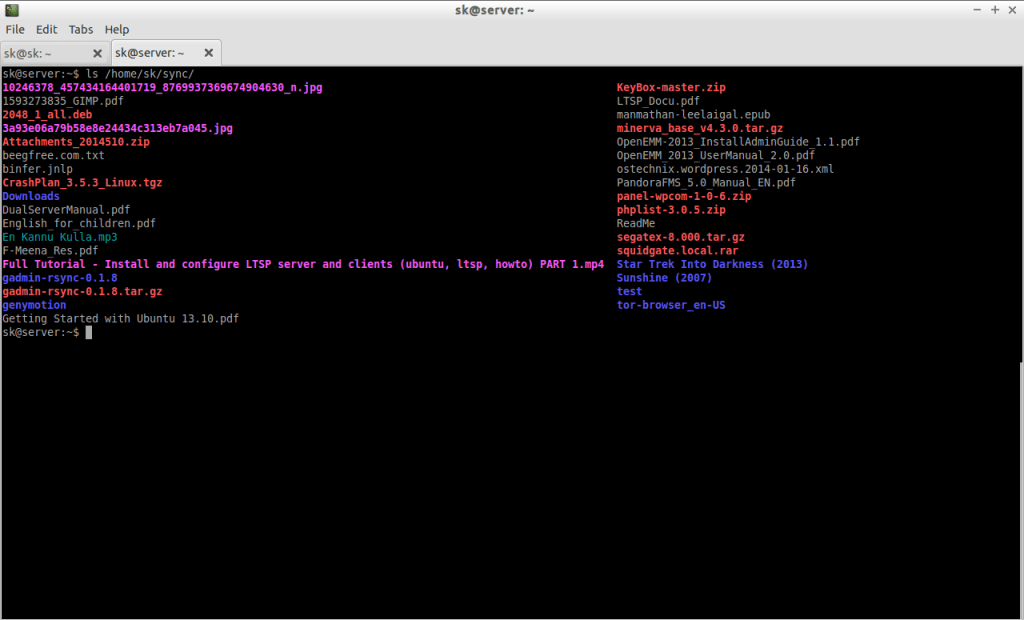
Go to your remote system folder (i.e. /home/sk/sync), and check for the backup files. The files of the local folder will be found on the remote folder.
ls /home/sk/sync/
Sample output:
Synchronize files
We have transfered the files/folders manually in the above steps. If you want to synchronize files automatically at a particular interval, follow the steps below.
We have to create a new session to synchronize files. Let us name the session as Synchronize. Click on the (+) sign in the Grsync interface.
It will create a new session called Synchronize. Here, you have to enter the network folder (192.168.1.250:/home/s/sync) as source path and local system folder(/home/sk/Downloads) as destination path. Please note that you don’t have to enter the full path in the destination path. Say for example, if you want to synchronize the contents of the folder /home/sk/sync from your remote server to local system, just enter the destination location where exactly the /home/sk/sync folder exists. In my case the sync folder is in my remote server Home folder (i.e./home/sk/). So, I entered my destination path as /home/sk.
Check for any errors by clicking on the Simulation button from the File menu. If everything seems OK, click on the Executebutton to start the process.
Add Scheduling jobs in the Cron job
To schedule backups, add the both sessions in your crontab file in your local system:
sudo crontab -e
Add the both sessions (i.e. default and Synchronize sessions one by one)
[...]
# m h dom mon dow command
0 11 * * * grsync -e "default"
0 12 * * * grsync -e "Synchronize"
The above cron job will perform the backup from local to remote folder at 11am, and synchronization process will be done at 12am respectively. Save your crontab file, and you’re done.
2. Gadmin-Rsync
GAdmin-Rsync is a C/GTK+ GUI front-end of Rsync command. This tool allows us to take backup of files/directories from local-to-local, local-to-remote systems and vice versa.
Installation
To install GAdmin-Rsync on Debian/Ubuntu based systems, enter the following command:
sudo apt-get install gadmin-rsync
Alternatively, you compile the source as shown below:
Download gadmin-rsync-x.x.x.tar.gz and unpack and install it as shown below:
tar -zxvf gadmin-rsync-x.x.x.tar.gz
cd gadmin-rsync-x.x.x
./Autoinstall
Now you should be able to start it by typing gadmin-rsync at the Terminal or from GNOME or KDE’s program menus and you’re ready to go.
Usage
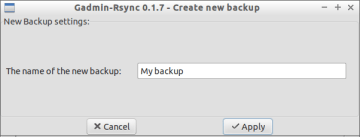
Open it up either from Terminal, Dash or Menu. At the first launch, you”ll be asked to given a name for the new backup. Enter the name and click Apply.
Then, Select the backup type like Local backup, Local to remote backup and Remote to local backup. Here, I want to do local to remote backup. Click Forward button.
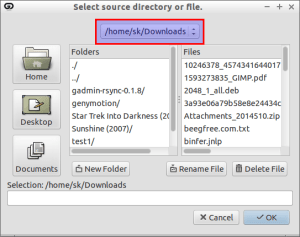
Select the source directory you want to backup.
Enter the remote server IP address, enter path on the remote machine you want to backup to, remote user name and password etc.
Now, click on the button that says: Run selected backup on the top right corner to start the backup.
Now, the backup process will start.
After a couple of minutes, you’ll see the successful message that says the backup has been done.
Scheduling Backups
In version 0.1.7, I can’t schedule the backup process at a particular interval. When I try to save the schedule option, It gives an error like below:
Error: The time schedule server "cron(d)" does not seem to be running.
But, somebody from the Askubuntu forum has found the solution for this error. Hope it helps.
That’s it!


Tidak ada komentar:
Posting Komentar