Deploy Harvester in Proxmox environment: Part2 ComputeNode and Deploy VMs
From Part1
In the first part of this series, We implemented Harvester’s network requirements and Management node.
Our Goal
In this post, We want to add a compute node to our Harvester cluster. It’s good to mention that the Harvester cluster is a Kubernetes cluster, too. So Compute nodes in the Harvester cluster are the same as Worker nodes in the Kubernetes cluster and are responsible for running workloads.
After deploying our first Compute node, we start to deploy VMs. First, I deploy a VM via GUI, and as I’m interested in Infrastructure as Code (IaC) and can’t ignore it, I use Terraform to deploy another VM.
Compute Node
To install the compute nodes, we need to do the exact procedures that we did for the Management node. So we need a VM in our Proxmox with these resources:
- 5 CPU cores
- 12 GB RAM
- 2 Network Interface for the Management network and the VLAN network
- 120GB Disk
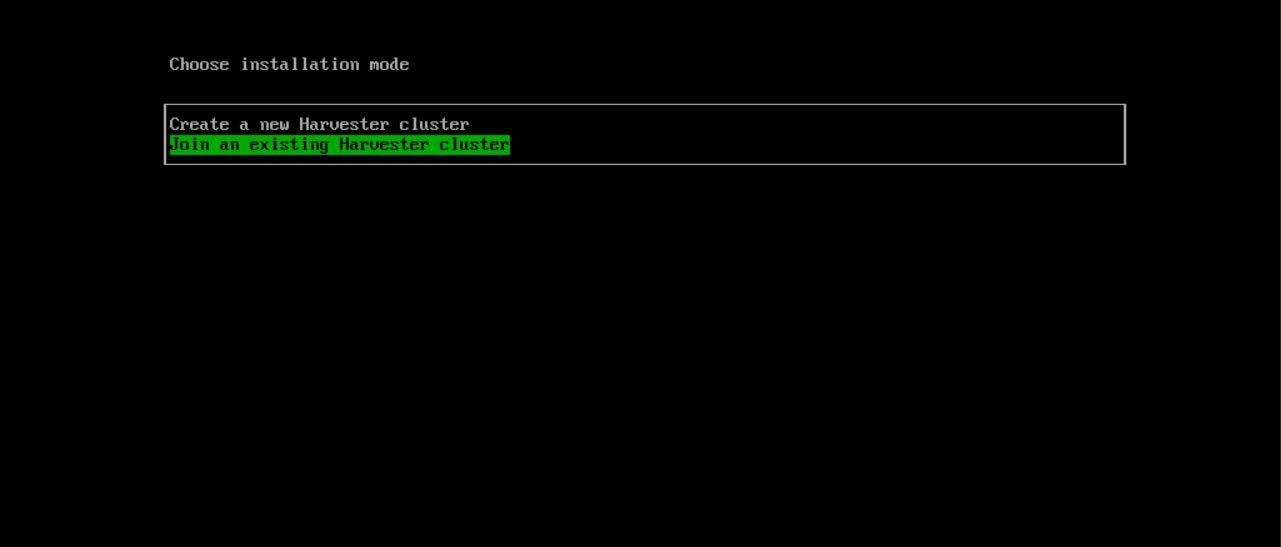
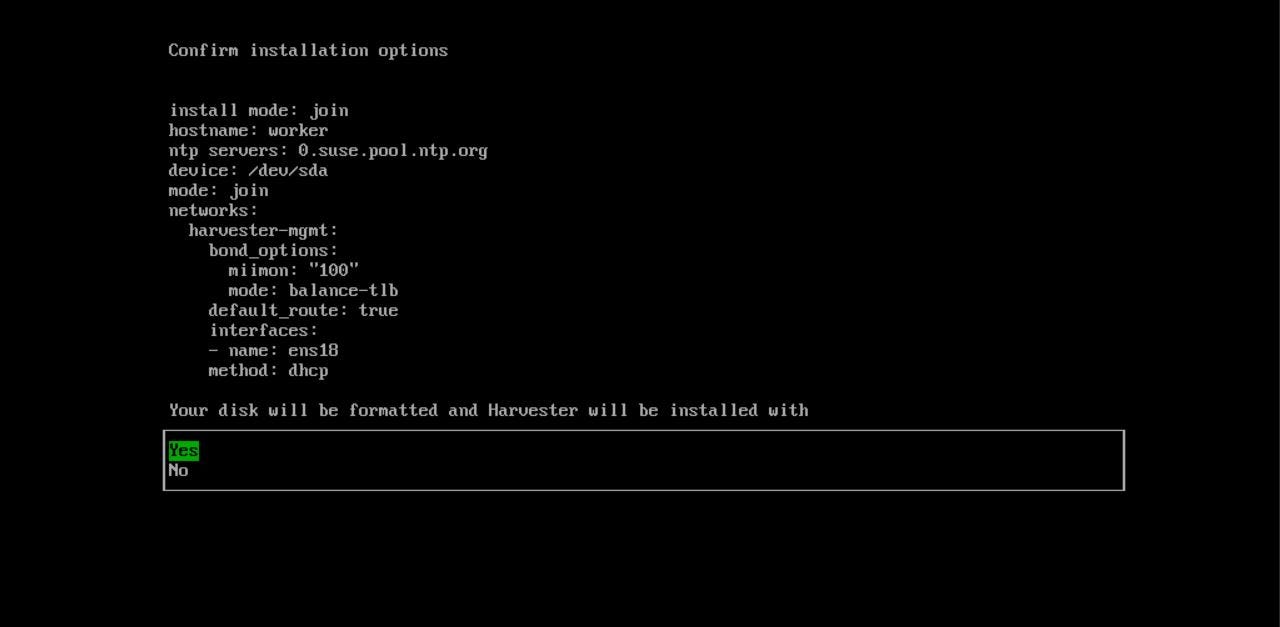
Let’s start installing our first compute node. The installation process is the same as the Management node, but we should select “Join an existing Harvester cluster” in the first step instead of creating a new cluster :
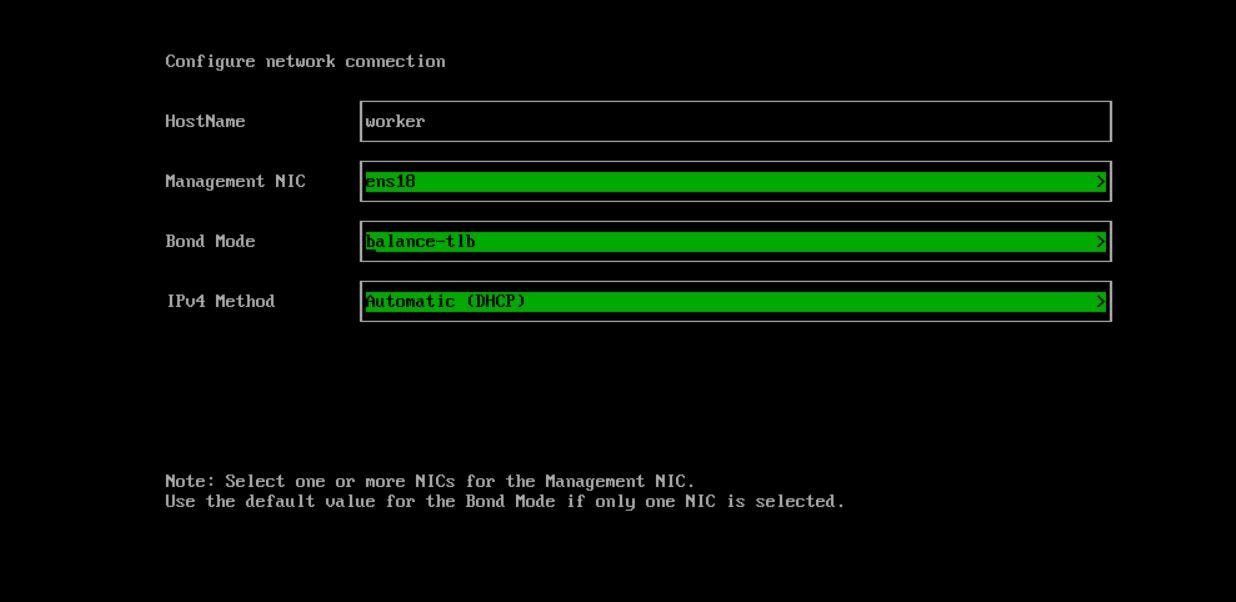
In the next step, We select ‘worker’ as Hostname. The first network interface should be in the Management network. The ‘Bond Mode’ shouldn’t be changed, and the IP assignment method can be DHCP or static, but here we select DHCP.
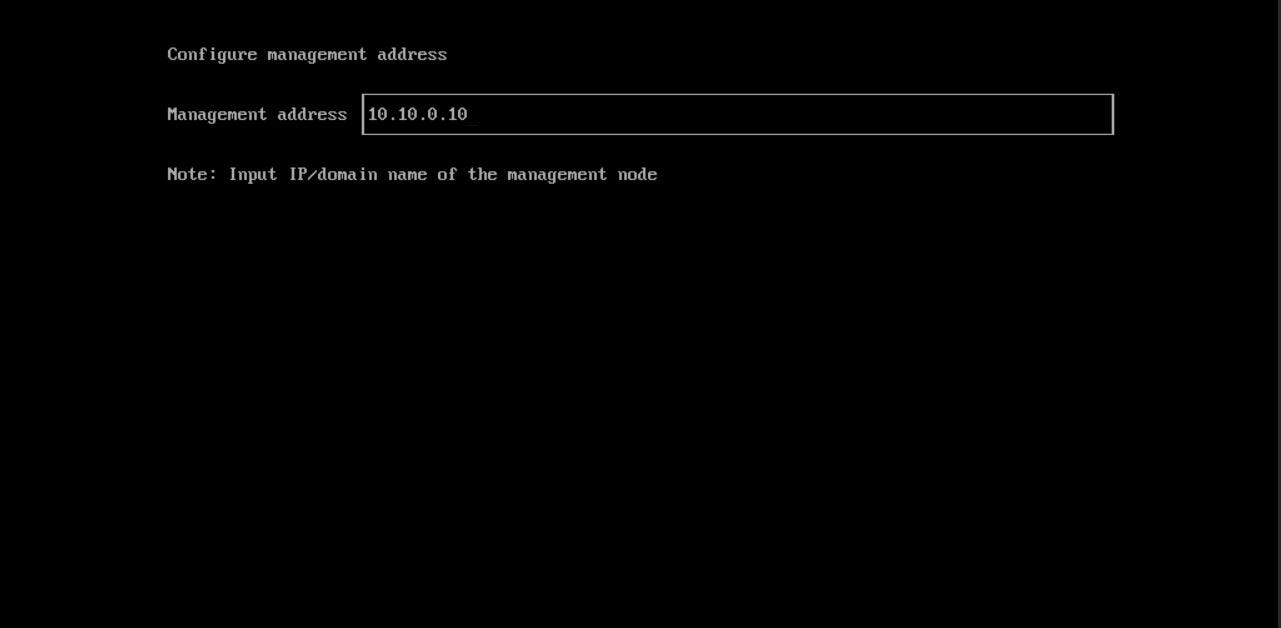
In the next step, We should set the ‘Management address,’ which is the Virtual IP that we specified in the Management Node installation (Part1). Compute nodes use this address to access the Cluster, and we can consider it a Virtual IP of the API Servers.
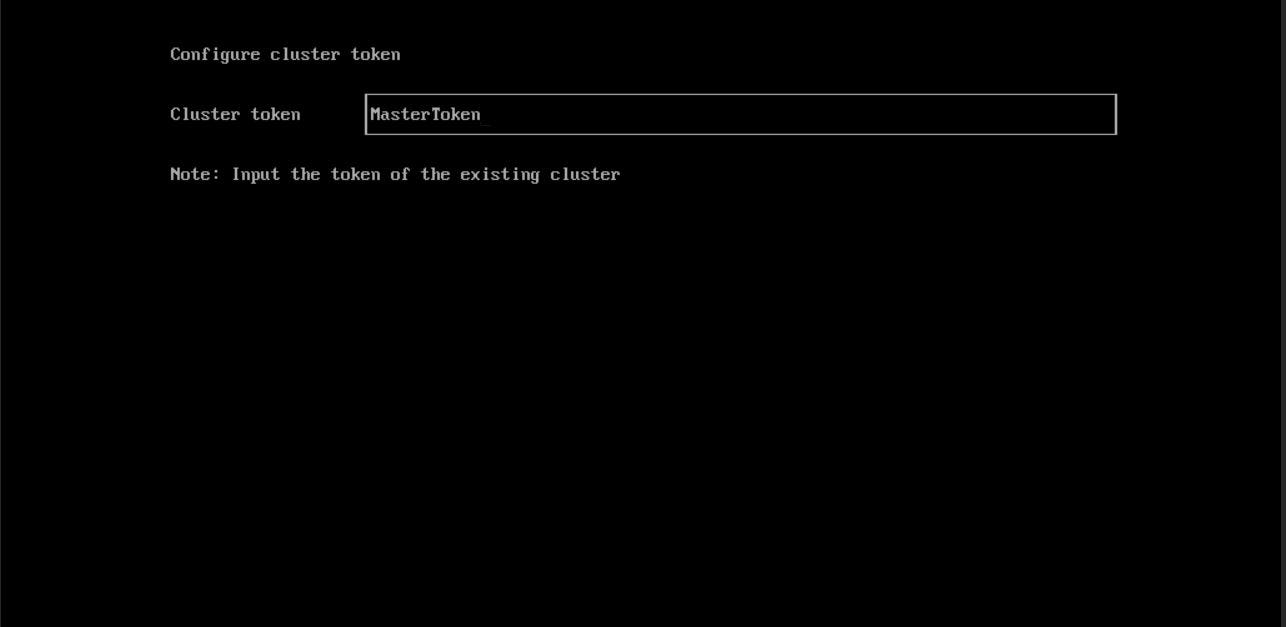
Here we should specify the ‘Cluster Token’ that we set in the Management node installation (Part1).
The others steps are the same as the Management node installation, and we skip them.
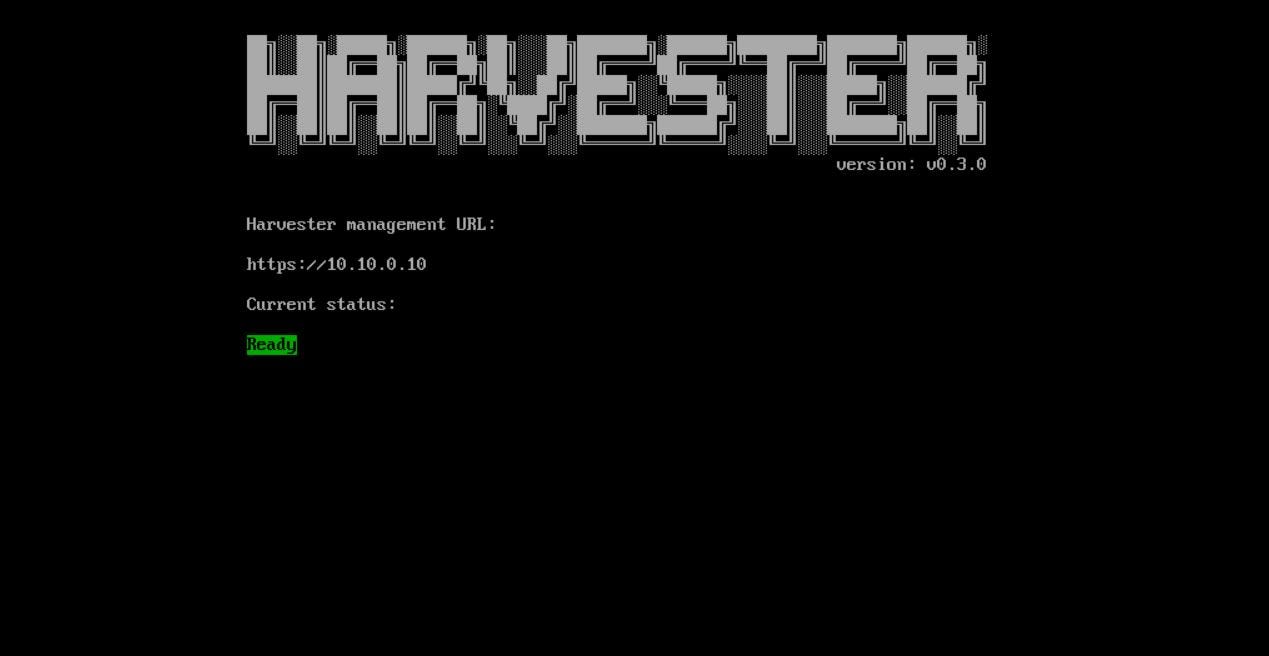
The installation takes about 10 minutes, and the node will be restarted. Then node starts joining the Cluster that takes about 5 minutes, and if everything goes fine, we should see this page with the ‘Ready’ status:
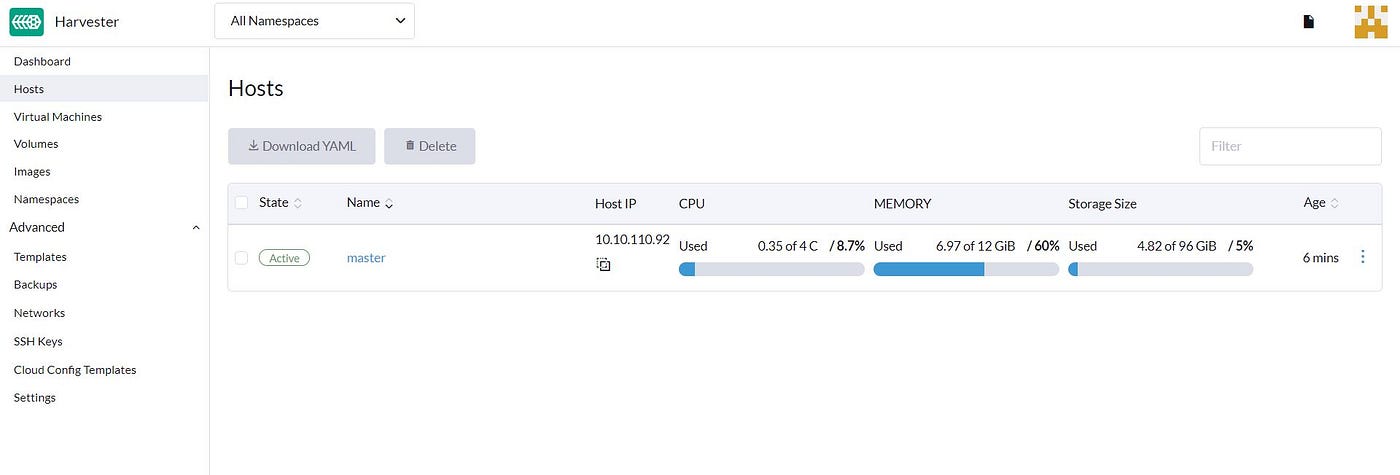
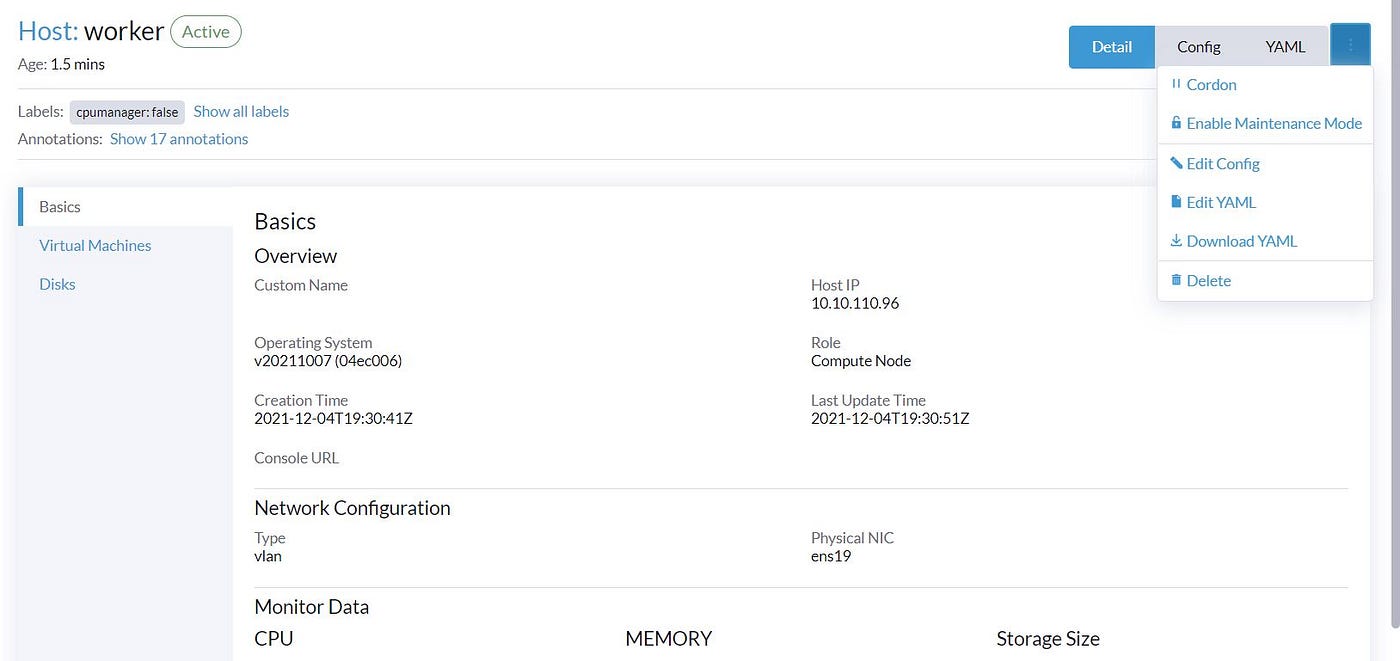
If we open the Harvester dashboard and go to the Host section, we can find our Compute node is ready and there:
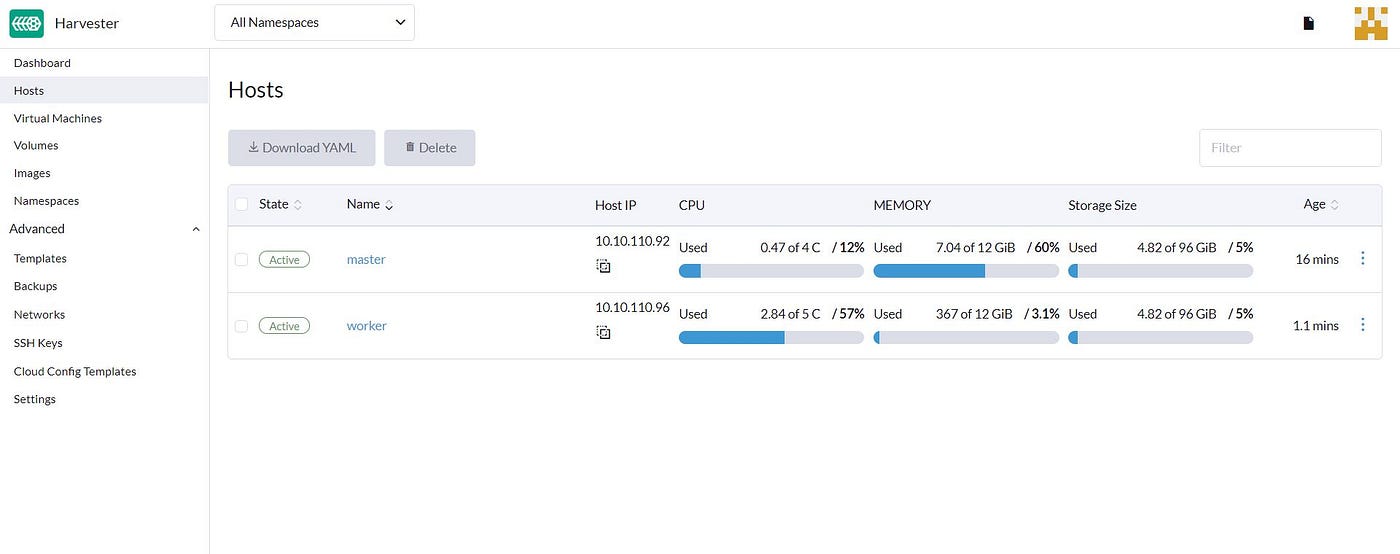
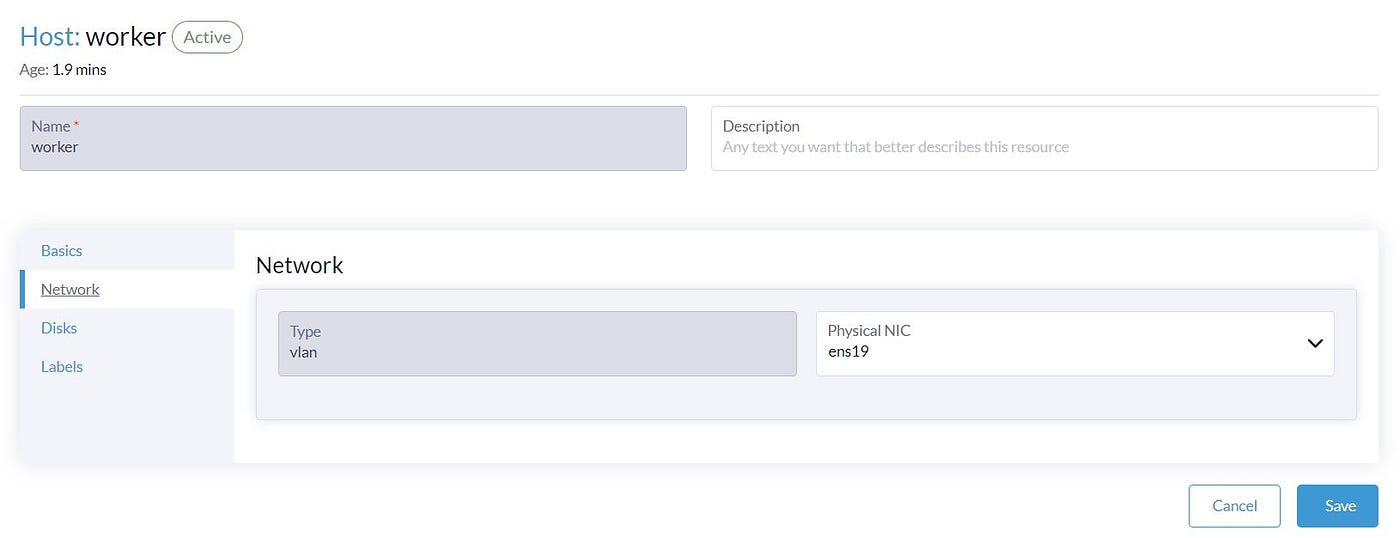
In Part1, We set the second Network interface ‘ens19’ as the default Network interface name for the VLAN network. As we use Ubuntu for both Compute and management nodes and have only two Network interfaces, we don’t need to take care of the Network interface for the VLAN network. But if you have another Network interface on the Compute node which is different than the default one, you should click on the host and ‘Edit Config’ and update this Network interface.
Our compute node is ready, and we can move to the VM deployment.
VM Deploy via Dashboard
It’s obvious that we need an Image to Deploy VM. If we go to the ‘Image’ section, we can confirm there are no images in the Harvester cluster by default.
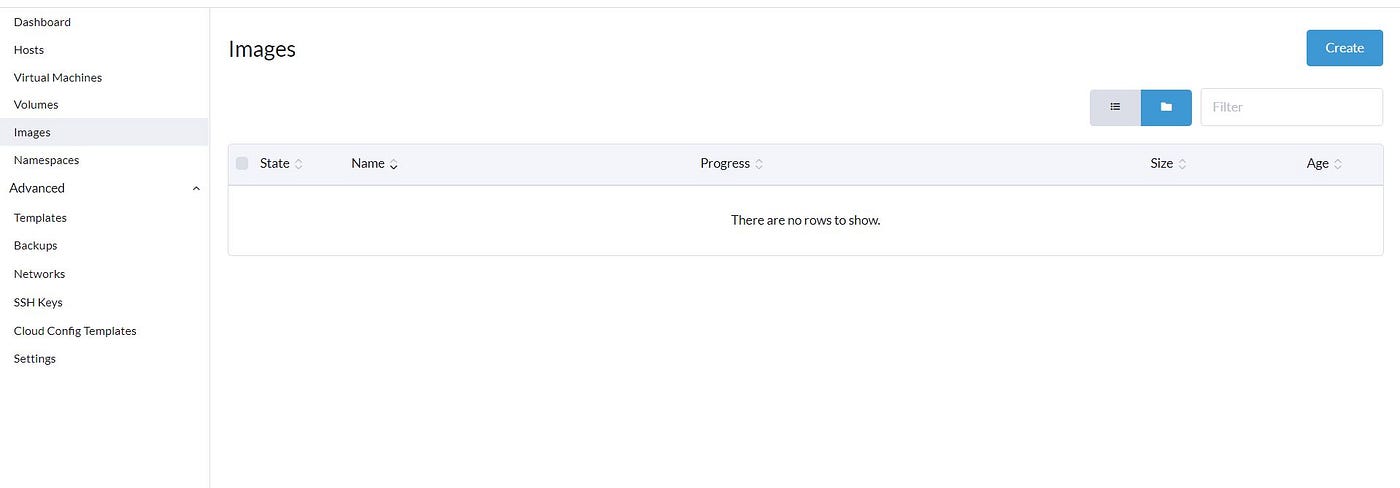
If we click on the ‘Create,’ we have two options to import images into the Cluster. Upload from our Computer or download from an URL. The image format can be qcow2, ISO, and img. We select to download the Ubuntu cloud image from the URL in our scenario.
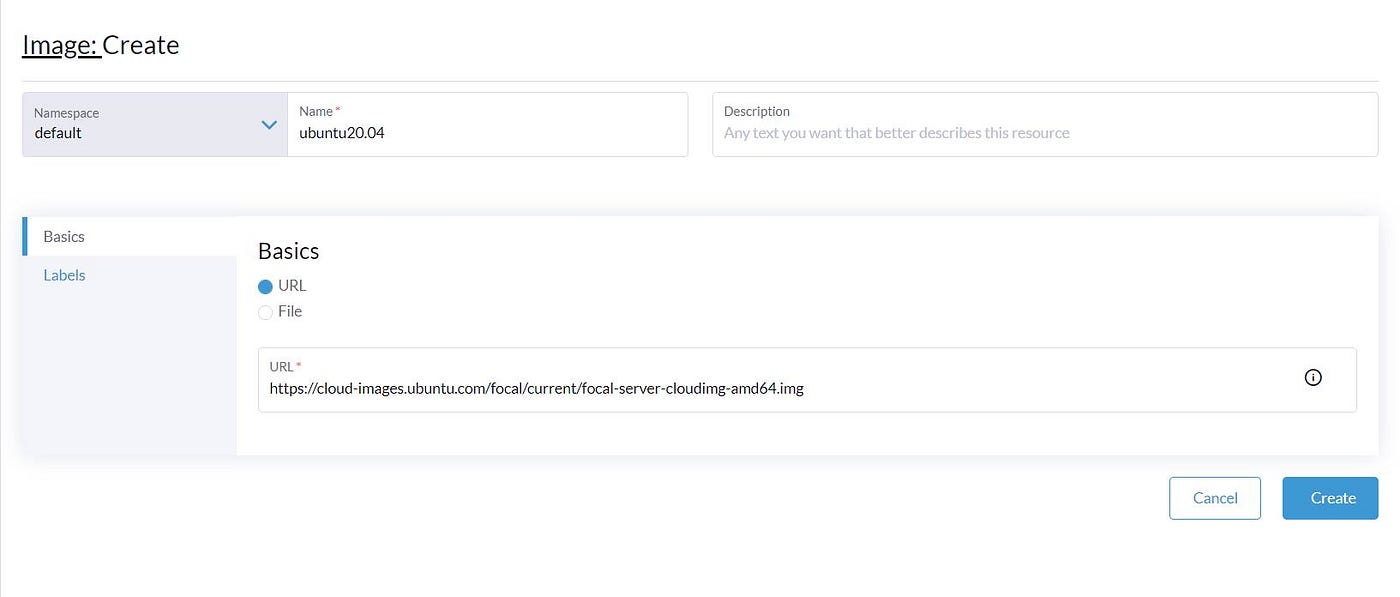
After download, we can see that the image is Active, which we can use for creating our first VM.

Now we have an image so that we can go to the ‘Virtual Machines’ section, and as can be seen, we don’t have any VM, so let’s click on the create:
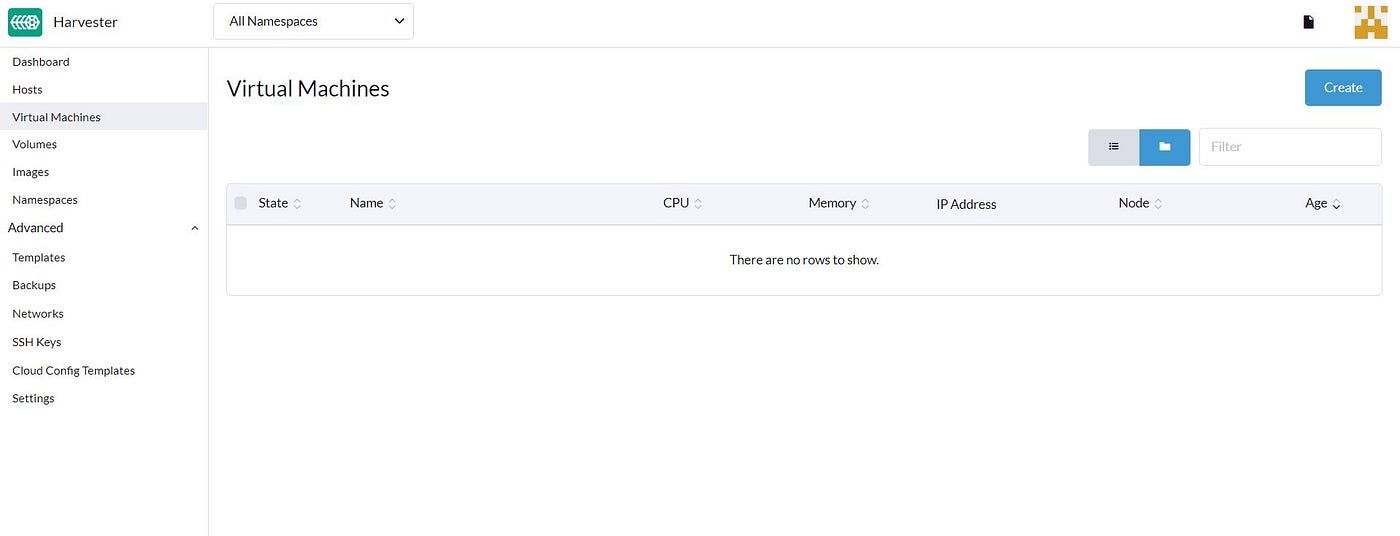
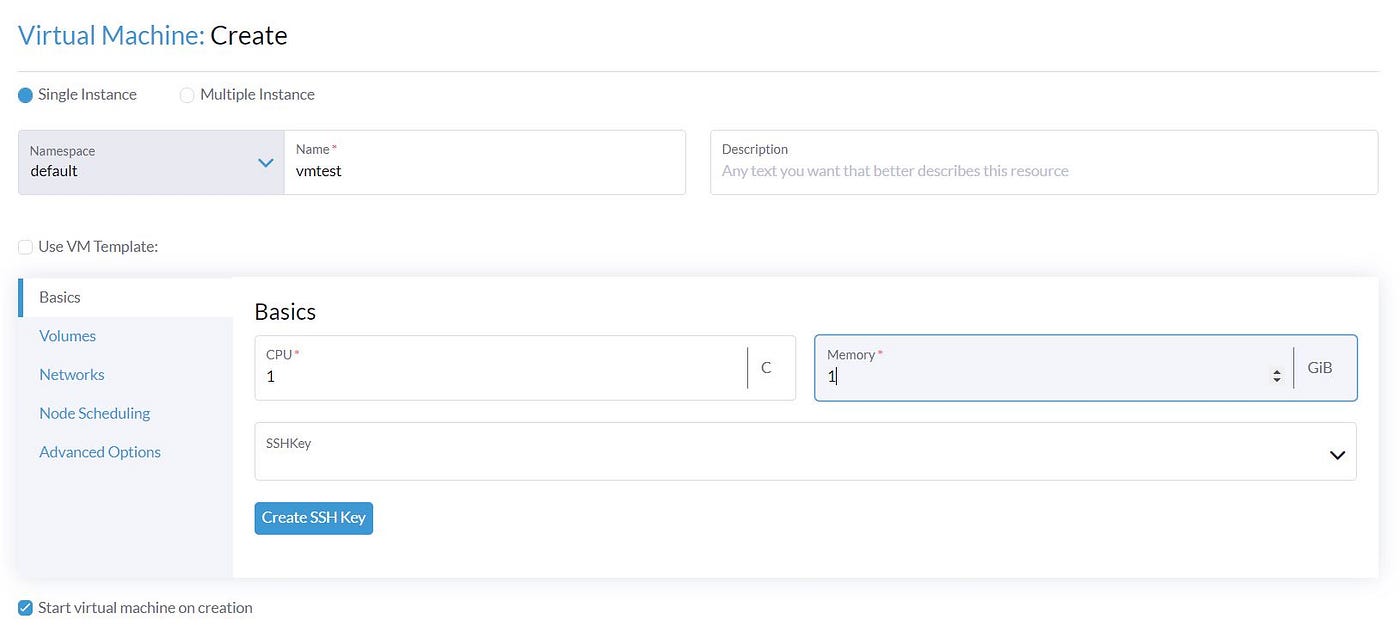
In the first section, we need to specify CPU, RAM, and VM’s name.
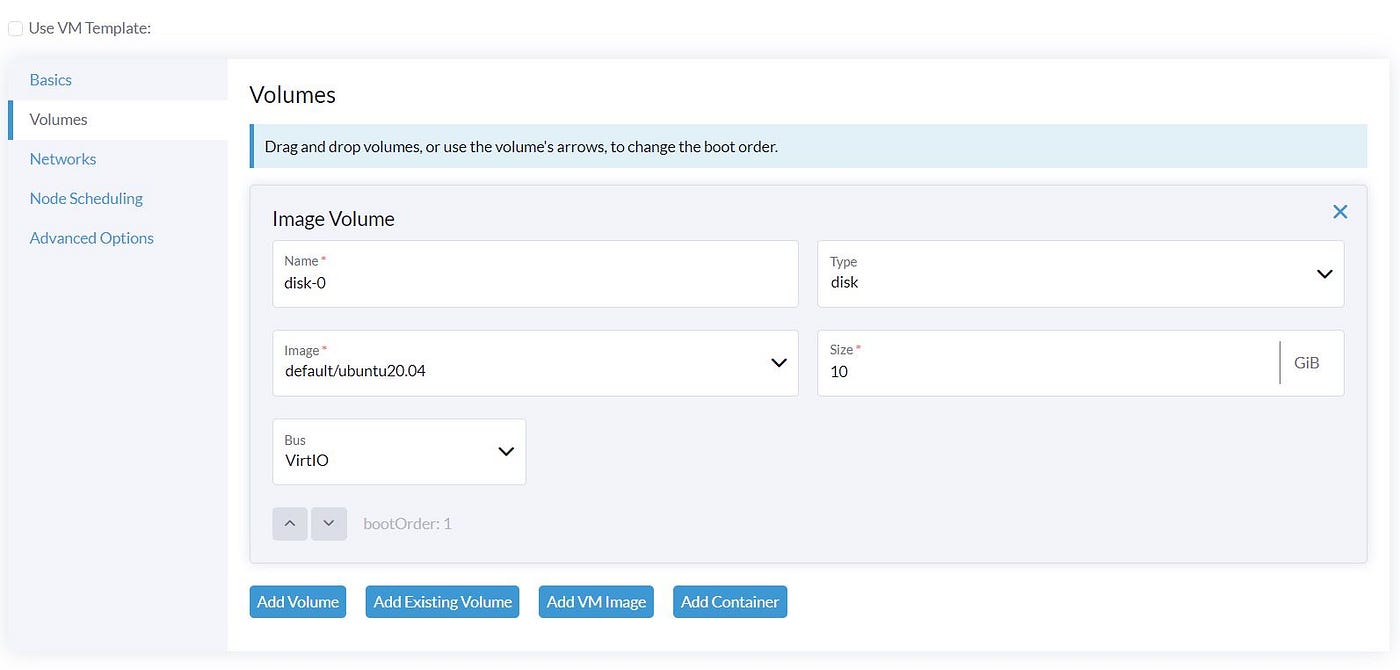
Let’s move to the ‘Volume’ section. Here we Select our Ubuntu image and the disk size.
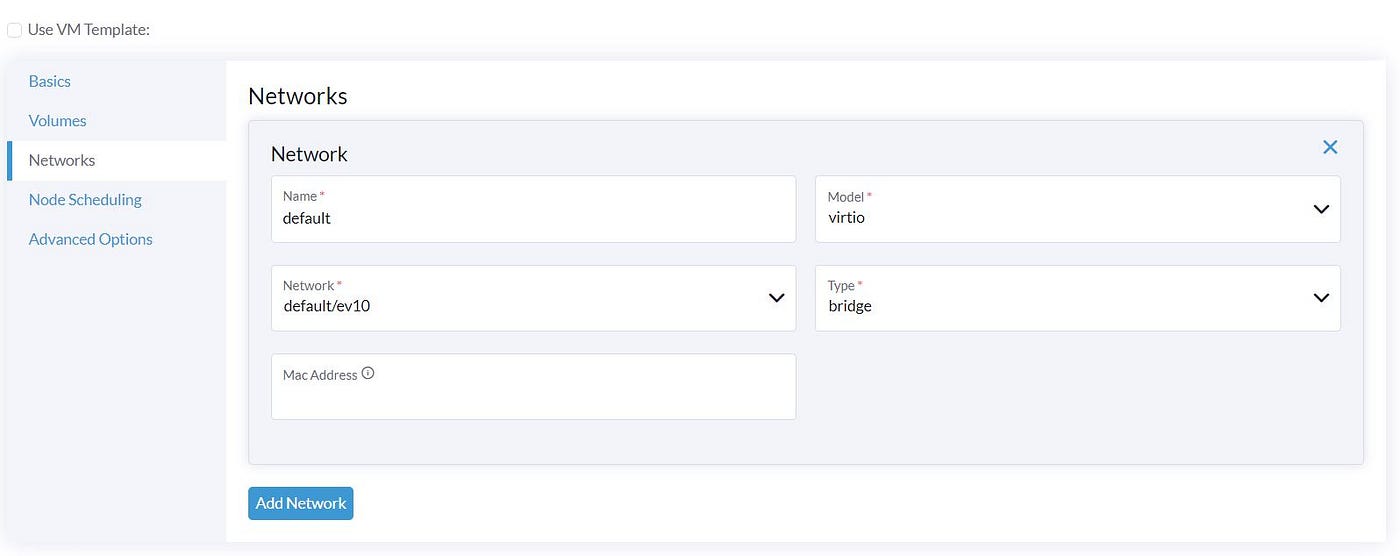
We select our VLAN Network ‘ev10’ in the ‘Network’ section.
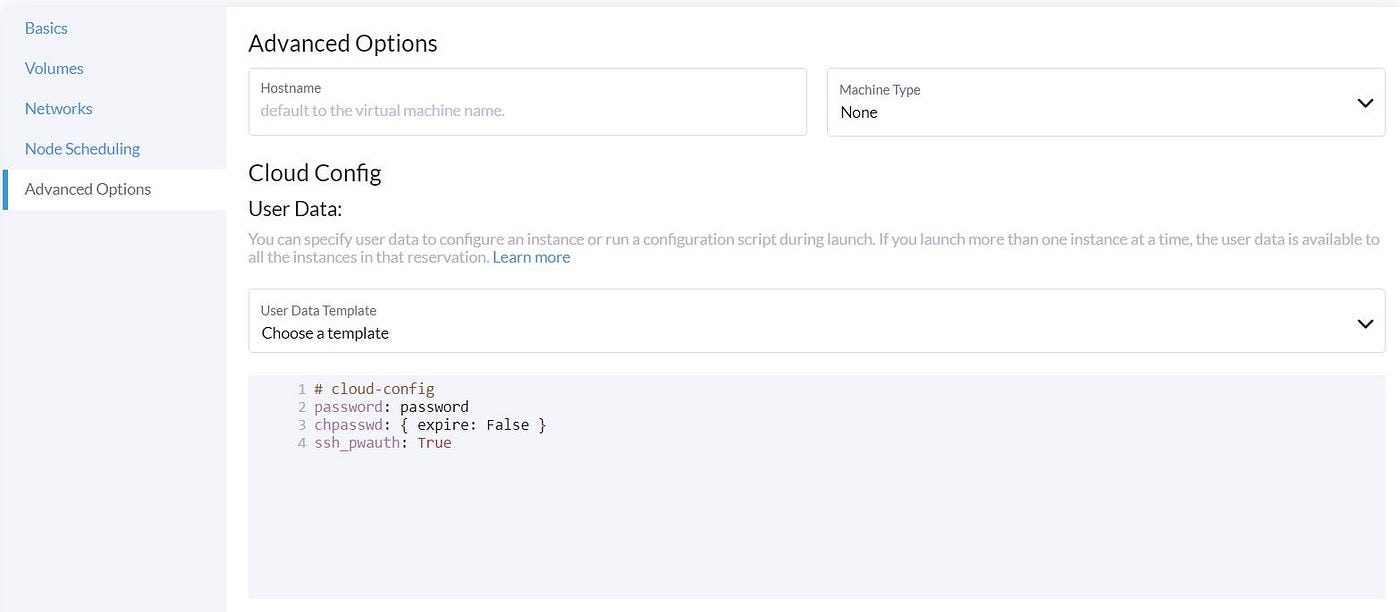
We skip the ‘Node Scheduling’ because we have only one Compute node and do not have many options. In the ‘Advanced Options’, we can set the Cloud-init script to be run in our VM. Here we set the password for the default user ‘ubuntu.’
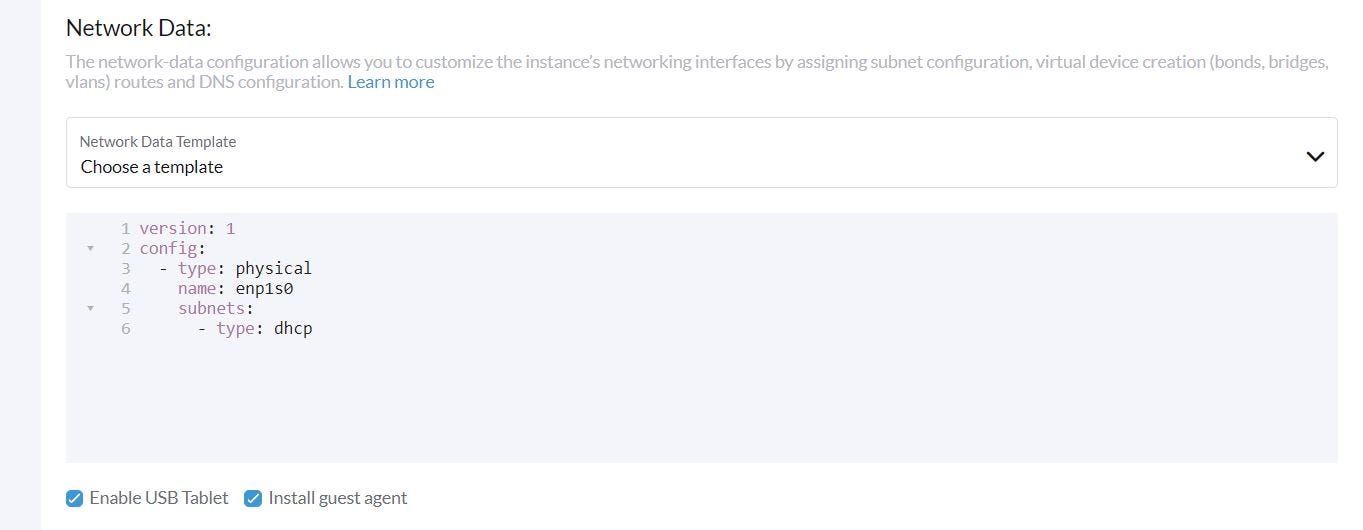
We can also configure VM networking by using Cloud-init. By default, the first network interface of a VM is enabled, but if you have more Network interfaces, you need to configure it:
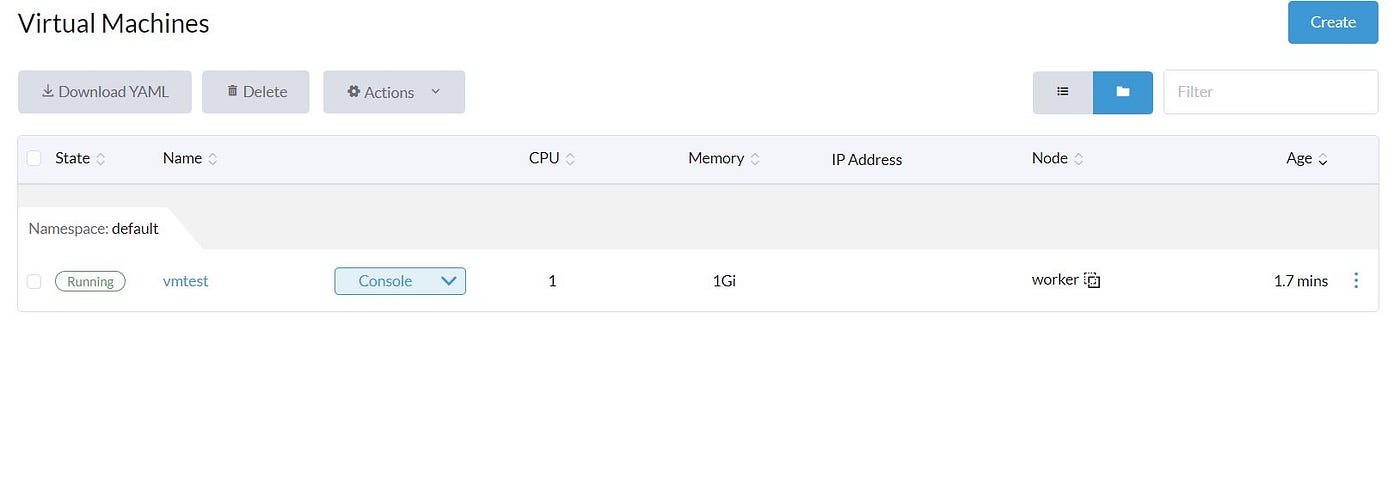
Click on the ‘Create’ and start the VM deployment process. After about 2 minutes, the VM should be running.
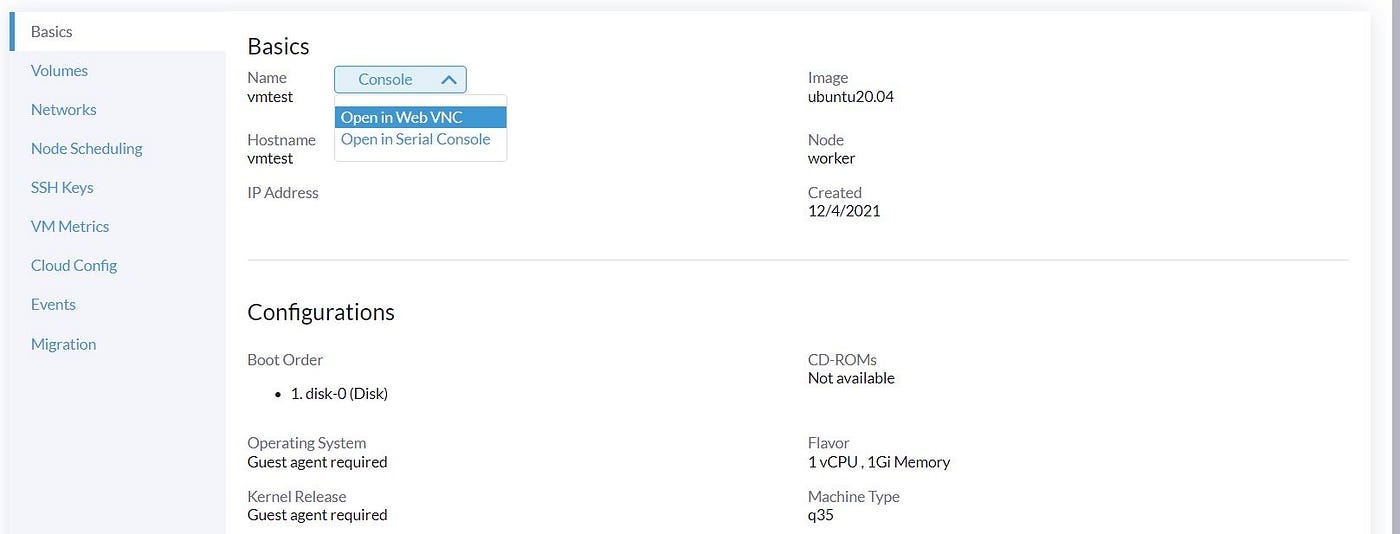
Now click on the VM and select console access:
After login into the VM, we can confirm that our VM gets IP from our DHCP server, and we can access it from outside, and our VM access the Internet.
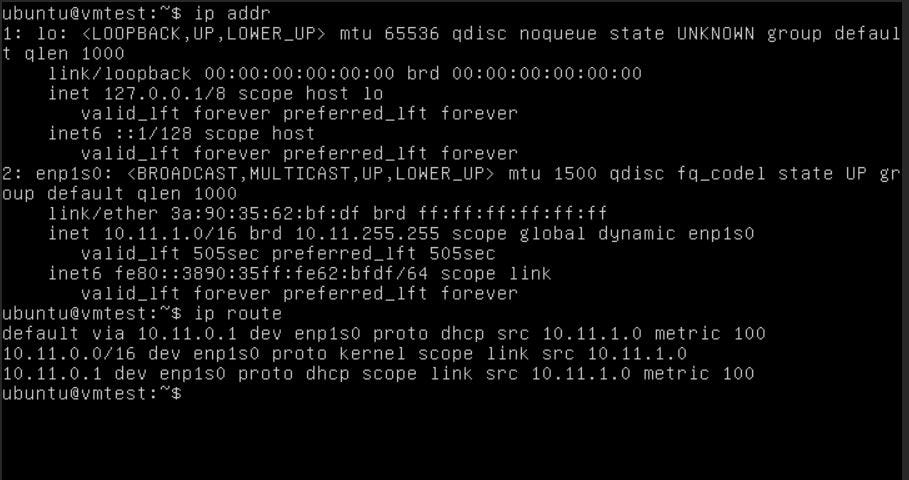

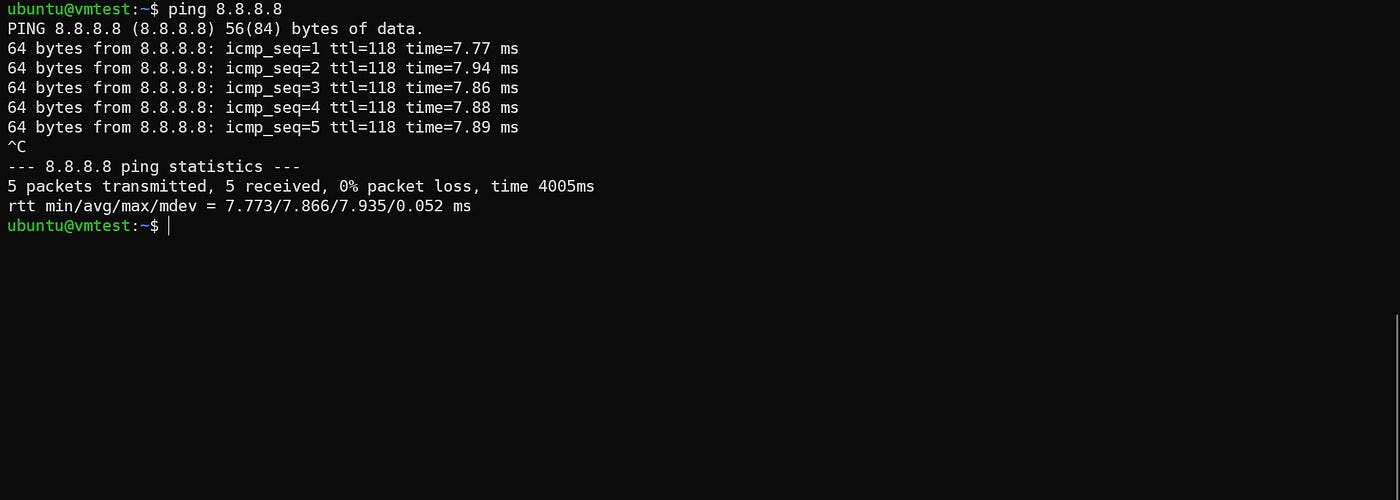
The VM is working … COOL !!!
VM Deploy via Terraform
We have a Terraform provider for the Harvester; it’s limited like it doesn’t provide Data sources, but we can use it for creating resources. We mentioned that the Harvester Cluster is a Kubernetes Cluster too. We can access it like Kubernetes, for instance, via ‘Kubectl’.
The provider needs ‘Kubeconfig’ of the Harvester cluster that we can download from the Dashboard.
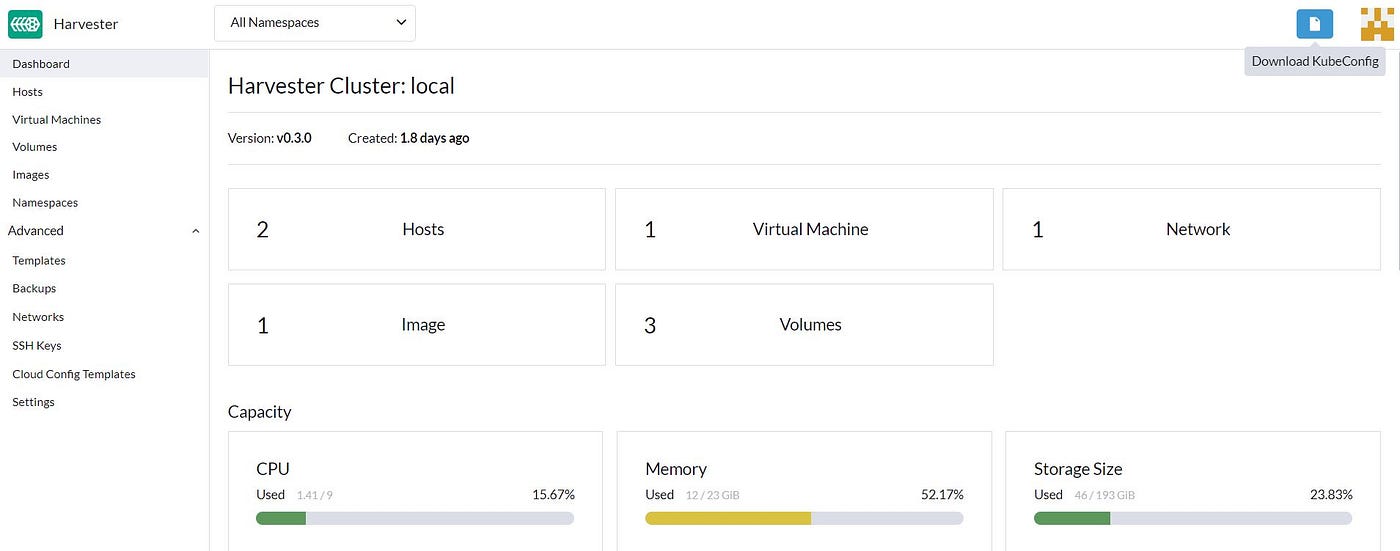
We want to use a dedicated Terraform VM in the Management network. We install ‘kubectl’ on it and import ‘Kubeconfig.’

In the ‘main.tf’, we specify the provider configuration.
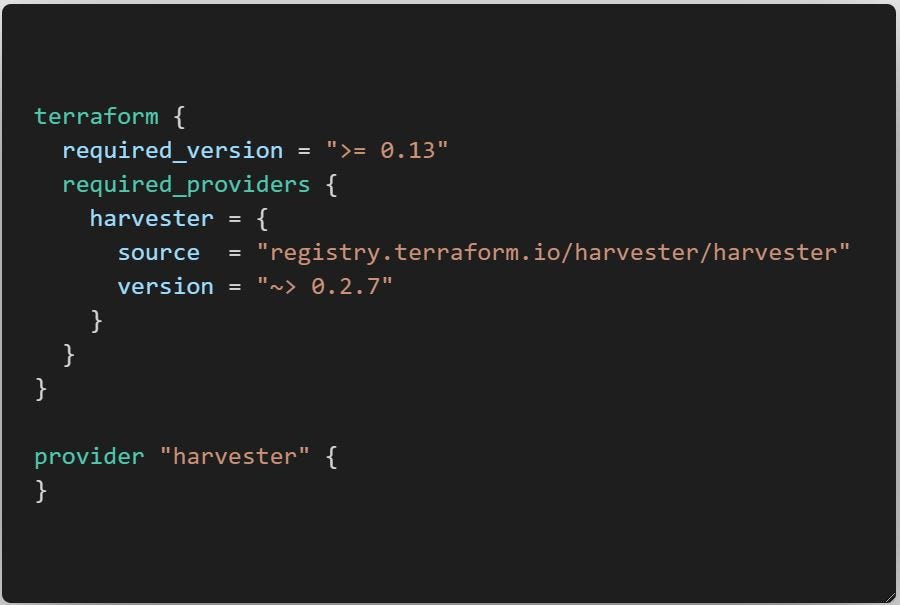
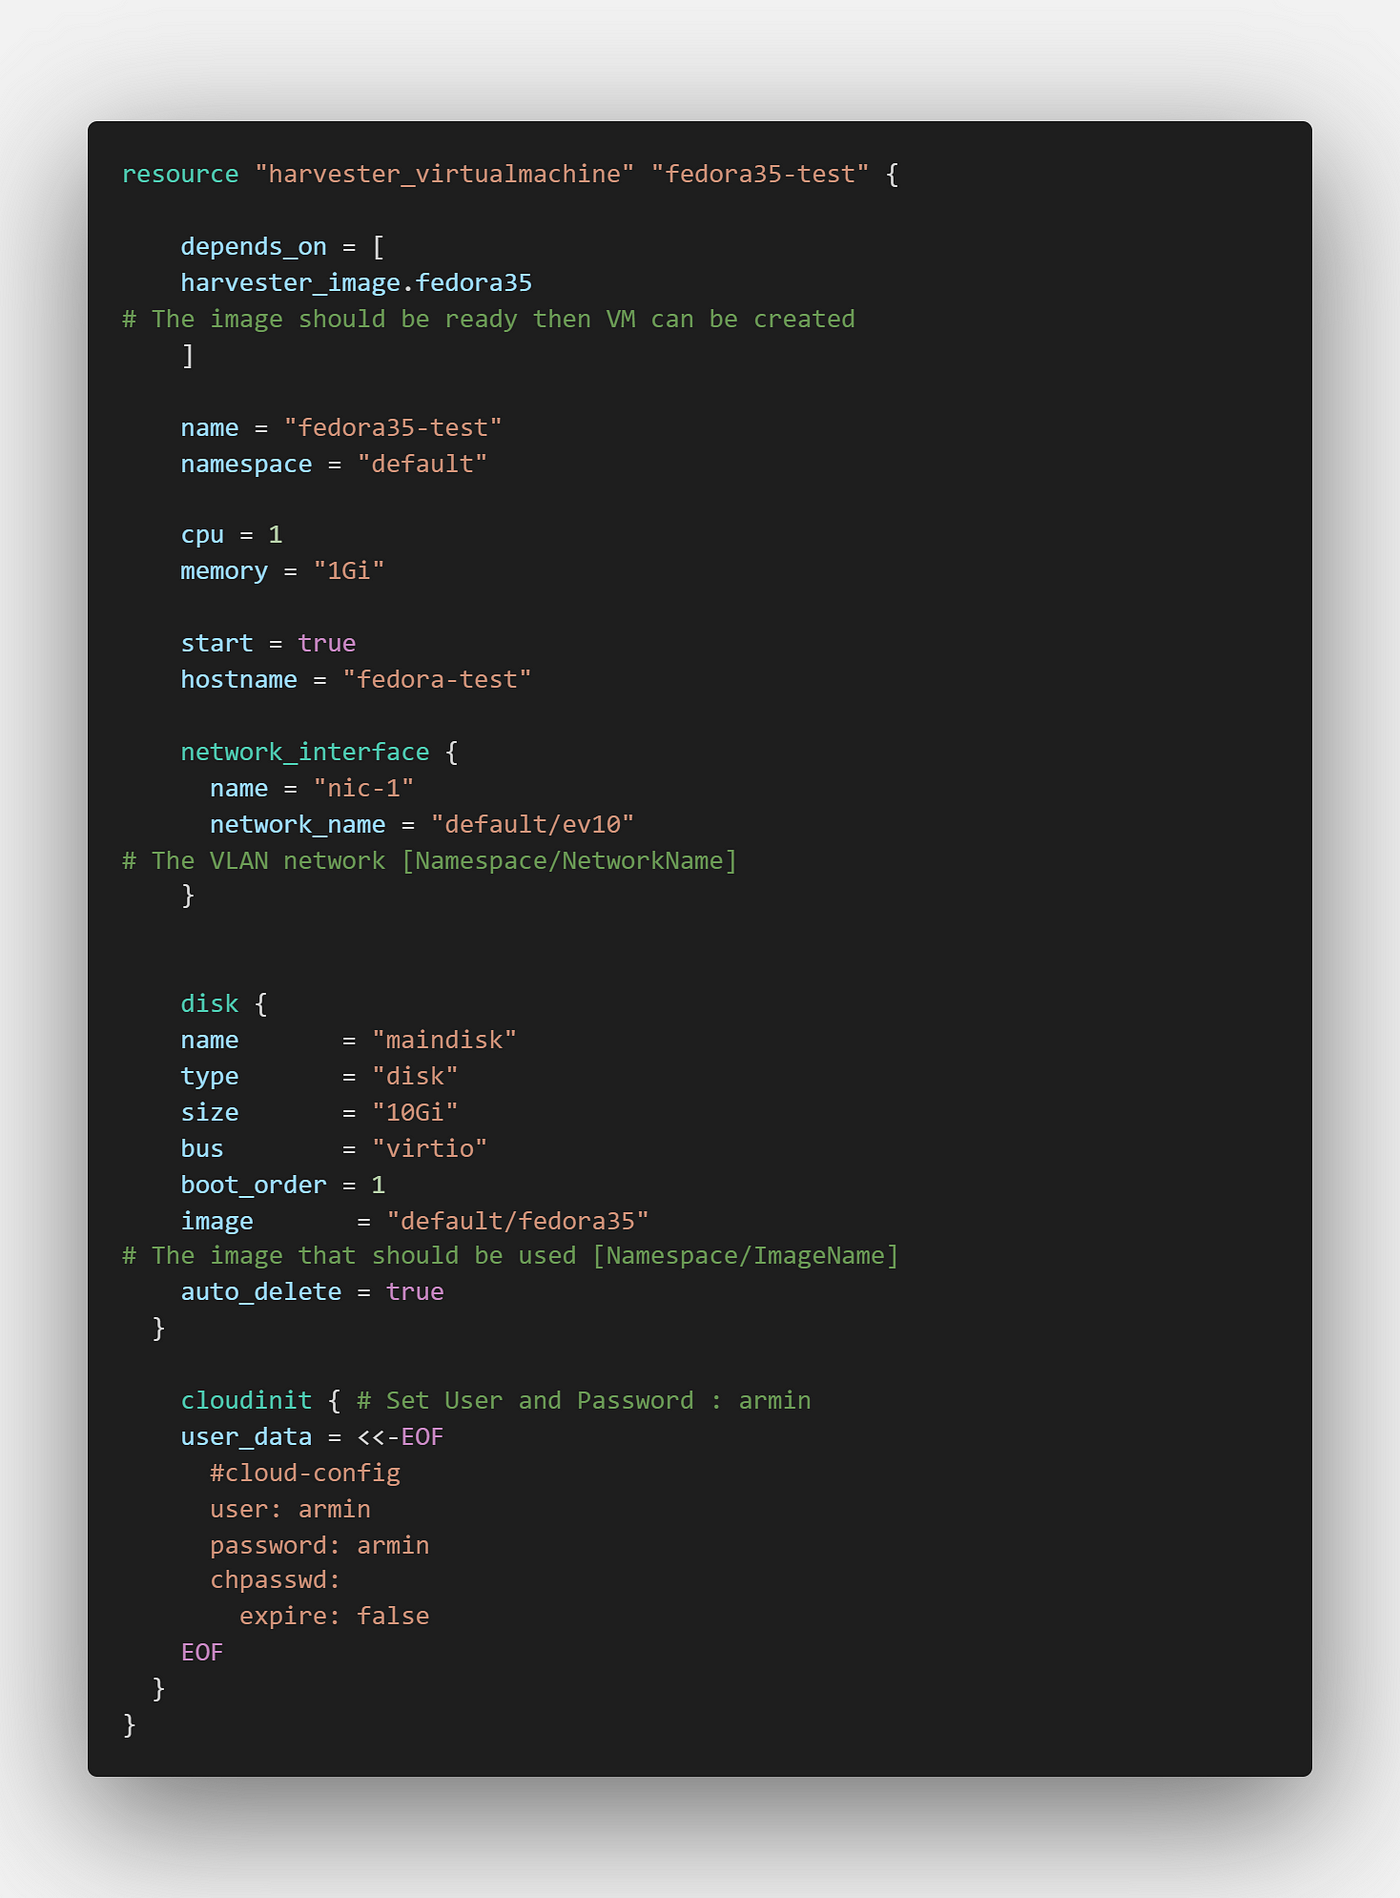
In the ‘VM.tf’ , we first create an image which here we use Fedora35 cloud image and then use that image for creating a VM.

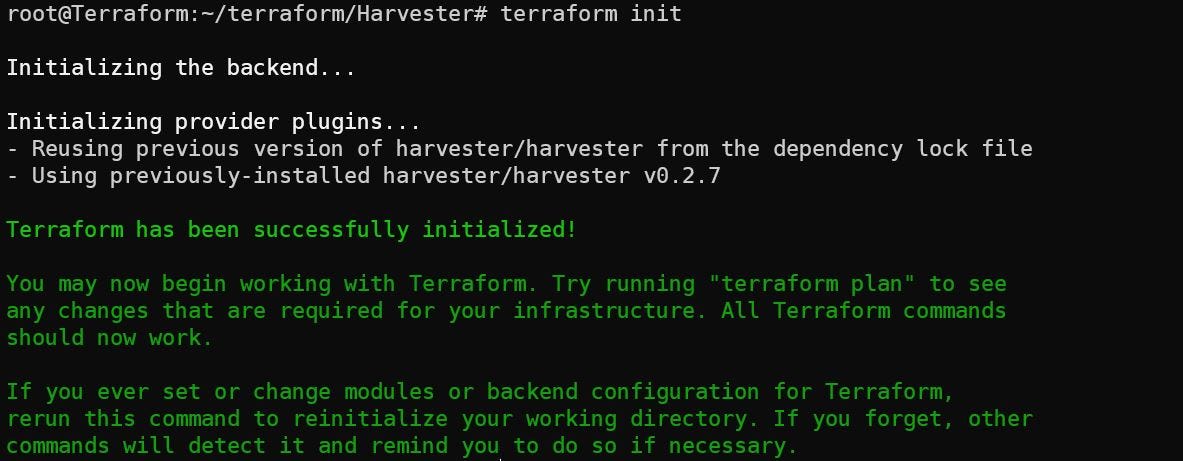
Let’s run the ‘terraform init’ to download provider:
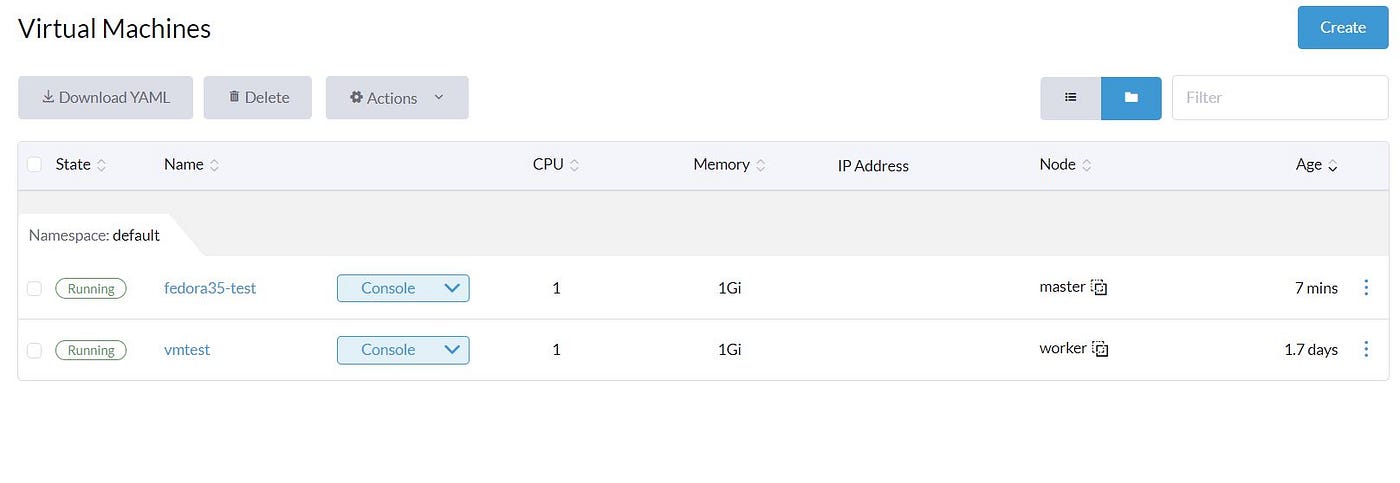
Now we run ‘terraform apply’ and accept the changes. We can confirm that both images and VM are created via Terraform.

Summary
I hope you like this post. We did a lot of things. Add a Computer node into the Cluster and deploy VMs via the Dashboard and Terraform. In the next post, we will talk about managing VM like Backup, Migrate and make templates.
Tidak ada komentar:
Posting Komentar