Well, it’s been a long journey! If you’re still with me, you’ll have deployed two sites each with a nested ESXi host, a vCenter Server, vSphere Replication and VMware Site Recovery Manager appliances. And a successfully replicated test VM. Now we’re finally at the stage where we can configure and our first recovery plan.
So let’s dive in…
Note: this is part 10 of a 10 part series. Links to the rest of the series can be found at the bottom of the page.
There are 2 main elements to the recovery plan: a protection group and the plan itself.
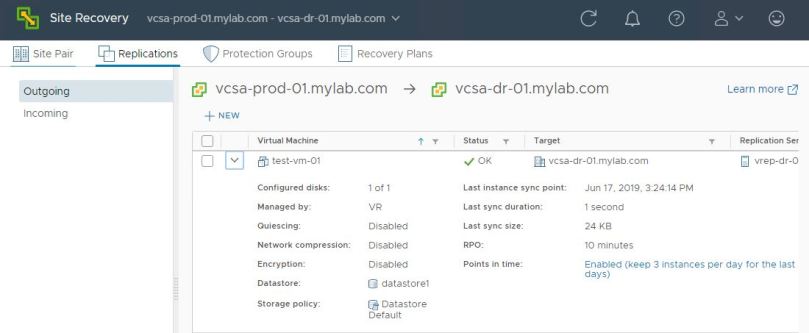
Let’s create a protection group. This is a collection of replicated virtual machines that will be failed over together as part of a recovery plan. We’re going to keep things simple here by creating a group that has just a single replicated VM. If you look at the Replications section, you can see the test-vm-01 virtual machine. This is a system running Windows Server 2019 and configured with a static IP address of 10.0.1.31/24.
Let’s go to the Protection Groups section and click + NEW:

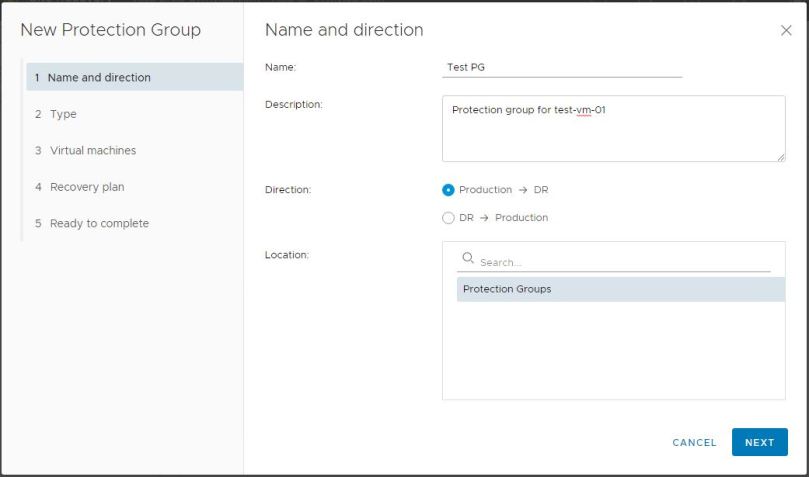
Give the protection group a meaningful name and an optional description. You’ll also need to specify a direction. Click NEXT:
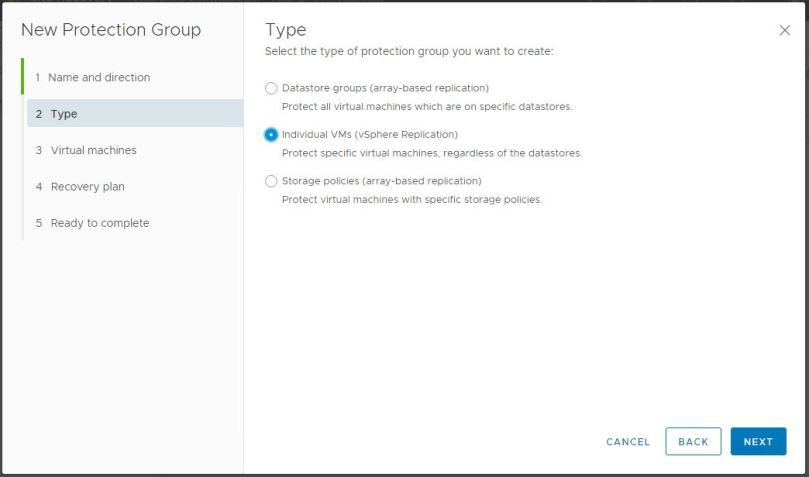
For the Type, we select Individual VMs and click NEXT:
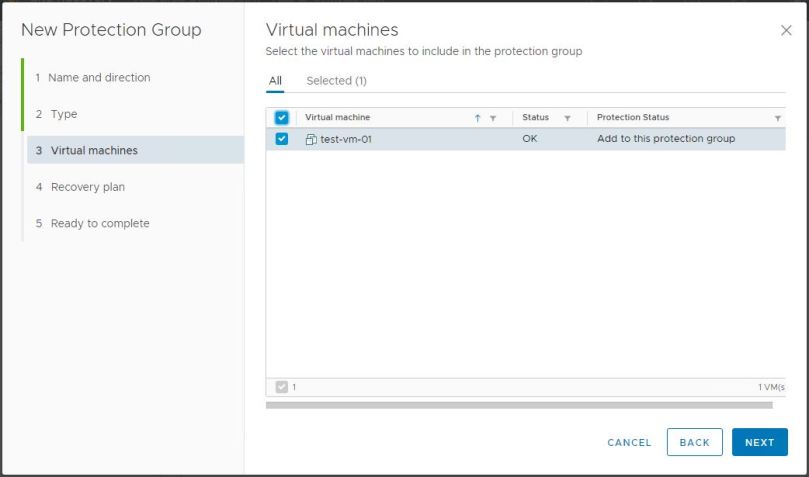
Select the replicated VM that we want to include in this plan and click NEXT:
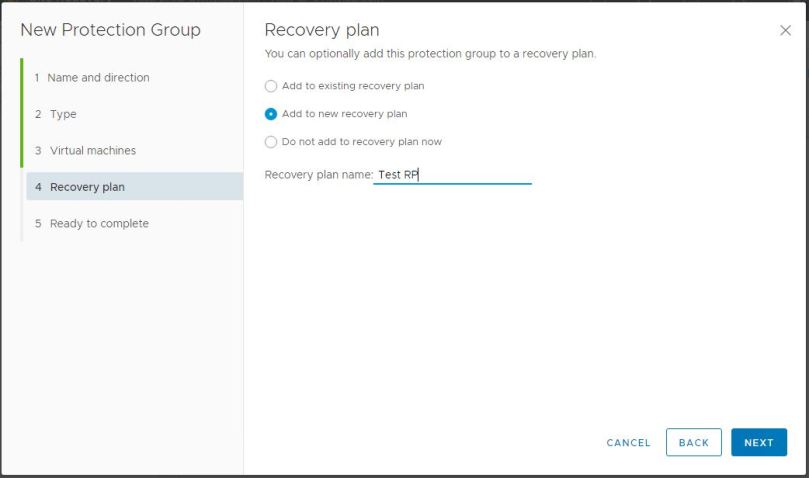
We can now choose the recovery plan to which we want to add this protection group. Very handily, VMware have provided the option to create a new recovery plan directly from this wizard. Select Add to new recovery plan and give the plan a meaningful name. Click NEXT:
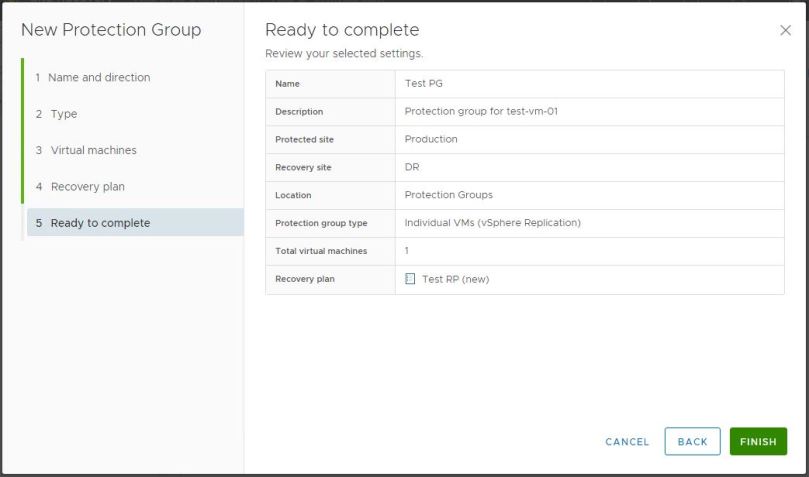
Click FINISH:
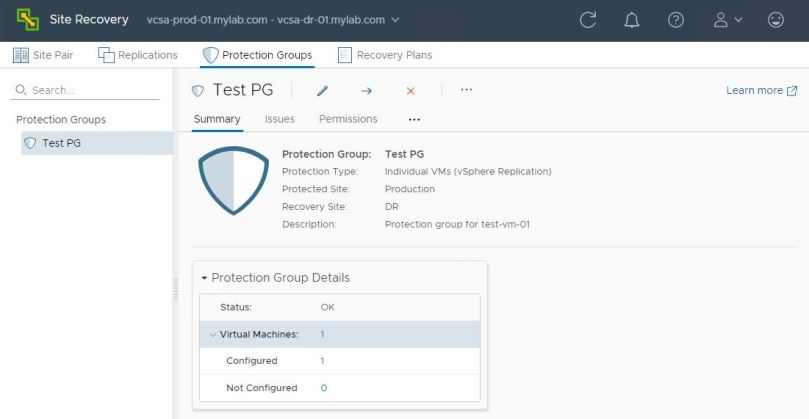
We should now see the new protection group listed:
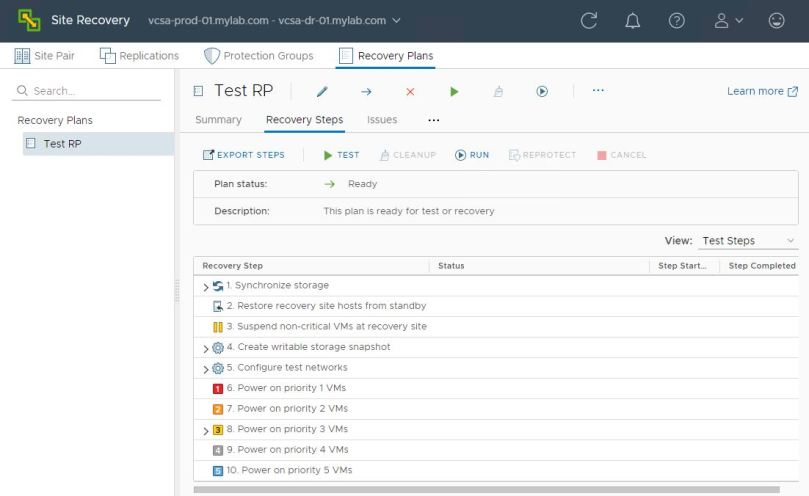
And if we go to the Recovery Plans section we can see the new plan also:
If we login to the DR site vCenter Server, we’ll see a placeholder VM for the replicated test VM listed. Notice that the Summary page for this VM tells us that it is managed by Site Recovery Manager. Also note the warning that the VM has no network assigned to it. A network will only be assigned during a test or a full failover:
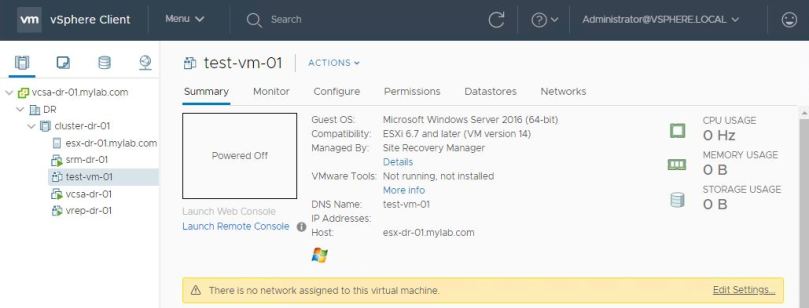
So now lets run a test of the recovery plan. If you go to the Recovery Steps section for this plan, you’ll see a TEST option. Click this to start the test.

Optionally you can choose to replicate any recent changes to the recovery site. Click NEXT:
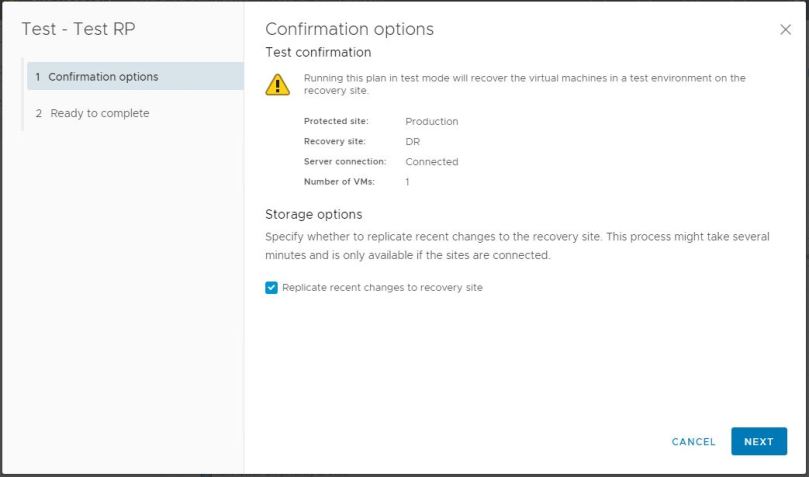
Click FINISH:
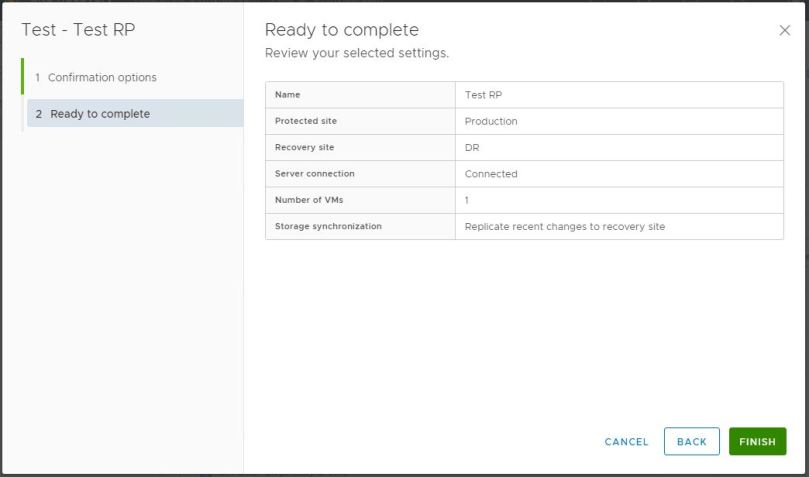
The recovery plan will run and, all going well, all recovery steps will have a status of Success:
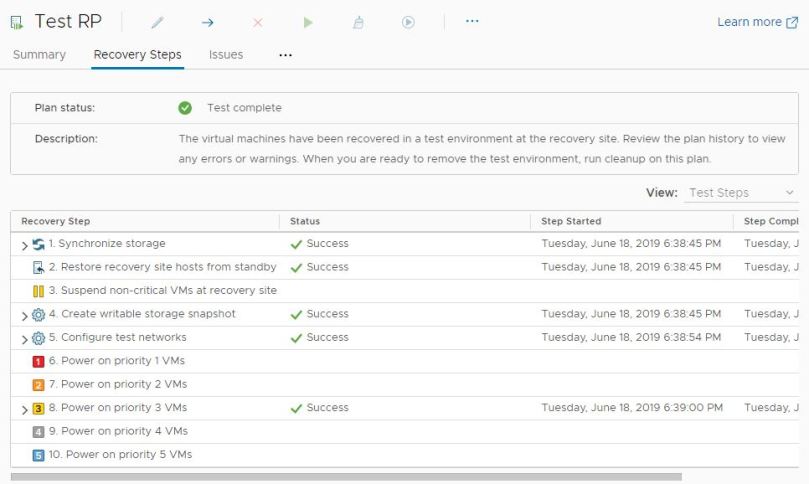
If we log in to the vSphere Client for the DR site, we will see the recovered VM powered on with a newly assigned IP address:
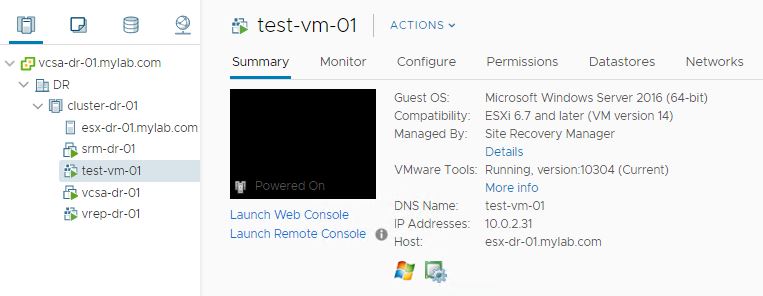
We’ll also see that a new isolated network has been created just for the VMs in this test. This network will be removed during the cleanup operation later.

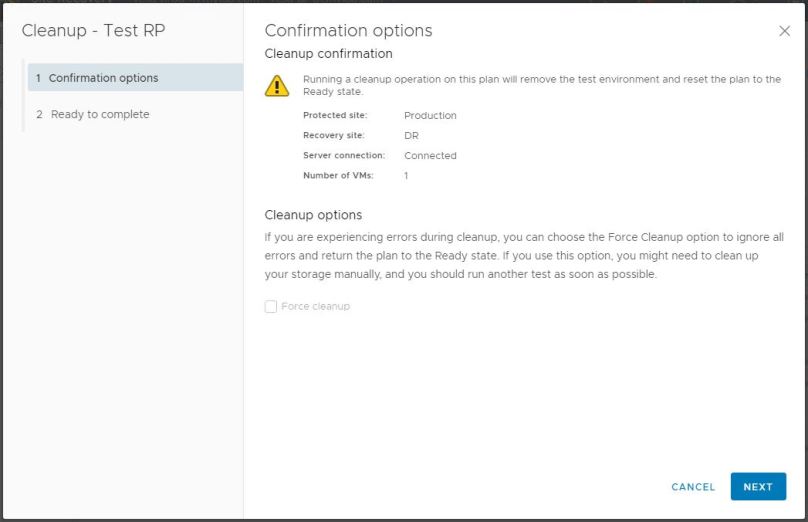
So now that we have tested the recovery paln, we will need to run a cleanup operation to return everything to the state it was in before. Return to the Recovery Plan and click CLEANUP:

Confirm that you want to run the cleanup operation by clicking NEXT:
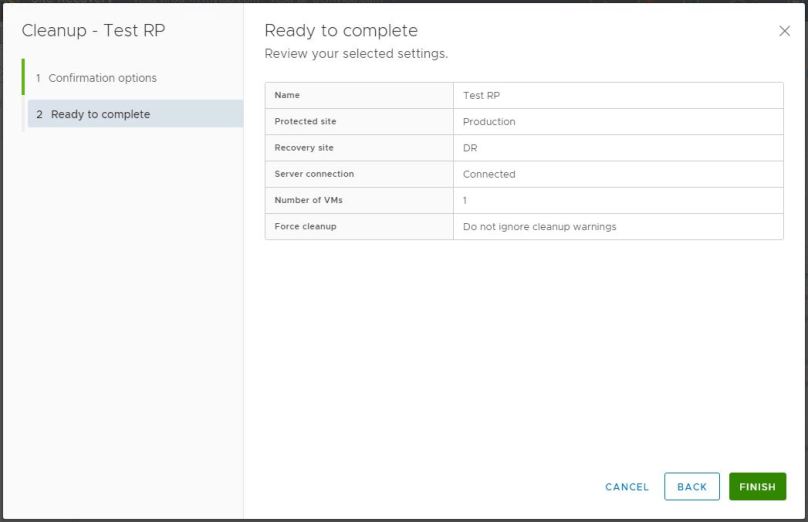
Click FINISH:
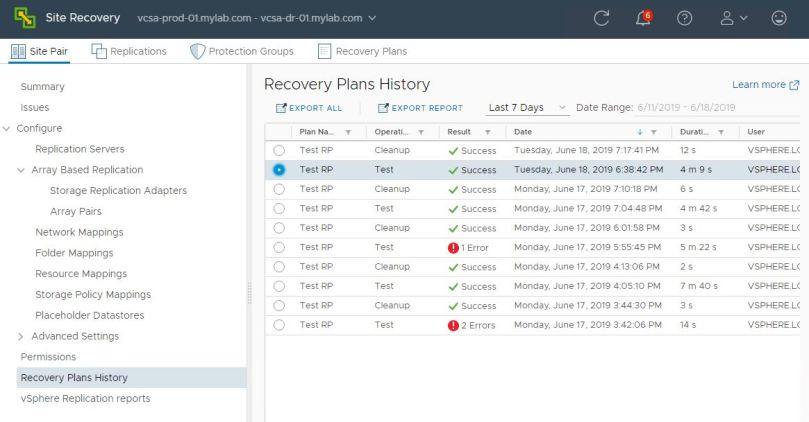
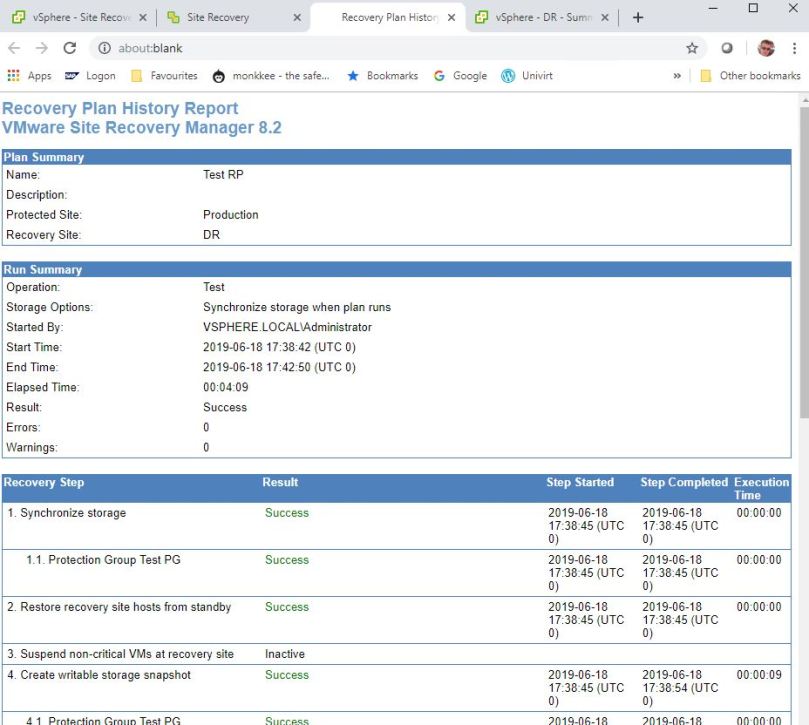
If you’d like to see a report of the test, go to the Recovery Plans History section. Select the operation you’d like a report for and click EXPORT REPORT:
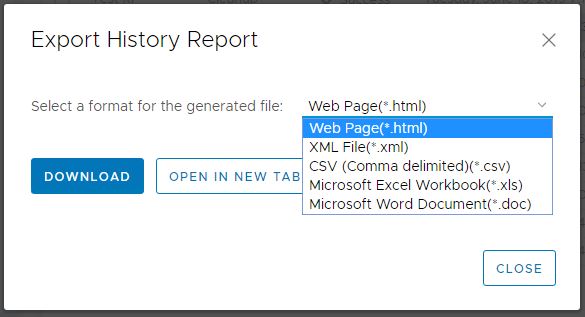
Choose your options for exporting the report. We’re simply going to open it as a web page in a new tab:
And here’s the report that you can use for auditing purposes as proof that the recovery plan has been tested successfully:
So that’s the end of this series of posts. Hopefully you’ve gained some useful information and will try building a lab yourself.
Finally, I’d like to recommend that you also try the Site Recovery Manger lab hosted by VMware on https://labs.hol.vmware.com/. Search ALL LABS for a lab called HOL-2005-01-SDC. The lab doesn’t show you how to install the Site Recovery Manager solution, as I’ve done here, but it shows you how to do some very useful stuff with SRM 8.2 that I haven’t had time to show you here.
In a future addendum to this series I hope to show you how to configure SRM to work with array-based replication using NetApp ONTAP virtual storage appliances.
Until next time…
Part 1 – Overview
Part 2 – Nested ESXi Hosts
Part 3 – Deploy vCenter Servers
Part 4 – Deploy vSphere Replication
Part 5 – Configure vSphere Replication
Part 6 – First Replication Job
Part 7 – Deploy SRM Appliance
Part 8 – Configure SRM – Site Pairing
Part 9 – Configure SRM – Mappings
Part 10 – First Recovery Plan
Tidak ada komentar:
Posting Komentar