How To Install Ansible AWX On Ubuntu 24.04
Ansible AWX is a free and open-source web application that provides a user-friendly interface for managing Ansible playbooks and inventories. It also includes a REST API for automating Ansible operations. AWX serves as the open-source version of Red Hat Ansible Tower.
In this post, we will explain how to install Ansible AWX on Ubuntu 24.04. To deploy AWX, a Kubernetes infrastructure such as MicroK8s, K3s, or Minikube is required. In this demo, we will use Minikube, a single-node Kubernetes cluster. Refer to the following URL for Minikube installation:
Prerequisites
Before we get started, ensure that Ubuntu 24.04 system has the following:
- 8 GB of RAM
- 3.4 GHz CPU with 2 Cores
- Hard disk space 20 GB
- Internet Connection
- Pre Installed minikube
Let’s jump into Ansible AWX installation steps


1) Install Required Packages
Log in to your Ubuntu system and install following required packages
$ sudo apt install git make -y
2) Start Minikube Cluster
It is recommended to start the Minikube cluster with 4 CPUs and 8 GB of RAM. If resources are lower than this, the pods may take longer to initialize.
To start the minikube, run following minikube command as regular user,
$ minikube start --vm-driver=docker --addons=ingress

Execute beneath commands to verify minikube and pods status
$ minikube status
$ kubectl get pods -A

3) Deploy Ansible AWX Via Operator
Use following git clone command to get AWX operator,
$ git clone https://github.com/ansible/awx-operator.git
$ cd awx-operator/
$ git checkout 2.19.0

Note: As of the time of writing this post, the latest version of the AWX Operator was 2.19.0. You can check for the latest version on the official release page: https://github.com/ansible/awx-operator/releases.
Next , set the namespace “ansibe-awx” and run make deploy command
$ export NAMESPACE=ansible-awx
$ make deploy

Next, check the status pods in ansible-awx namespace,
$ kubectl get pods -n ansible-awx

Now, copy awx demo file with the name ‘awx-ubuntu.yml’
$ cp awx-demo.yml awx-ubuntu.yml
Edit this file using vi editor, change the name from awx-demo to awx-ubuntu.
$ vi awx-ubuntu.yml
---
apiVersion: awx.ansible.com/v1beta1
kind: AWX
metadata:
  name: awx-ubuntu
spec:
  service_type: nodeport
Save and close the file.

Deploy AWX using following kubectlc command,
$ kubectl create -f awx-ubuntu.yml -n ansible-awx
awx.awx.ansible.com/awx-ubuntu created
$
Monitor pods and service status of ansible-awx namespace,
$ kubectl get pods -n ansible-awx
$ kubectl get svc -n ansible-awx

Great, output above confirms that AWX pods and service are up and running.
You can track the installation for AWX from the deployment,
$ kubectl logs -f deployments/awx-operator-controller-manager -c awx-manager -n ansible-awx
4) Access AWX Dashboard
To access the dashboard from Ubuntu system itself, run following command to get dashboard url,
$ minikube service awx-ubuntu-service --url -n ansible-awx
http://192.168.49.2:30770
$
In case, you are trying to access outside of your Ubuntu system then run following kubectl command,
$ kubectl port-forward service/awx-ubuntu-service -n ansible-awx --address 0.0.0.0 10445:80 &> /dev/null &

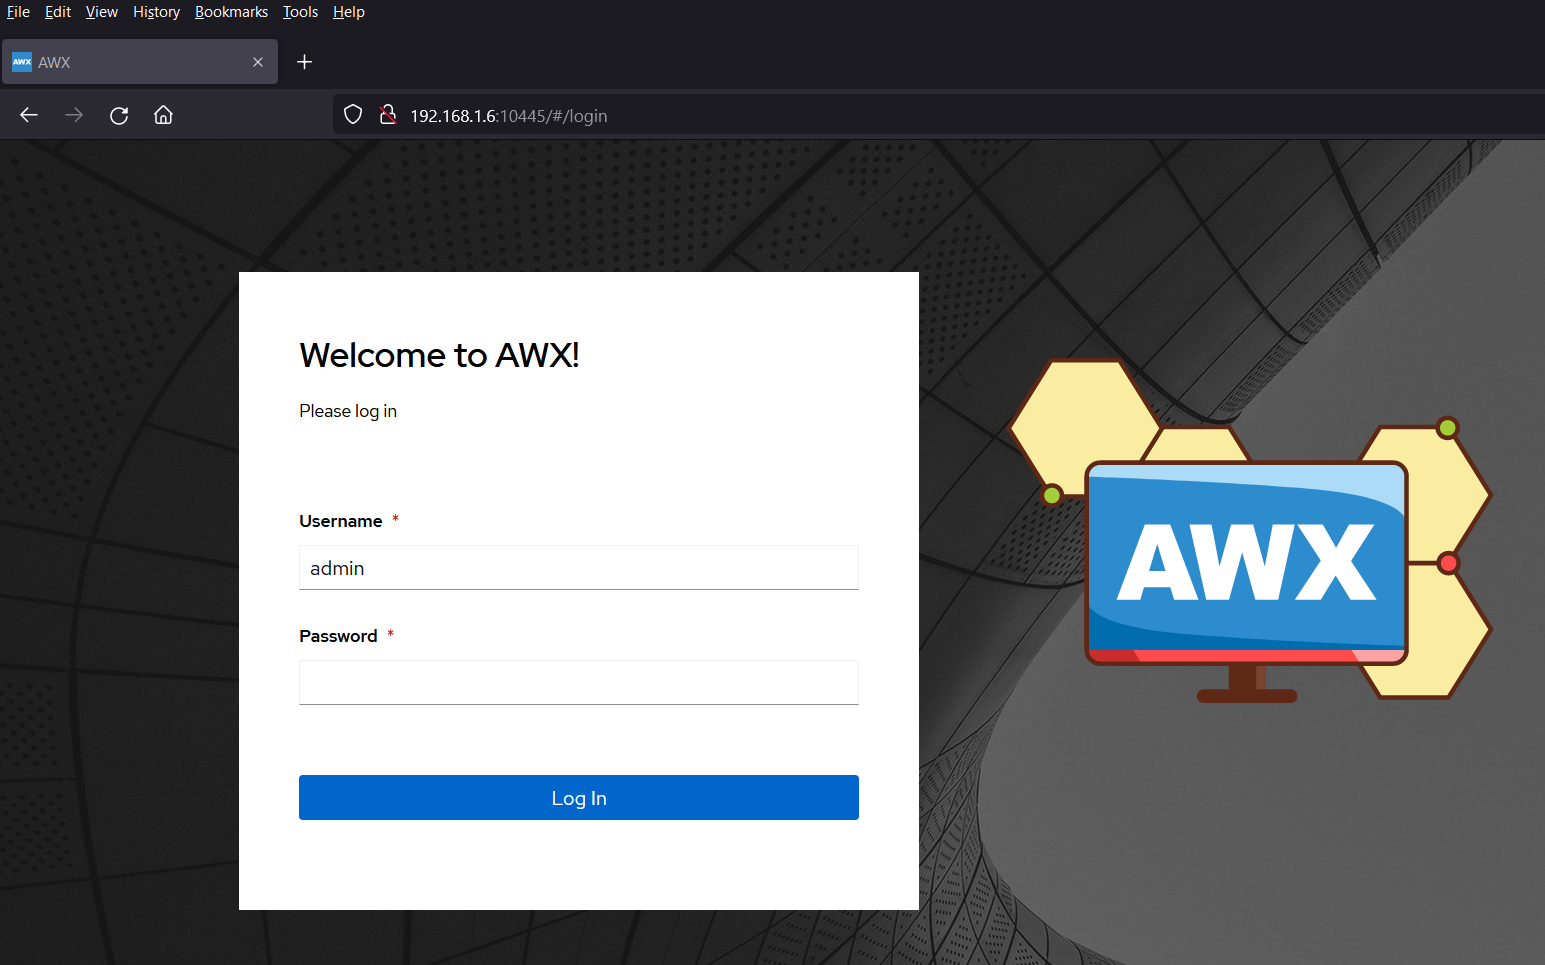
Open the web browser, type following URL
http://<Your-Ubuntu-IP-Address>:10445
To retrieve admin user password, run the following kubectl command,
$ kubectl get secret -n ansible-awx | grep -i password
$ kubectl get secret awx-ubuntu-admin-password -o jsonpath="{.data.password}" -n ansible-awx | base64 --decode; echo
4zzsWN4fYJxgidx6cSiYJq3vrPSK6JHR
$
Copy this password string and paste it on password field on AWX login page,
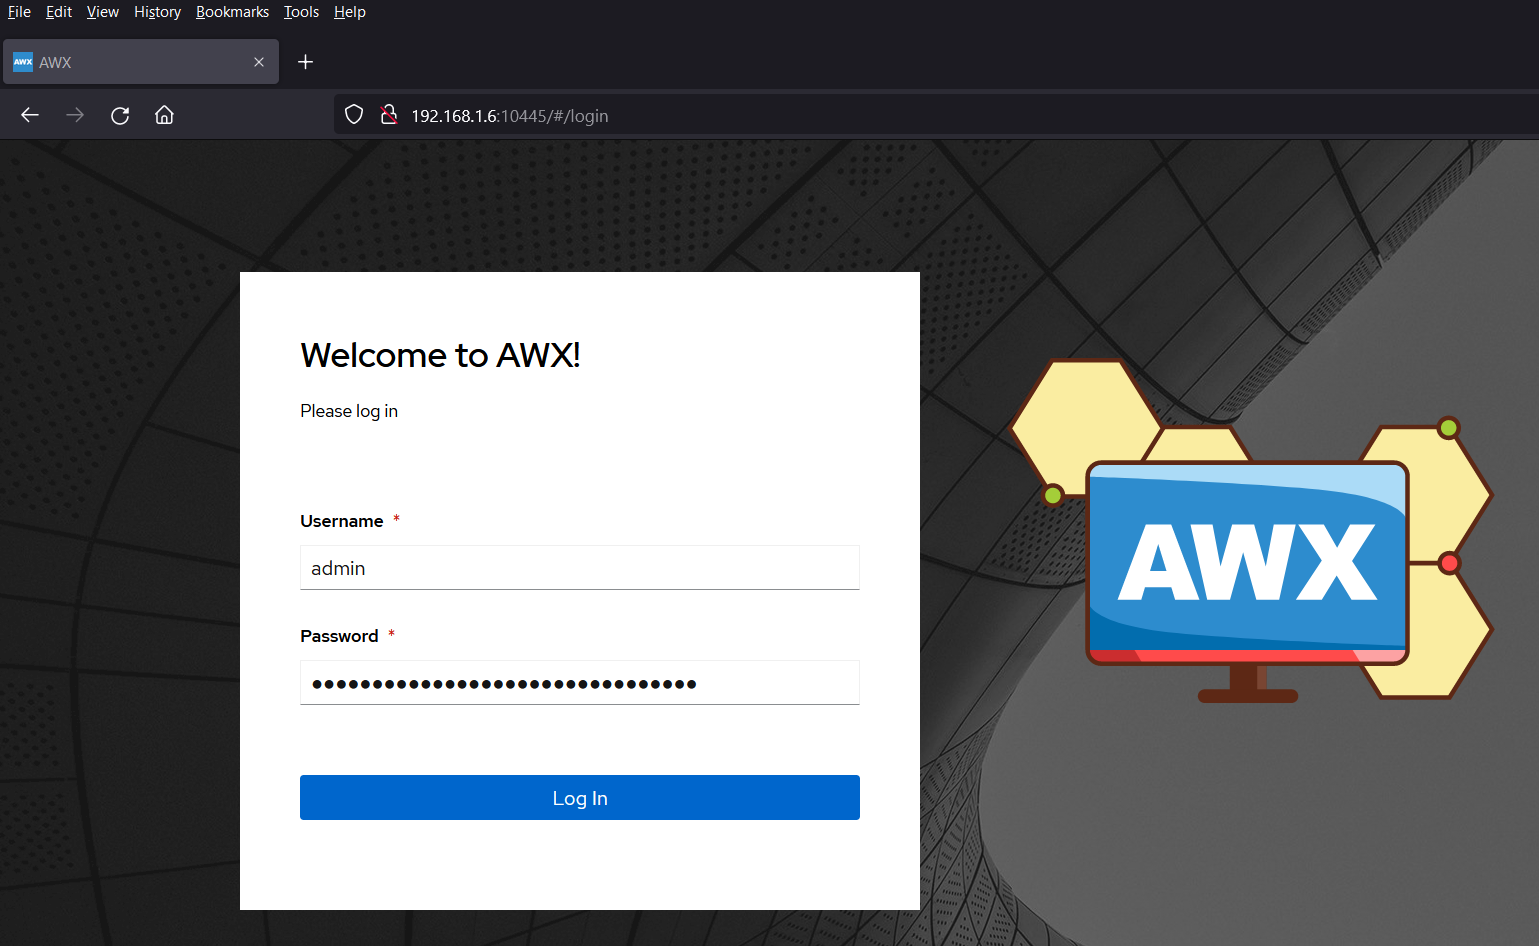
Click on ‘Login In‘
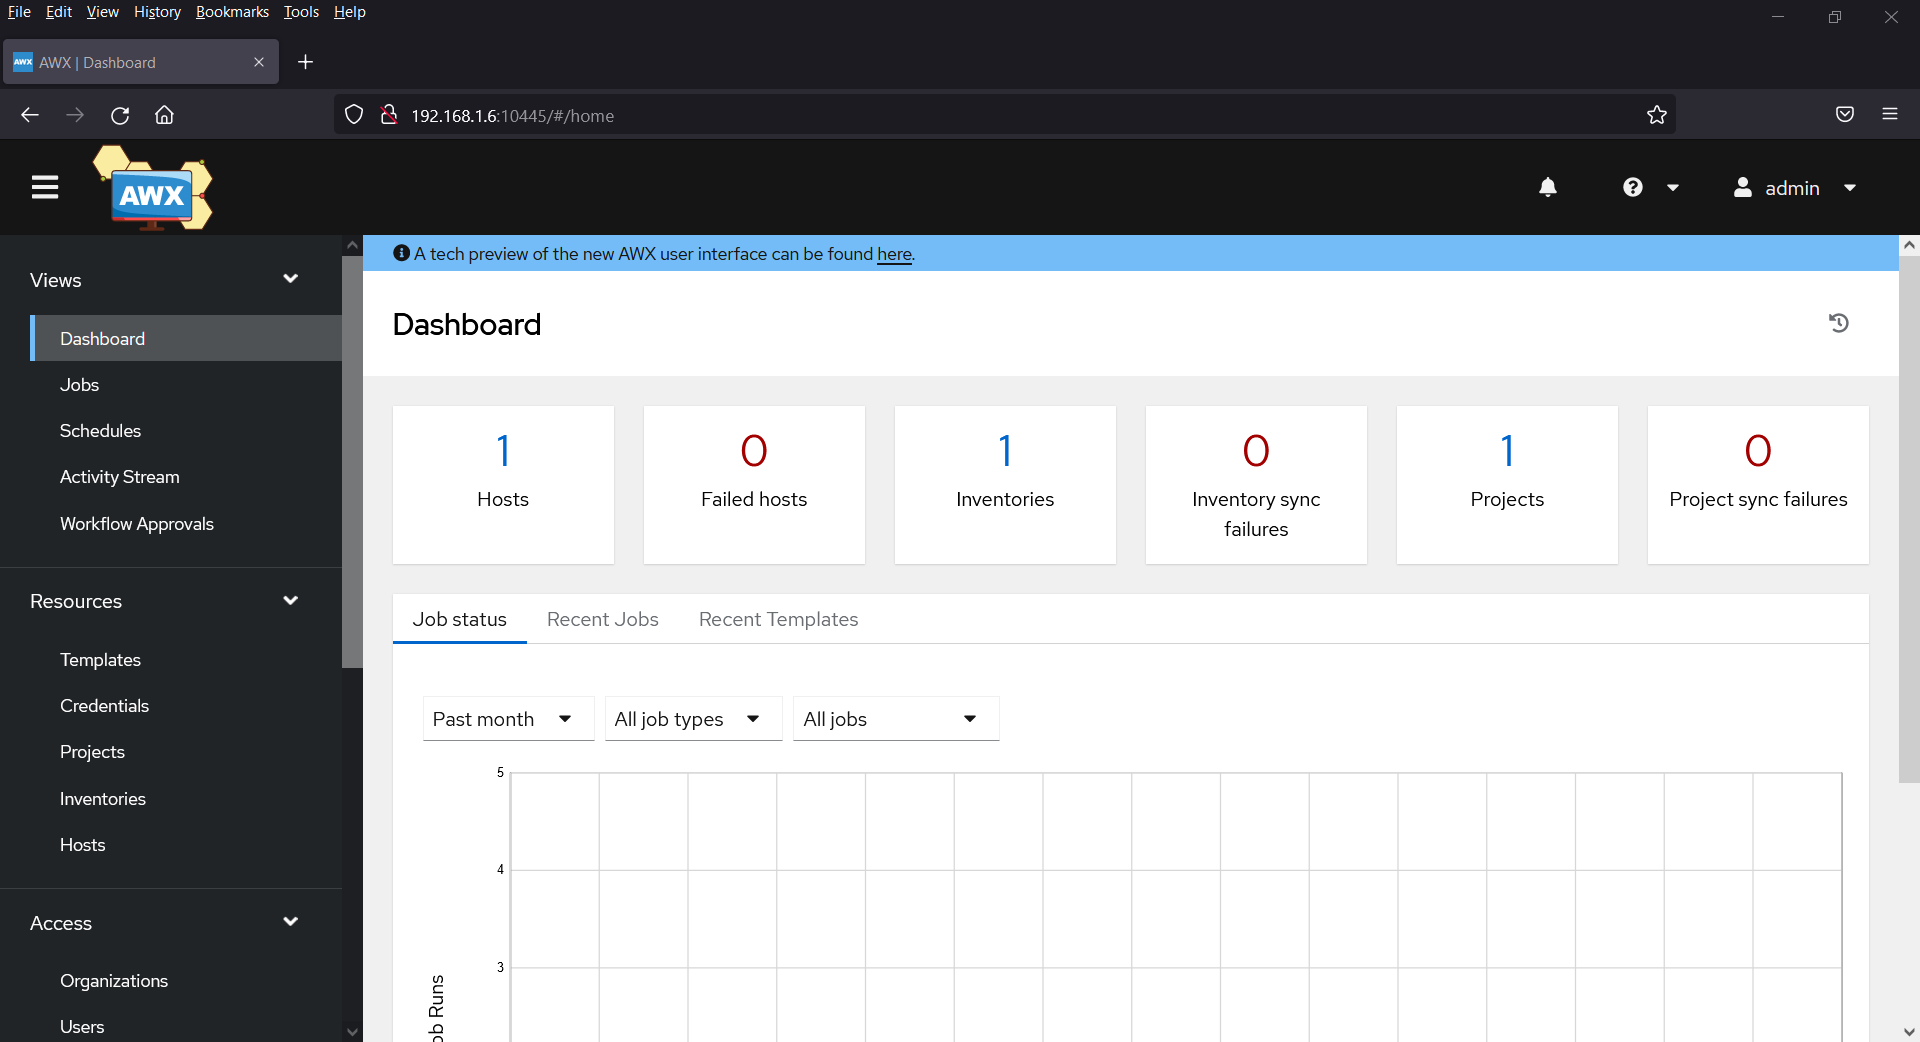
And that’s it! We have successfully installed Ansible AWX on Ubuntu 24.04. I hope you found this guide helpful and informative. Feel free to share your questions and feedback in the comments section below.
Tidak ada komentar:
Posting Komentar