How to install Oracle VM server (x86)? Step By Step Guide
- How to install Oracle VM server (x86)? Step By Step Guide
- How to install Oracle VM manager on Oracle Linux ?
- How to add ISCSI storage array to OVM ?
- How to Create a server pool on oracle VM?
- How to Create a Storage Repositories on Oracle VM ?
- How to upload the ISO files to OVM repository ?
- How to create a new VM network and VNIC on Oracle VM ?
- How to create a virtual machine on oracle VM ?
- How to take console of Oracle VM guest ?
- How to upgrade oracle VM manager ?
- How to upgrade Oracle VM server ?
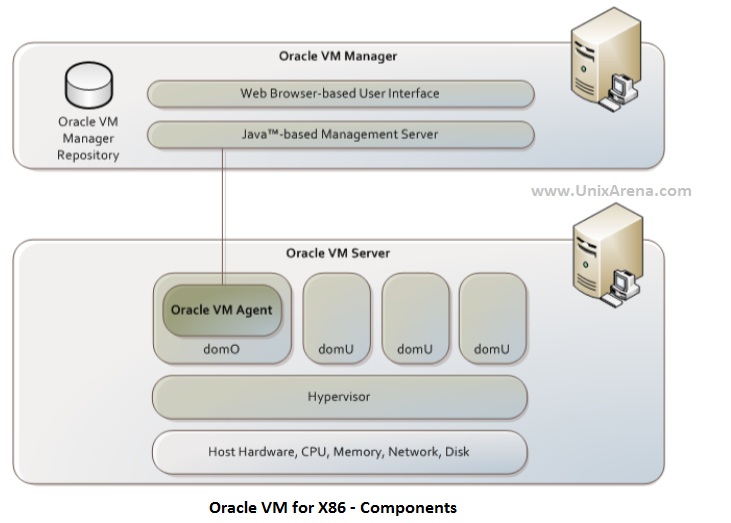
Oracle VM for X86 is a native hypervisor which is directly runs on the host’s hardware.This hypervisor is based on xen technology and it requires very small footprint on the hard drive to install it.Oracle VM server is directly installed on the baremetal computer and it contains the oracle VM agent to manage the communication with oracle VM manager. By default, this hypervisor system is called dom0 (Domain zero) which also be called privileged domain since it has direct access with hardware. Virtual machines will be called as domU which is unprivileged domain and doesn’t have direct control on the hardware.
This product is similar to VMware vSphere and you can see the comparison between these two products here.
The below image shows the oracle VM for x86 components.
Here we will see the installation of dom0 (dom zero) / Oracle VM server . This installation will be almost similar to Linux installation.
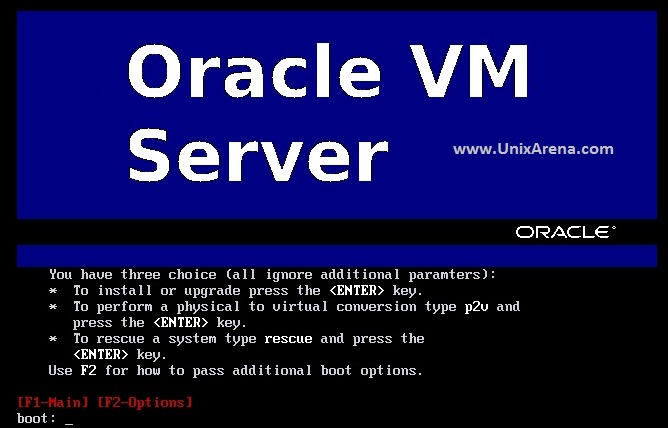
1. Download the oracle VM server from oracle and Burn it in DVD . Insert the DVD in to physical server .
2.Power on the server and select the DVD/CD as boot device.Once you get the boot prompt , just enter to continue.
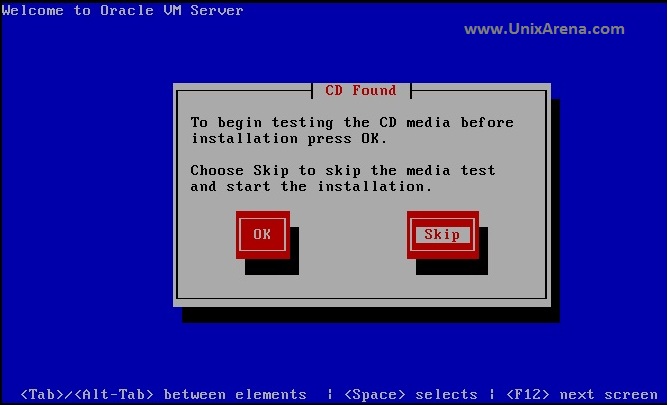
2.Skip the DVD check .
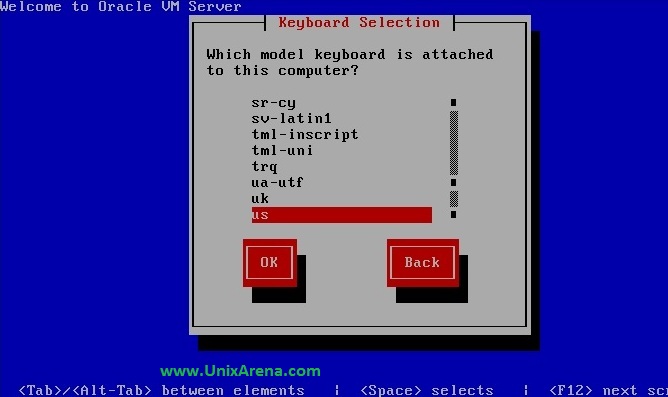
3.Select the keyboard layout. Let me go with default one.
4.Accept the license .
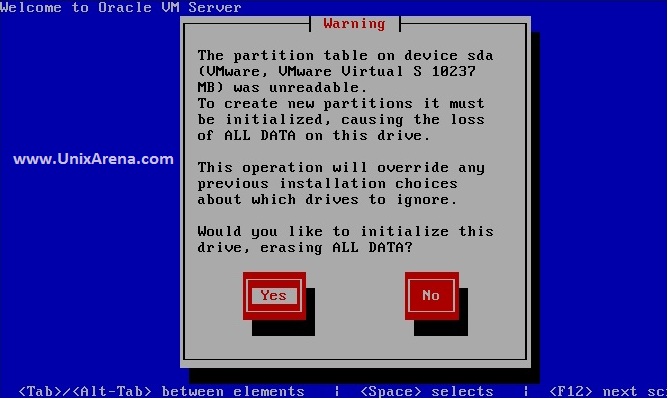
5.Erase the data on the disks and continue.
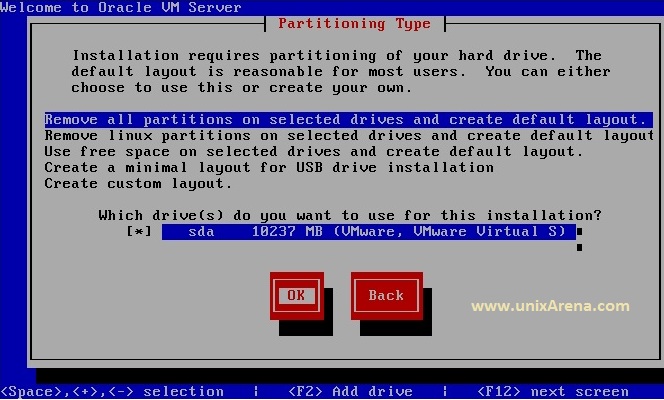
6.Select the disks for oracle vm server installation.
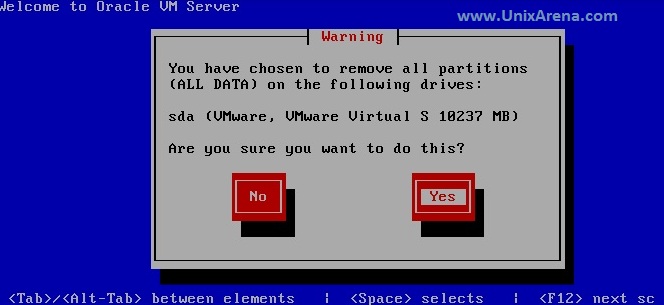
7.Click on yes to remove existing partitions.
8.No need to modify the default layout.

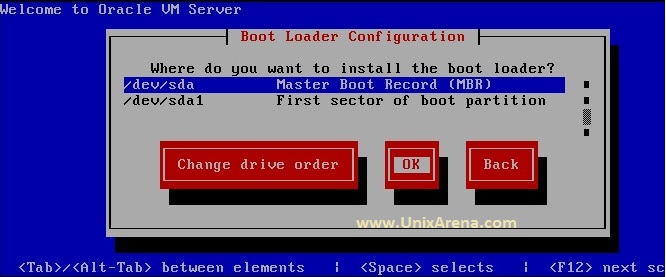
9.Select the boot order. Just continue with defaults.
Click on the page 2 to see the installation steps of oracle VM server.
Advertisements
Tidak ada komentar:
Posting Komentar