How To Install GUI On Ubuntu Server 18.04
Although it’s uncommon to find display managers running on a server, some users may still want to experience that look and feel of a GUI in a server. In this guide, we take a look on how to install GUI on Ubuntu server 18.04. Because GUI is notorious for exerting heavy demands on CPU and RAM, we will only focus on the installation of Light-weight desktop environments. These include
- MATE core Desktop
- Kubuntu Desktop
- XFCE
- LXDE
- Budgie Desktop
Prerequisites
- Ubuntu server 18.04 with SSH access
- A non-root user with sudo privileges
Before getting started, ensure that you update & upgrade your system
$ sudo apt update && sudo apt upgrade
Next, we are going to install the tasksel manager.
$ sudo apt install tasksel
Now we can begin installing the various Desktop environments.
1) Mate Core Server Desktop
To Install the MATE desktop, use the following command
$ sudo tasksel install ubuntu-mate-core
To Launch the GUI MATE desktop execute the command below
$ sudo service lightdm start
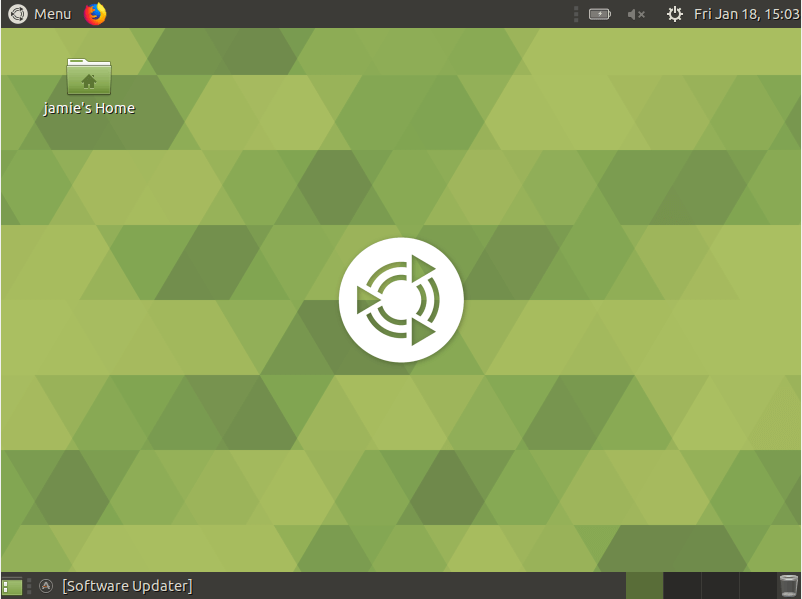
Click on the Start button to explore further
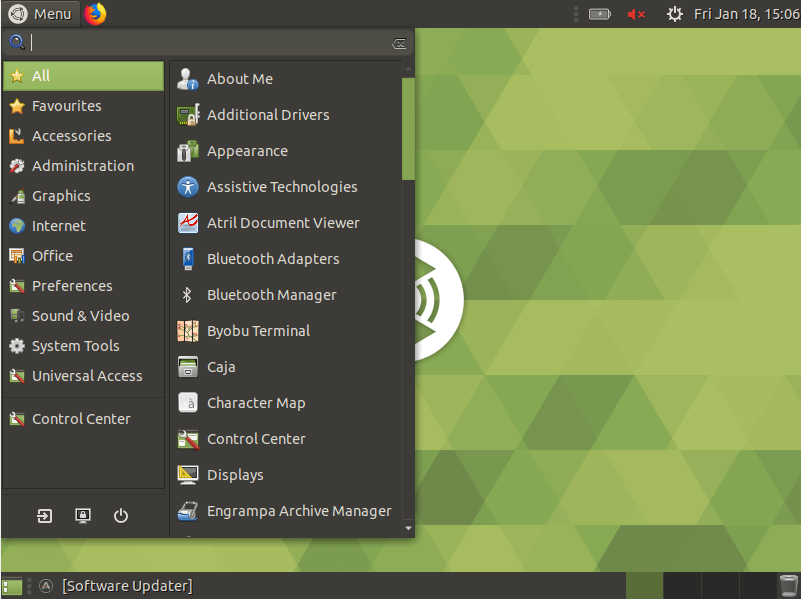
2) Lubuntu Core Server Desktop
This is considered to be the most lightweight and resource friendly GUI for Ubuntu 18.04 server
It is based on the LXDE desktop environment. To install Lubuntu execute
$ sudo tasksel install lubuntu-core
Once the Lubuntu-core GUI is successfully installed, launch the display manager by running the command below or simply by rebooting your system
$ sudo service lightdm start
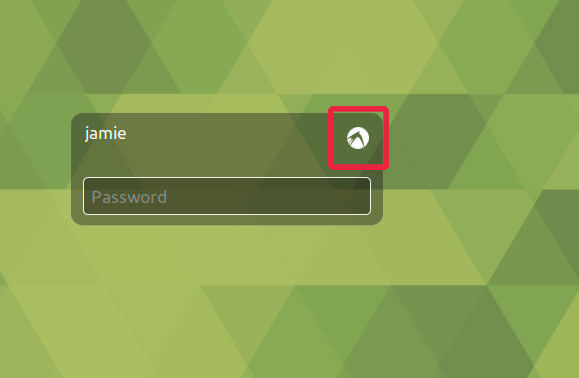
Thereafter, Log out and click on the button as shown to select the GUI manager of your choice
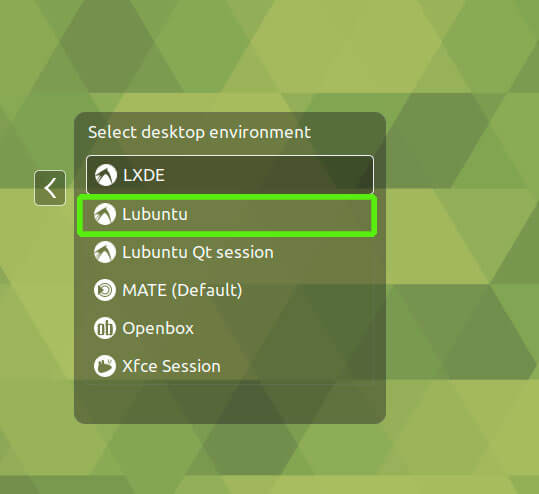
In the drop-down list, click on Lubuntu
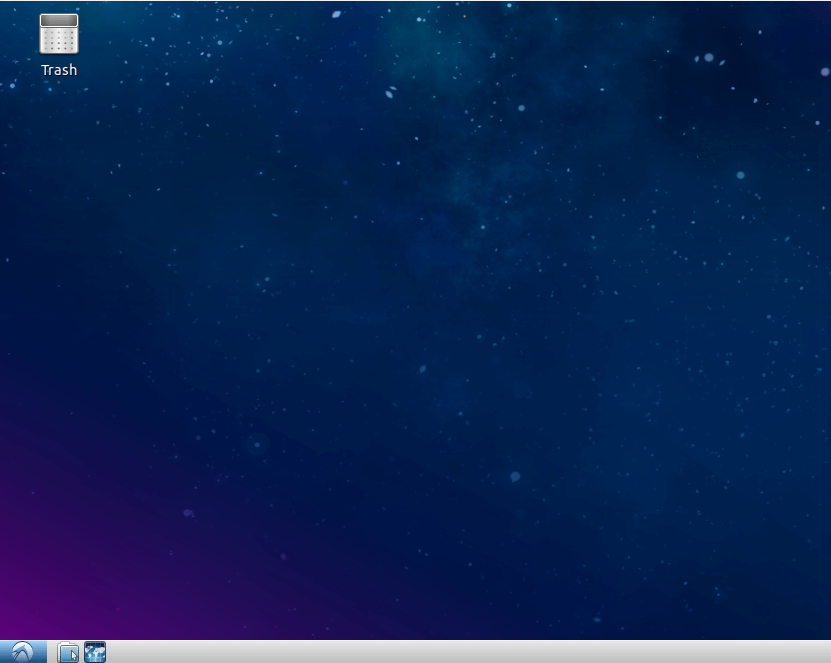
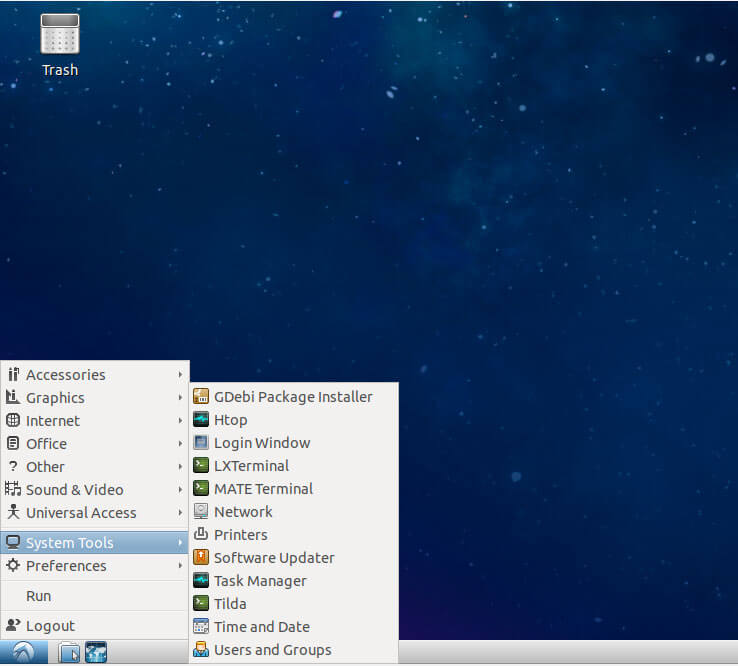
Log in and Lubuntu will be launched as shown
3) Kubuntu Core Server Desktop
Kubuntu is a light-weight desktop environment that borrows a lot from Xfce desktop environment.
To get started with the installation of Kubuntu run the command below
$ sudo tasksel install kubuntu-desktop
Once it is successfully installed, start the display manager by running the command below or simply restart your server
$ sudo service lightdm start
log out or restart your machine and click on the button below

From drop the drop-down list, select Kubuntu
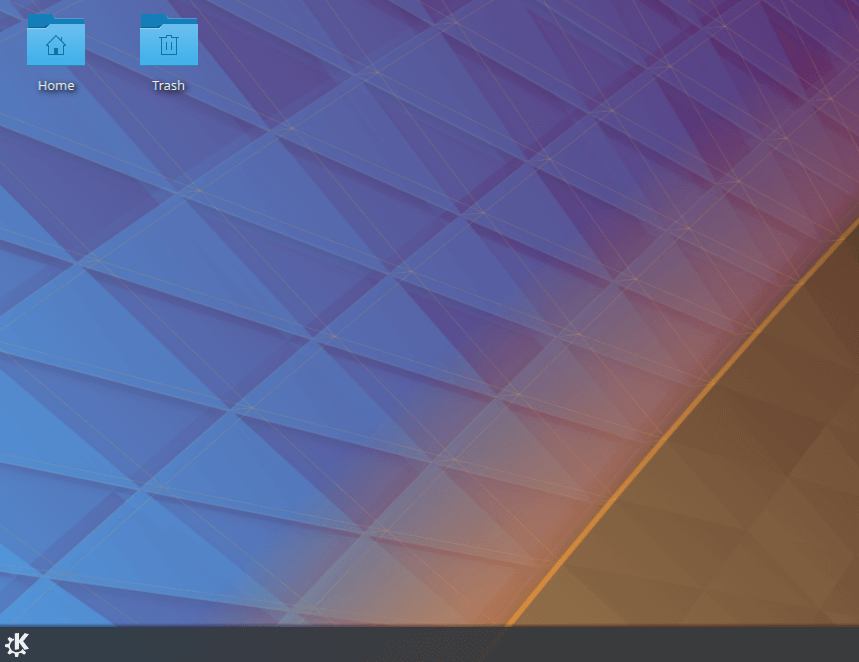
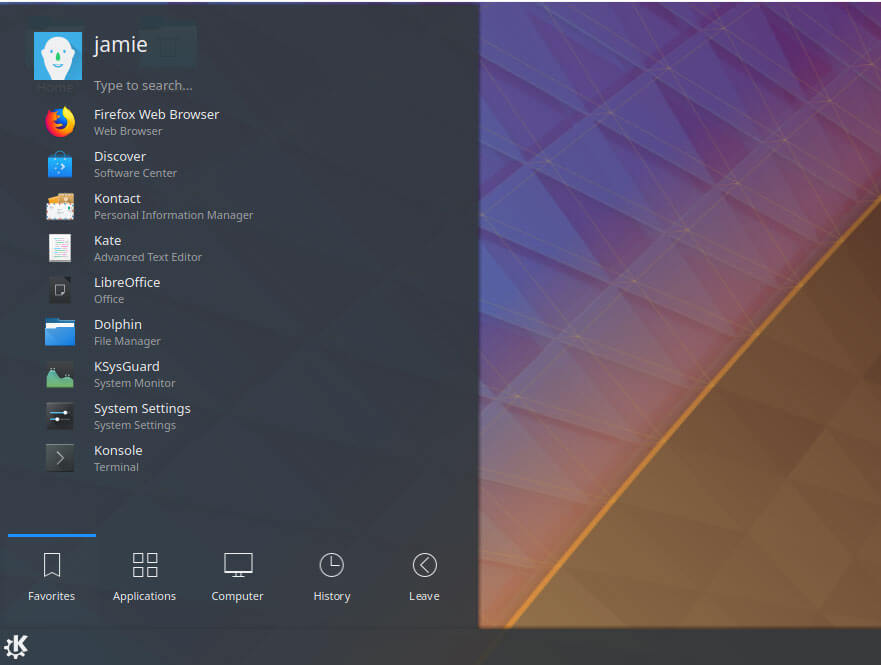
A look at the start menu reveals a cool array of features
4) XFCE
XFCE is a very lightweight desktop environment that is resource friendly and takes up very minimal RAM and CPU resources. To install XFCE use the following command
# sudo tasksel install xfce4-slim
After the GUI installation, use the command to activate it
# sudo service slim start
This will prompt you to select the default manager. Select slim and hit ENTER.
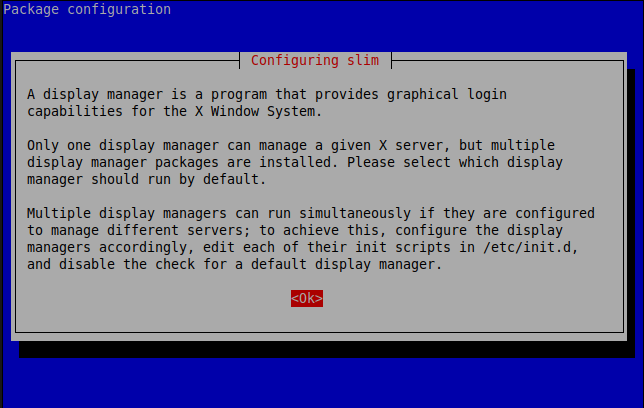
Log out or reboot and select ‘Xfce’ option from the drop-down list and log in using your credentials.
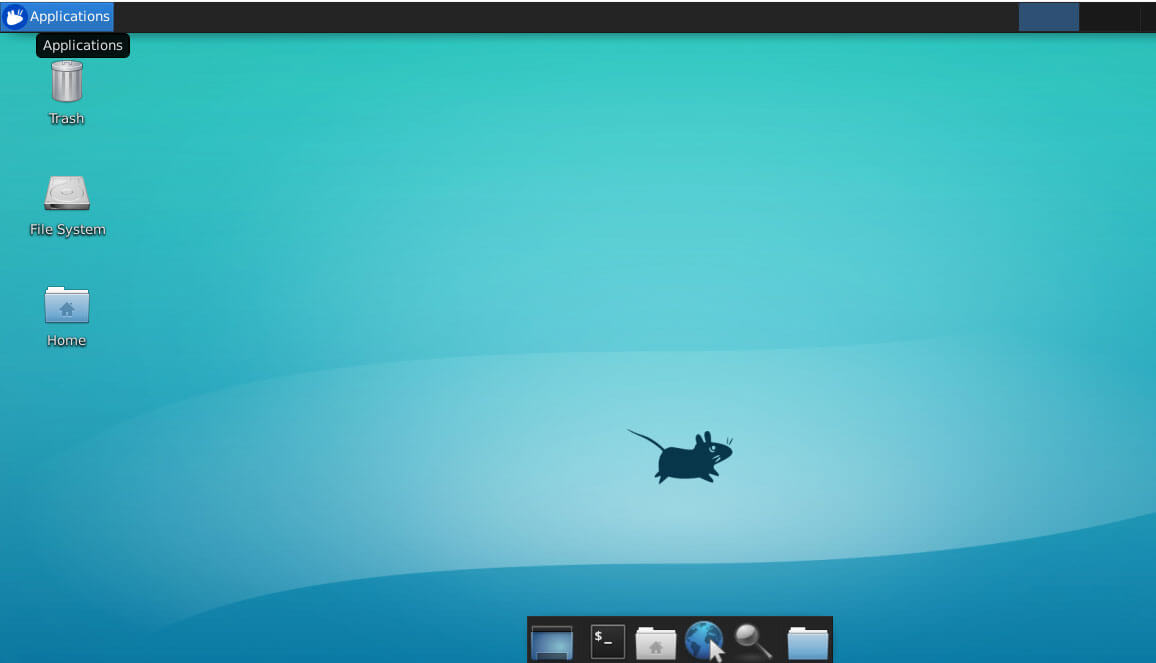
Shortly, the Xfce display manager will be launched
5) LXDE
LXDE is a Desktop envirnonment considered the most economical to system resources. Lubuntu is based on LXDE desktop environment. Use the following command
$ sudo apt-get install lxde
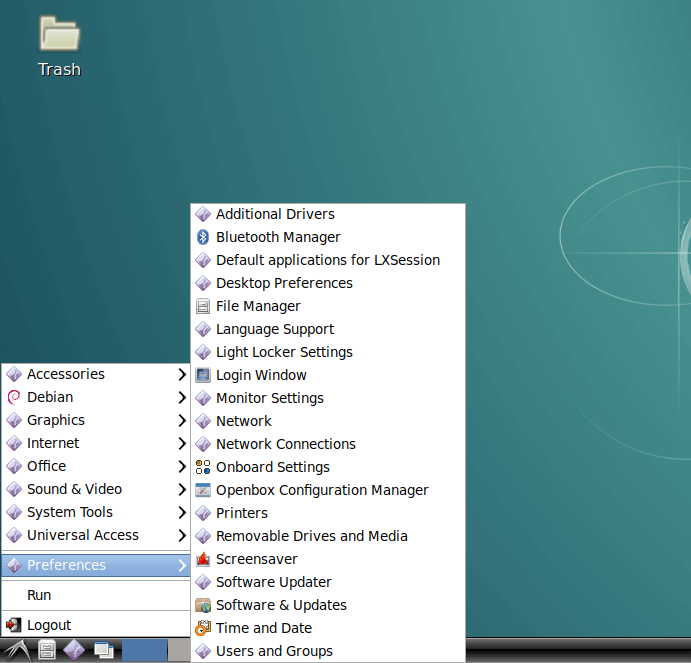
To start LXDE, log out or reboot and select ‘LXDE’ from the drop-down list of display managers on log on.
Those are a few lightweight desktop environments that you can deploy on your Ubuntu 18.04 server to make your work easier and do away with the boredom of having to work on a black terminal screen.
Give it a try and tell us how it went. In this article, we looked at how you can install GUI on Ubuntu server 18.04. your feedback is most welcome.
=====================================================
Menampilkan GUI di Ubuntu Server
Semua OS Linux edisi Server tampilan default-nya yaitu menggunakan mode console, tetapi untuk pengguna baru mode GUI (Graphical User Interface) sangatlah membantu.
BERIKUT INI CARA INSTALLASI GUI GNOME DI LINUX UBUNTU SERVER 14.04 LTS
1. MASUK SEBAGAI ROOT USER
$ sudo su
2. KEMUDIAN UPDATE DAN UPGRADE REPOSITORY
$ apt-get update
$ apt-get upgrade
3. TERAKHIR INSTALLASI GNOME
$ apt-get install ubuntu-desktop
Setelah semua paket selesai di-download dan di-install lalu restart atau ketikkan perintah
$ startx
Setelah itu kamu sudah dapat menikmati mode GUI.
Untuk melakukan perpindahan mode dari mode console ke mode GUI, tekan tombol:
Alt + F7
Sedangkan untuk melakukan perpindahan mode dari mode GUI ke mode console, tekan tombol:
Ctrl + Alt + F1
Selesai.
Tidak ada komentar:
Posting Komentar